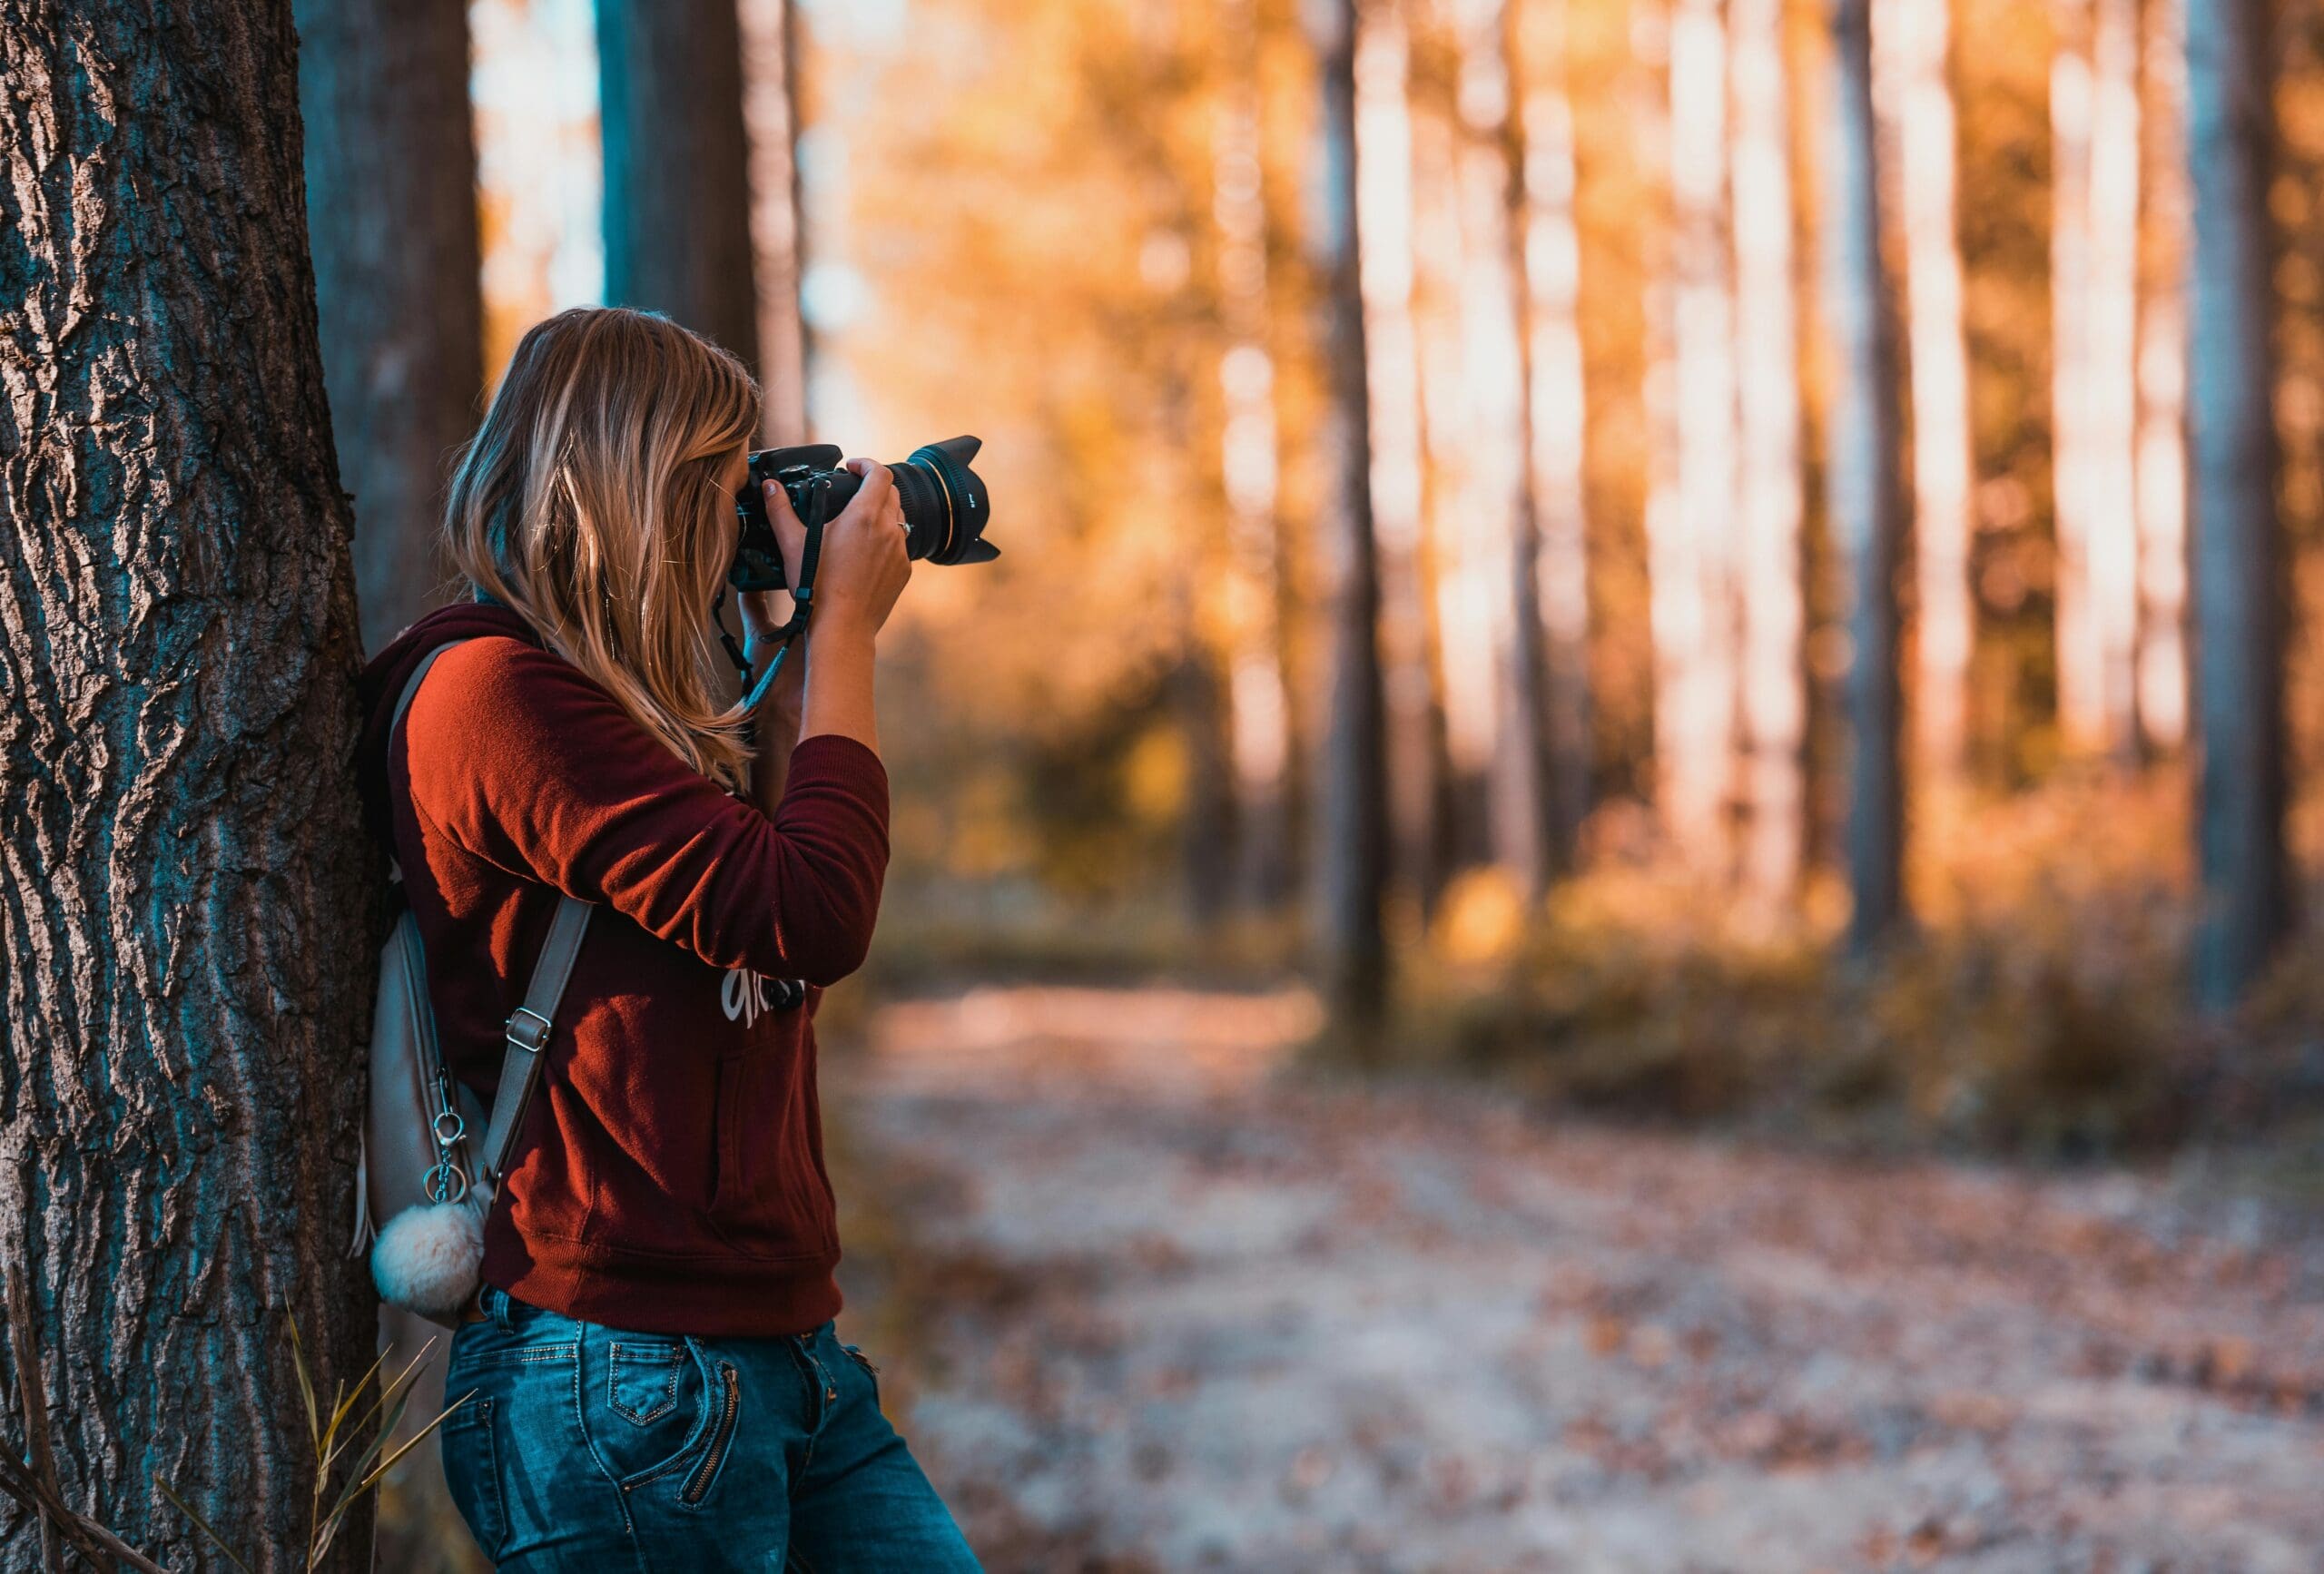
Event photography in low-light venues presents significant technical challenges that separate professional photographers from amateurs. Whether you’re photographing corporate functions, concerts, theatre performances, or intimate gatherings, many venues prohibit flash or feature ambient lighting that makes flash inappropriate. This comprehensive guide teaches you how to capture sharp, well-exposed event photographs in challenging low-light conditions without relying on flash, using the right equipment, camera settings, and techniques that professional event photographers employ.

Why Low-Light Events Require Different Approaches
Low-light event photography pushes your camera system to its limits. According to Digital Photography School’s technical guides, shooting in typical event venues (restaurants, conference rooms, theatres) often means working with light levels 10-100 times lower than optimal outdoor conditions.
Challenges of low-light event photography:
- Insufficient light for fast shutter speeds (motion blur risk)
- High ISO requirements (image noise/grain)
- Mixed colour temperatures (fluorescent, tungsten, LED creating colour casts)
- Moving subjects in already challenging conditions
- Inability to control venue lighting
- Client expectations for sharp, professional images despite conditions
Professional event photographers succeed by understanding how to balance these competing demands whilst maintaining image quality that meets client expectations.
Essential Equipment for Low-Light Event Photography
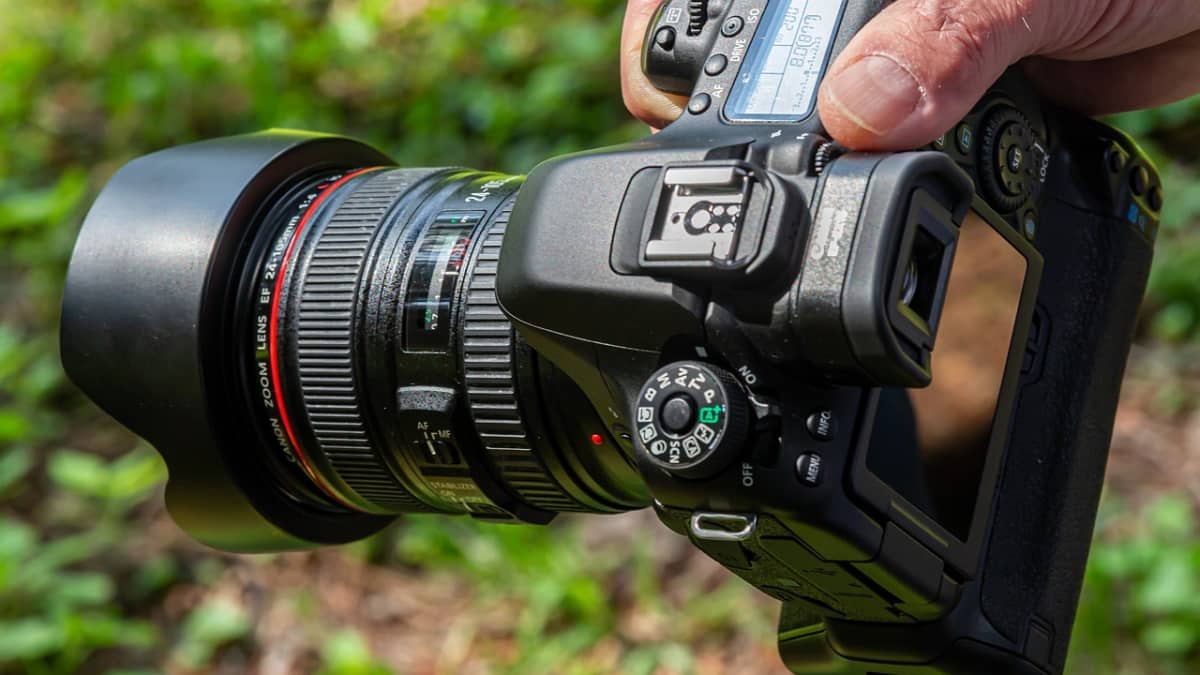
Fast Prime Lenses
Your lens matters more than your camera body for low-light work. “Fast” lenses with wide maximum apertures (f/1.4, f/1.8, f/2) allow substantially more light than standard zoom lenses (f/3.5-5.6), making them essential for low-light events.
Recommended prime lenses:
- 35mm f/1.8 or f/1.4: Excellent environmental coverage for small-to-medium venues
- 50mm f/1.8 or f/1.4: Classic focal length, affordable even in fast apertures
- 85mm f/1.8 or f/1.4: Beautiful for individual portraits and head shots
- 24mm f/1.4 or f/1.8: Wide coverage for large venues or group shots
According to Cambridge in Colour’s lens guide, a lens at f/1.8 gathers approximately 4 times more light than the same lens at f/3.5—equivalent to increasing your ISO from 800 to 3200.
Budget alternative: If you can only afford one lens, choose a 50mm f/1.8. Every major manufacturer offers this lens affordably ($150-300 AUD), and it performs brilliantly in low light.
Fast Zoom Lenses
If you need zoom flexibility, invest in professional f/2.8 zooms:
- 24-70mm f/2.8: Versatile standard zoom
- 70-200mm f/2.8: Telephoto range for larger venues
These cost significantly more than prime lenses ($1,500-3,000 AUD) but offer flexibility that’s valuable for event coverage.
Camera Bodies with Good High-ISO Performance
Modern cameras handle high ISO remarkably well. Full-frame sensors generally outperform APS-C sensors in low light, though excellent APS-C cameras exist.
What to look for:
- Usable images at ISO 3200-6400 minimum
- Fast, accurate autofocus in low light (-3 to -4 EV capability)
- Good buffer depth for burst shooting
- Dual card slots for backup (important for events)
Don’t obsess over the latest cameras—5-year-old professional models often outperform brand-new consumer models for low-light work.
Image Stabilization
Image stabilization (in-body or in-lens) helps with camera shake but doesn’t freeze subject motion. It’s valuable but not a complete solution for low-light challenges.
Stabilization benefits:
- Reduces camera shake blur
- Allows slightly slower shutter speeds when photographing stationary subjects
- Helpful for video work
Stabilization limitations:
- Doesn’t prevent motion blur from moving subjects
- Can’t replace fast apertures or high ISO for truly low light
- May reduce image quality slightly in some implementations
If you’re developing professional event photography skills including low-light techniques, our Professional Photography course covers advanced technical skills alongside business development and client management for event photographers.
Camera Settings for Low-Light Events
Shooting Mode: Manual or Aperture Priority
Most professional event photographers use Manual mode for consistent exposure throughout the event, or Aperture Priority with exposure compensation for flexibility.
Manual mode advantages:
- Consistent exposure regardless of scene brightness variations
- Complete control over all settings
- Predictable results throughout event
Aperture Priority advantages:
- Faster adjustment to changing light
- Camera selects shutter speed automatically
- Good for events with variable lighting
Choose based on your comfort level and venue lighting consistency.
Aperture: Wide Open (Usually)
In low-light events, shoot at or near your lens’s maximum aperture. If your lens is f/1.8, shoot at f/1.8 or f/2. If f/2.8, shoot at f/2.8.
Considerations:
- Wide apertures create shallow depth of field—focus accuracy becomes critical
- For groups, you may need to stop down to f/2.8-f/4 for adequate depth
- Shooting wide open may not be the sharpest aperture, but it’s the brightest
- Accept slight quality reduction for properly exposed images
According to Photography Life’s aperture guide, shooting one stop from maximum aperture (f/2.8 instead of f/2) improves sharpness slightly but costs you significant light.
Focus carefully: Shallow depth of field is unforgiving. Focus on the nearest eye in portraits, key person in groups, or critical action in wider shots.
Shutter Speed: As Fast as Possible
Your shutter speed must be fast enough to freeze subject motion whilst allowing adequate exposure. This represents your primary challenge in low-light event photography.
Minimum shutter speed guidelines:
- Standing people talking: 1/125s minimum
- People walking or gesturing: 1/160s-1/250s minimum
- Dancing or active movement: 1/250s-1/500s minimum
- Performers on stage: 1/320s-1/640s minimum
These are minimums—faster is always better for sharp images. You’re balancing motion blur risk against ISO levels.
Formula for minimum shutter speed: 1/[focal length x 2] for static subjects. For 50mm lens, 1/100s minimum. For moving subjects, double that to 1/200s minimum.
ISO: As High as Necessary
This is where many photographers hesitate, but modern cameras handle high ISO remarkably well. Don’t fear ISO—embrace it as a tool for achieving proper exposure and adequate shutter speeds.
Practical ISO approach:
- Set aperture to maximum (f/1.8, f/2, f/2.8)
- Set shutter speed to minimum acceptable for subject motion
- Raise ISO until properly exposed
- Don’t worry about noise—properly exposed, slightly noisy images beat underexposed or blurry images
Typical ISO ranges for event photography:
- Well-lit venues: ISO 800-1600
- Average restaurant/function room: ISO 1600-3200
- Dark bars/clubs: ISO 3200-6400
- Very dark venues: ISO 6400-12800+
Digital Photography School research shows that slight noise from high ISO is generally acceptable to clients, whilst soft/blurry images are not.
Noise reduction: Apply in post-processing rather than in-camera. Software like Lightroom, Topaz DeNoise, or DxO PhotoLab handles noise reduction better than in-camera processing.
White Balance: Auto or Custom
Event venues often feature mixed lighting (tungsten spots, LED ambience, natural window light). This creates white balance challenges.
Approach options:
- Auto White Balance: Works reasonably well in most situations, adjustable in post-processing
- Custom White Balance: Most accurate, requires setup for each lighting situation
- Specific presets: Tungsten, Fluorescent, etc. for dominant light source
Pro tip: Shoot RAW format. This allows complete white balance adjustment in post-processing without quality loss.
If venue has strongly coloured lighting (purple, blue, red uplighting), accept some colour cast as part of the venue ambience—don’t completely neutralize it or images will look unnatural.
Step-by-Step Approach to Shooting Low-Light Events
Step 1: Assess Venue Lighting
Arrive early to assess lighting conditions before guests arrive:
- Where are the brightest areas?
- What’s the dominant light source and colour?
- Are there any areas with better light you can position near?
- Are there spotlights or windows you can use?
Scout shooting positions that maximize available light.
Step 2: Test and Adjust Settings
Take test shots in various areas:
- Check exposure and histogram
- Verify shutter speed freezes motion
- Test autofocus accuracy in the dim light
- Review images at 100% zoom to check sharpness
Adjust settings based on what you discover. Your test shots from the entrance may need different settings than the dance floor.
Step 3: Position Yourself Strategically
For best results:
- Shoot near light sources when possible
- Use window light during daytime events
- Position subjects near brighter areas
- Avoid backgrounds that are significantly brighter or darker than subjects
- Stay mobile—reposition constantly for better light
Step 4: Focus Technique in Low Light
Low-light conditions challenge autofocus systems. Help your camera succeed:
Autofocus strategies:
- Use centre focus point (usually most sensitive)
- Focus and recompose technique for off-centre compositions
- Single-shot AF for static subjects, continuous AF for moving subjects
- Use AF-assist beam if available and not intrusive
- Pre-focus on known locations (podium, stage, etc.)
Manual focus backup: If autofocus struggles, switch to manual focus using magnified live view. Slower but accurate.
Step 5: Anticipate Moments
Event photography is about anticipation. Moving, laughing, toasting, and celebrating happen quickly. Position yourself where action will occur and be ready to shoot.
Key moments to anticipate:
- Speeches and presentations
- Toasts and clinking glasses
- Dancing and celebration
- Greeting and hugging
- Laughter and reactions
Shoot in bursts during key moments—several frames increase your chance of capturing perfect expressions and timing.
Step 6: Review and Adjust
Throughout the event:
- Review images periodically
- Check for consistent exposure
- Verify sharpness at 100% zoom
- Adjust settings if conditions change
- Delete obviously failed images to manage storage
Don’t get so absorbed in reviewing that you miss moments, but do verify you’re capturing usable images.
Advanced Low-Light Techniques
Using Ambient Light Creatively
Rather than fighting low light, use it creatively:
Window light: Position subjects near windows for beautiful, directional light
Practical lights: Use lamps, candles, string lights, or venue lighting as creative elements in your composition
Silhouettes: Expose for bright backgrounds to create dramatic silhouettes
Rim lighting: Position subjects where edge lighting creates separation from background
Zone Focusing for Fast-Moving Action
Pre-focus on specific zones where you know action will occur:
- Dance floor centre
- Stage or podium location
- Entrance where guests arrive
- Cake cutting area
When action happens in your pre-focused zone, you’re ready to shoot immediately without waiting for autofocus.
Embracing Motion Blur Intentionally
Sometimes motion blur becomes creative choice rather than mistake:
- Slower shutter speeds (1/15s-1/60s) show energy and movement
- Pan with moving subjects to keep them relatively sharp whilst blurring background
- Mix sharp and motion-blurred images for variety
Ensure this is obviously intentional—slight blur looks like mistake, whilst significant blur looks artistic.
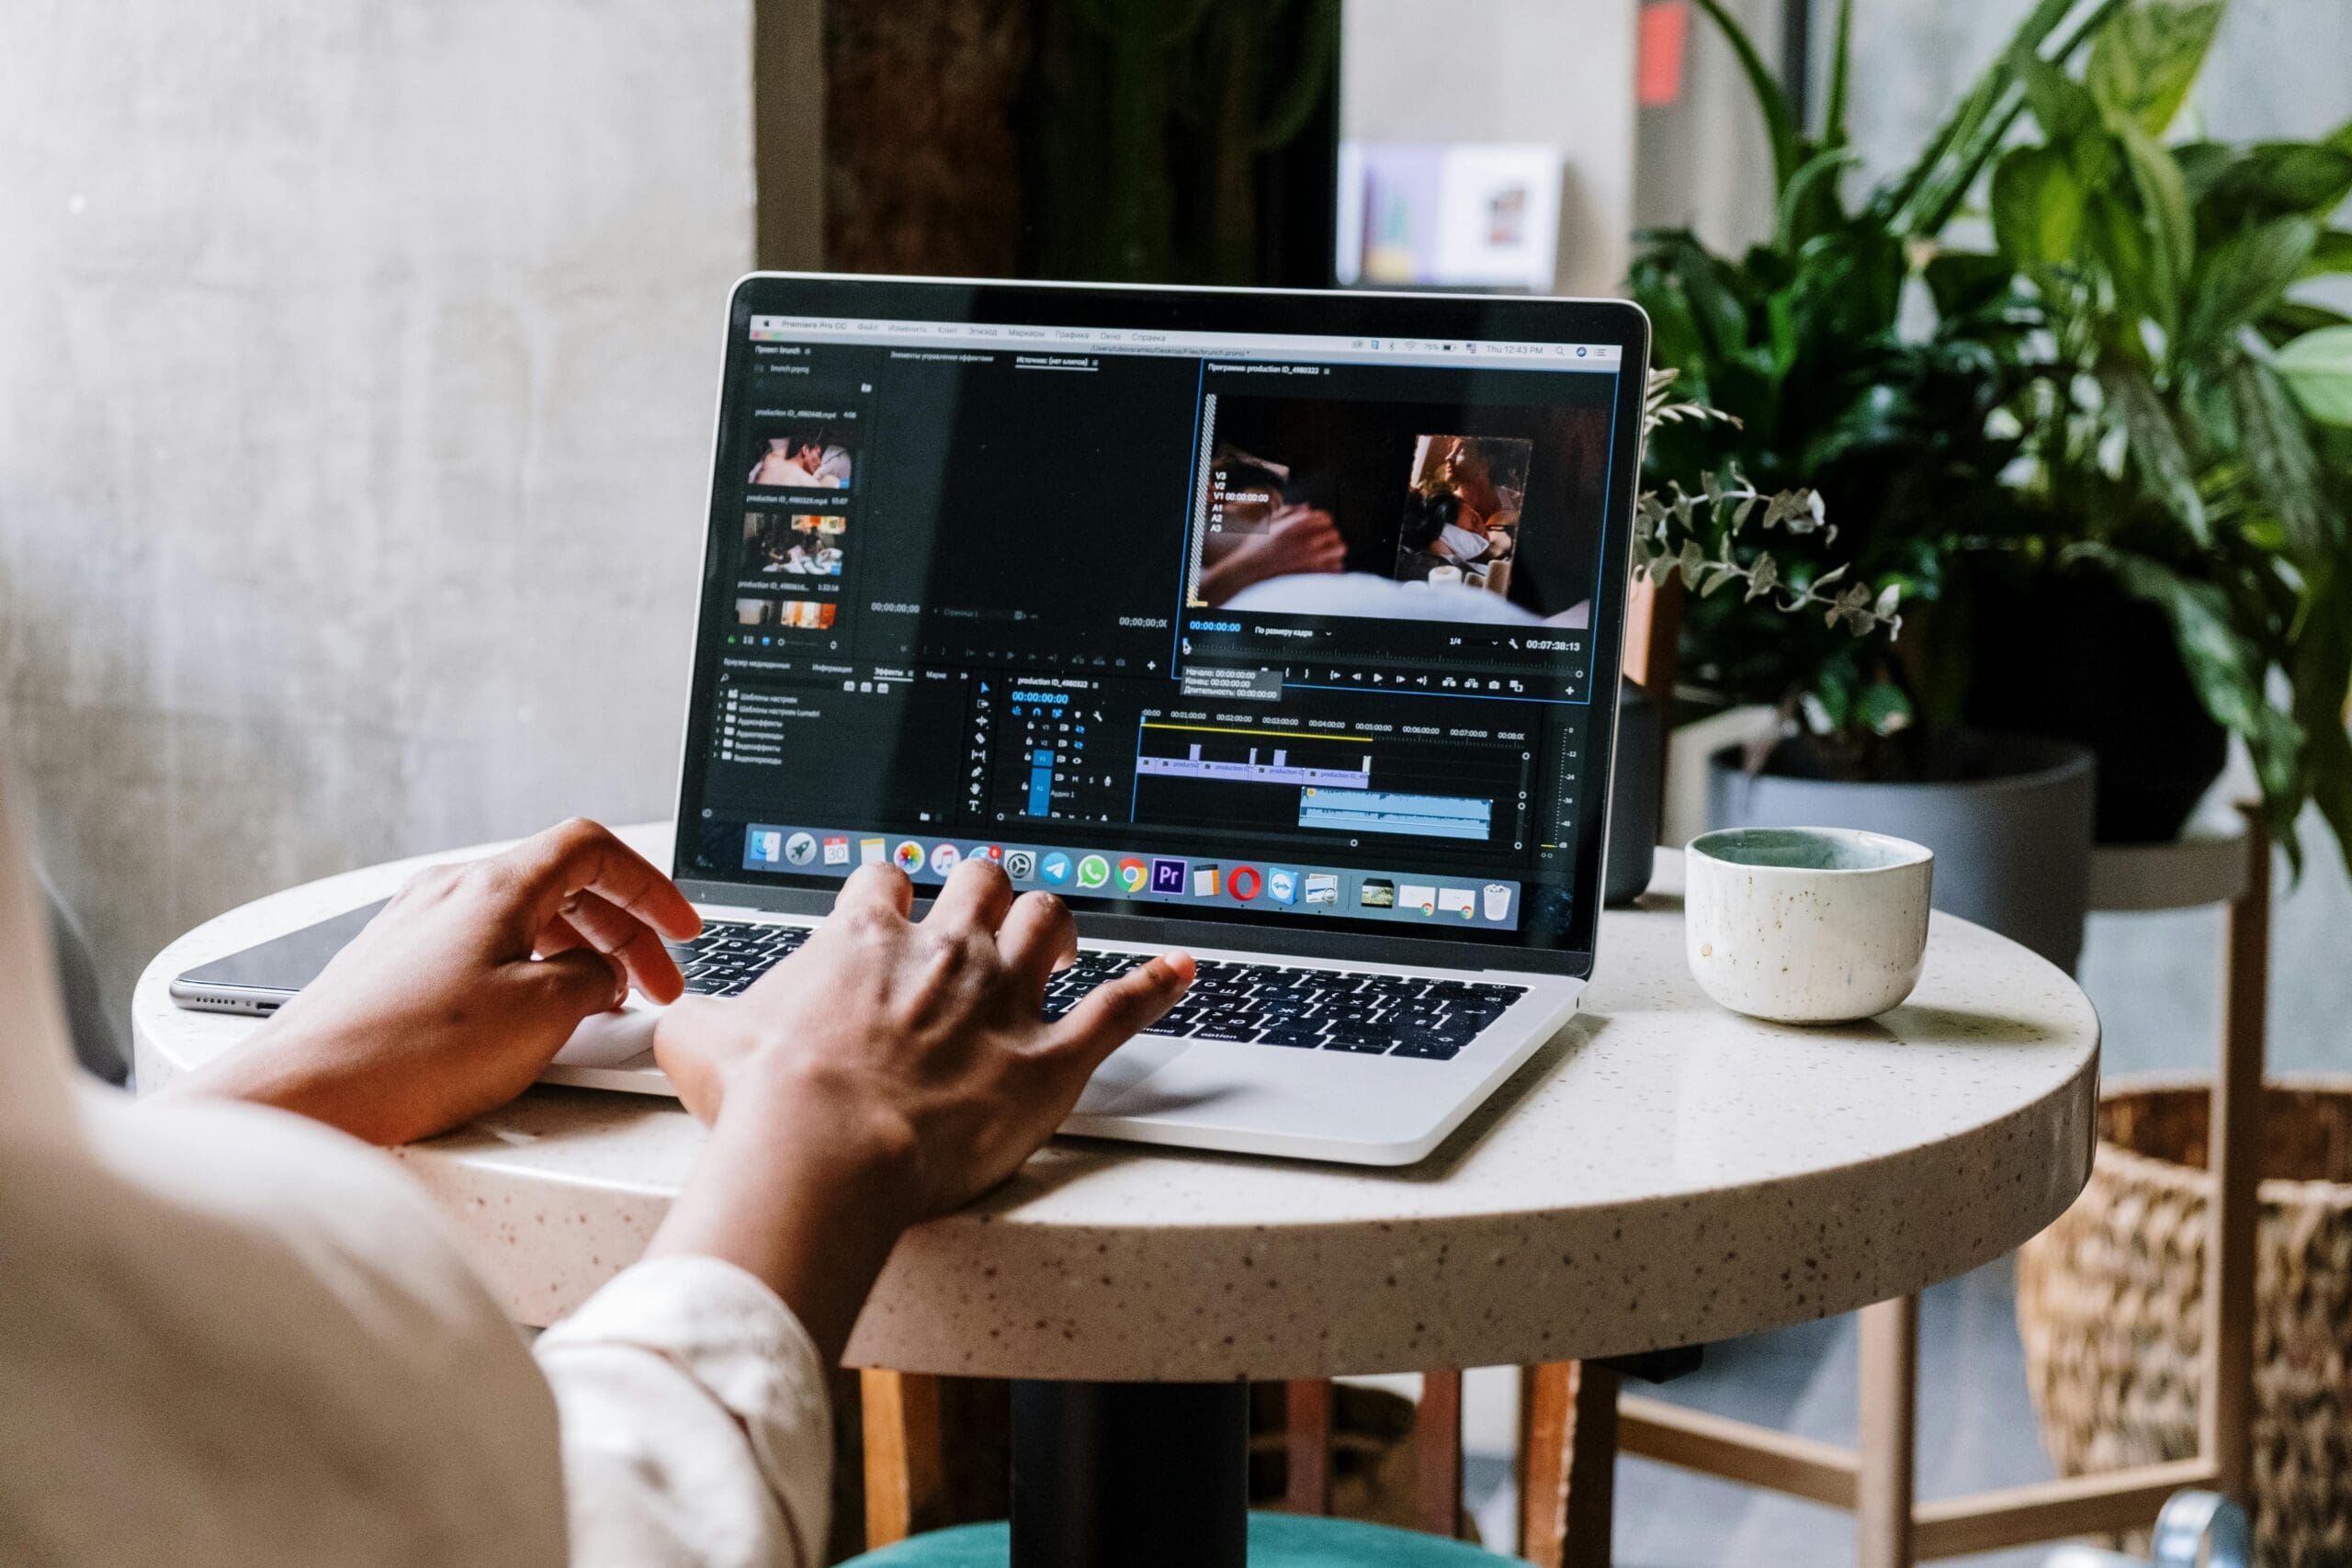
Post-Processing Low-Light Images
Essential adjustments:
- Exposure recovery (often need to lift shadows)
- Noise reduction (apply conservatively—some grain is acceptable)
- White balance correction for mixed lighting
- Selective sharpening on subjects
- Clarity and contrast to add punch lost in low light
Professional post-processing guides recommend batch-processing event images with similar settings, then fine-tuning individual favorites.
People Also Ask
What’s the minimum ISO for event photography? There’s no maximum ISO limit—use whatever ISO necessary to achieve proper exposure and adequate shutter speed. Modern cameras produce acceptable results at ISO 3200-6400 routinely, and ISO 12800+ is usable when necessary. Slightly noisy, properly exposed images always beat clean but underexposed or blurry images.
Can I use image stabilization instead of high ISO? No. Image stabilization reduces camera shake but doesn’t freeze subject motion. For events with people moving, you need fast shutter speeds regardless of stabilization. Stabilization helps but doesn’t replace adequate light-gathering through wide apertures and appropriate ISO.
Should I shoot JPEG or RAW for low-light events? Always shoot RAW for low-light work. RAW files contain substantially more information for recovering shadows, adjusting white balance, and reducing noise in post-processing. JPEG’s compressed format discards information you’ll want when editing challenging low-light images.
What if my images are still too dark? You’ve likely hit your camera’s limits. Solutions: invest in faster lenses (f/1.8 or wider), upgrade to camera with better high-ISO performance, add subtle fill light (LED panels on low power), or accept that some venues are too dark for available-light photography and request permission to use flash or additional lighting.
Venue-Specific Strategies
Corporate Events and Conferences
Typical lighting: Moderate overhead lighting, often fluorescent or LED
Strategy:
- ISO 1600-3200 typical
- Focus on speakers and presentations
- Position near stage or podium
- Use long lens for reach without disturbing presenters
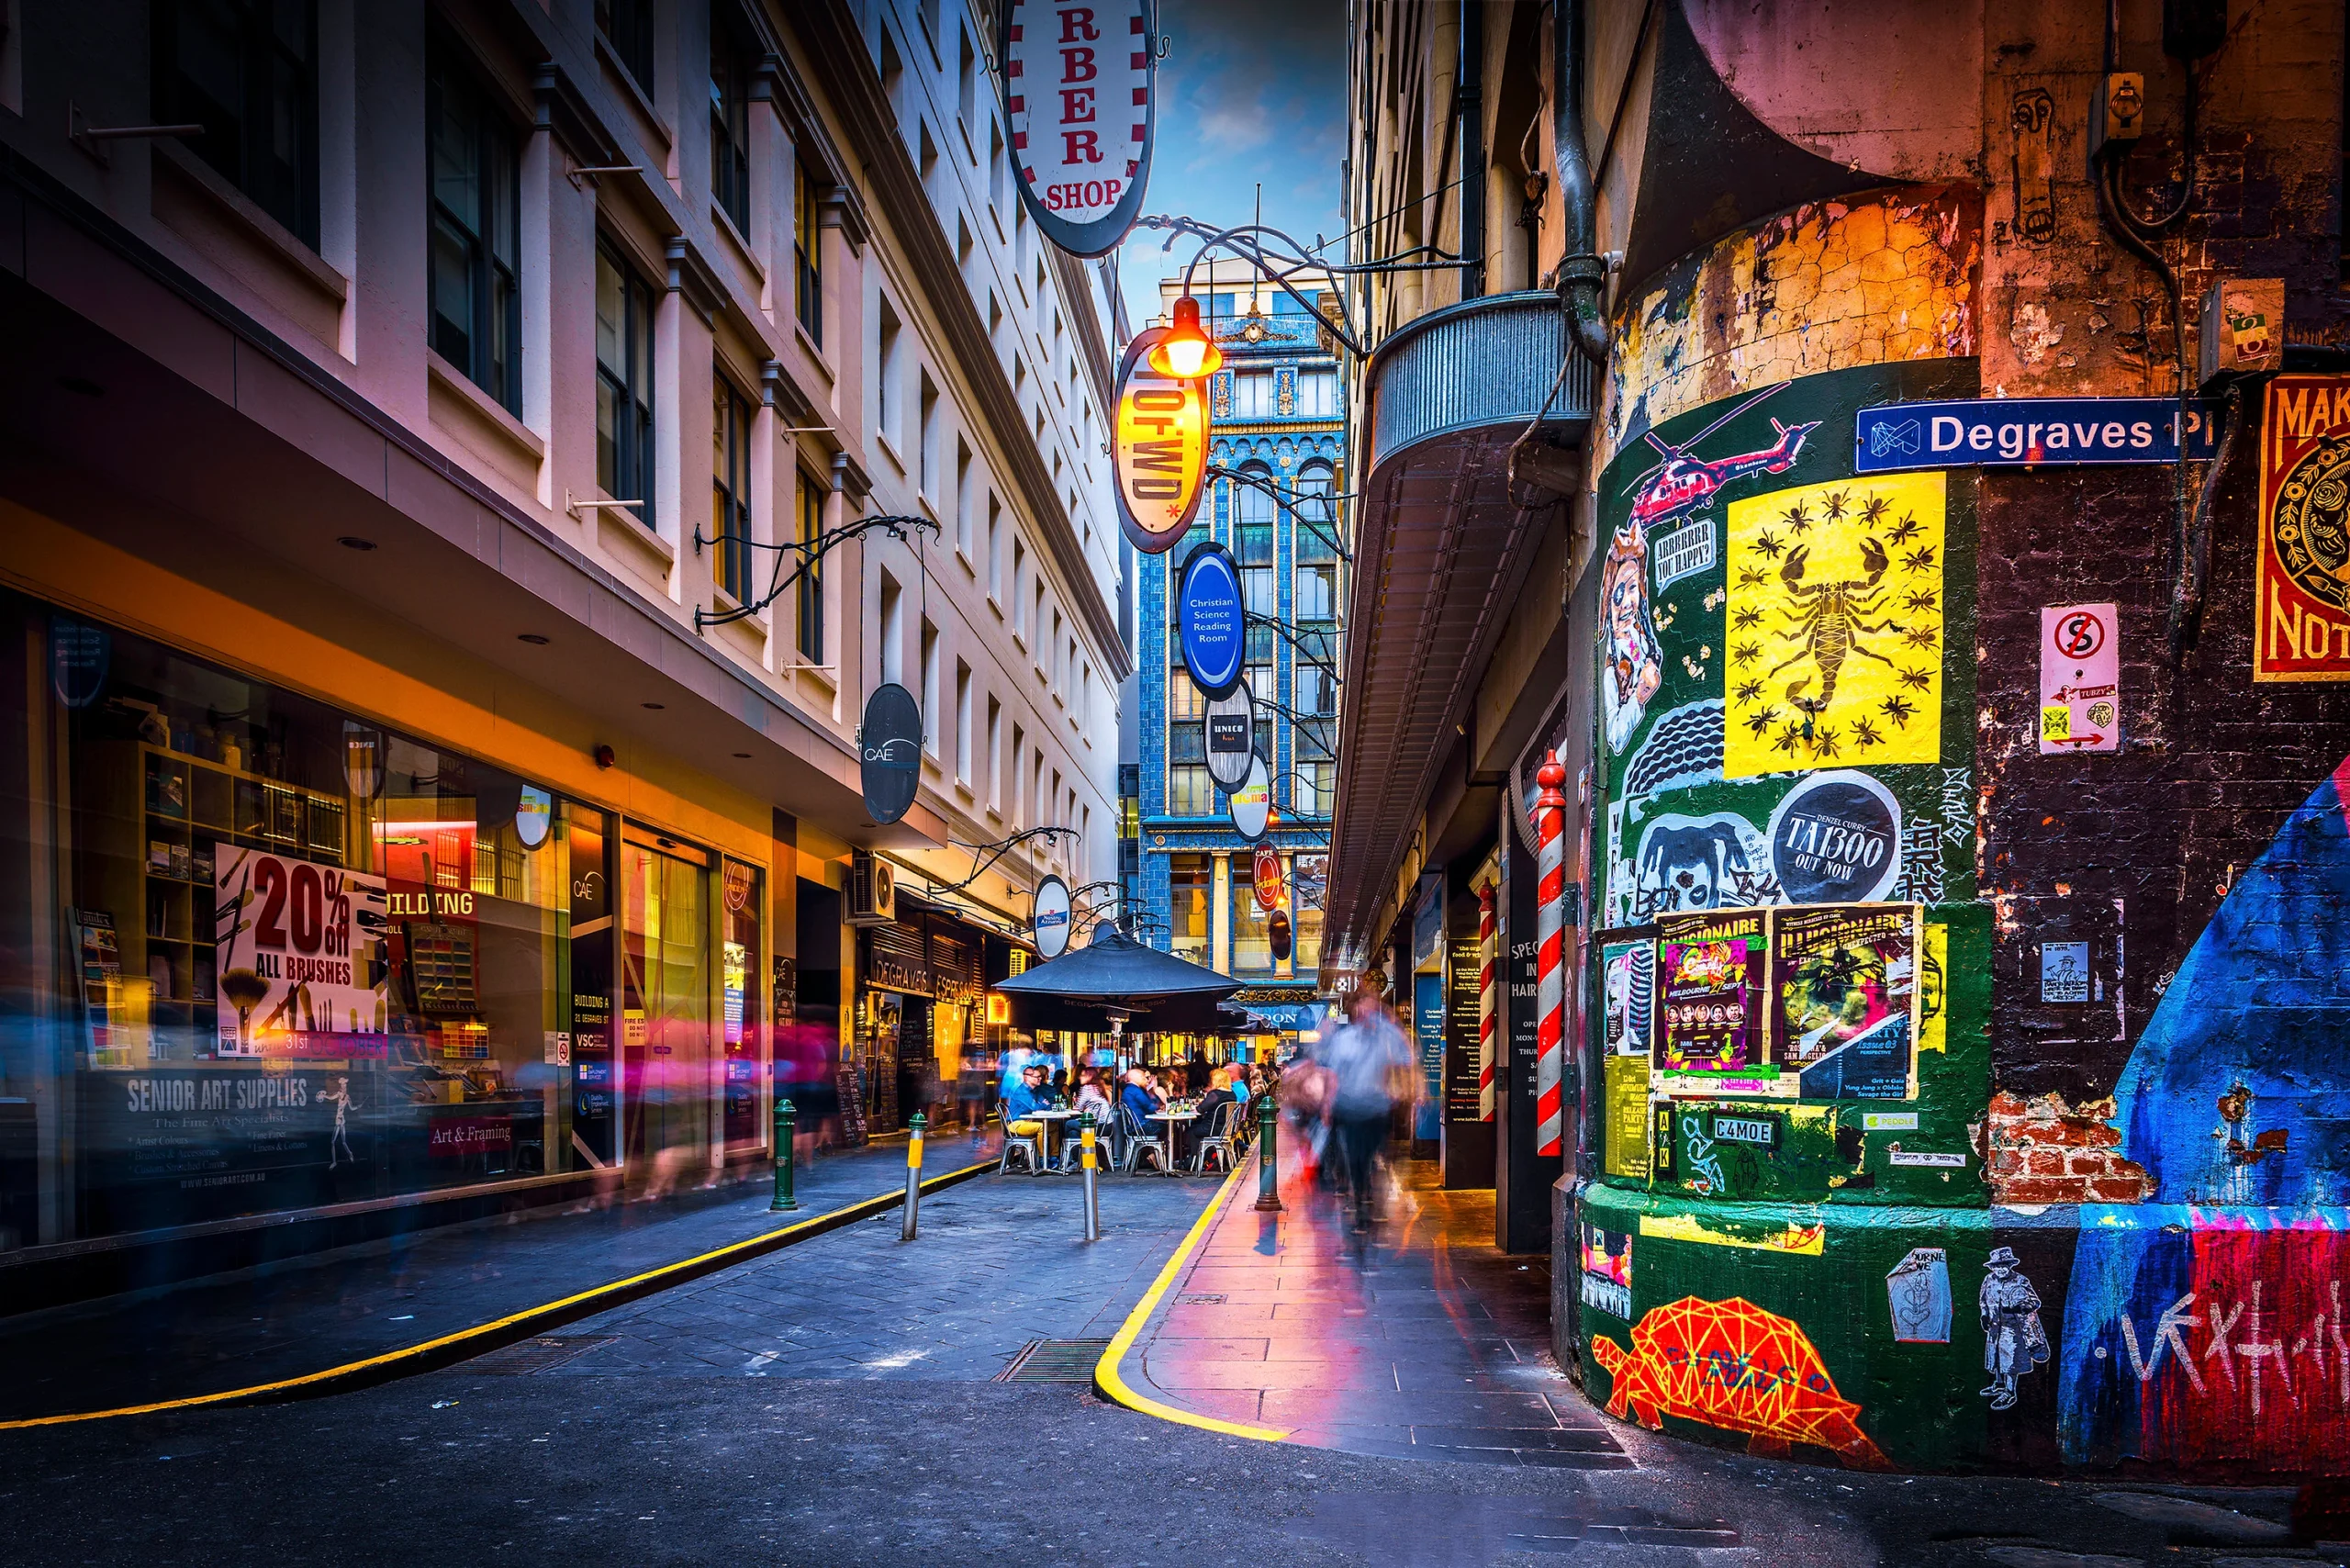
Restaurants and Small Gatherings
Typical lighting: Dim ambience with accent lighting
Strategy:
- ISO 3200-6400 common
- Use candlelight and table lamps creatively
- Sit/stand near light sources
- 35mm or 50mm focal length usually ideal
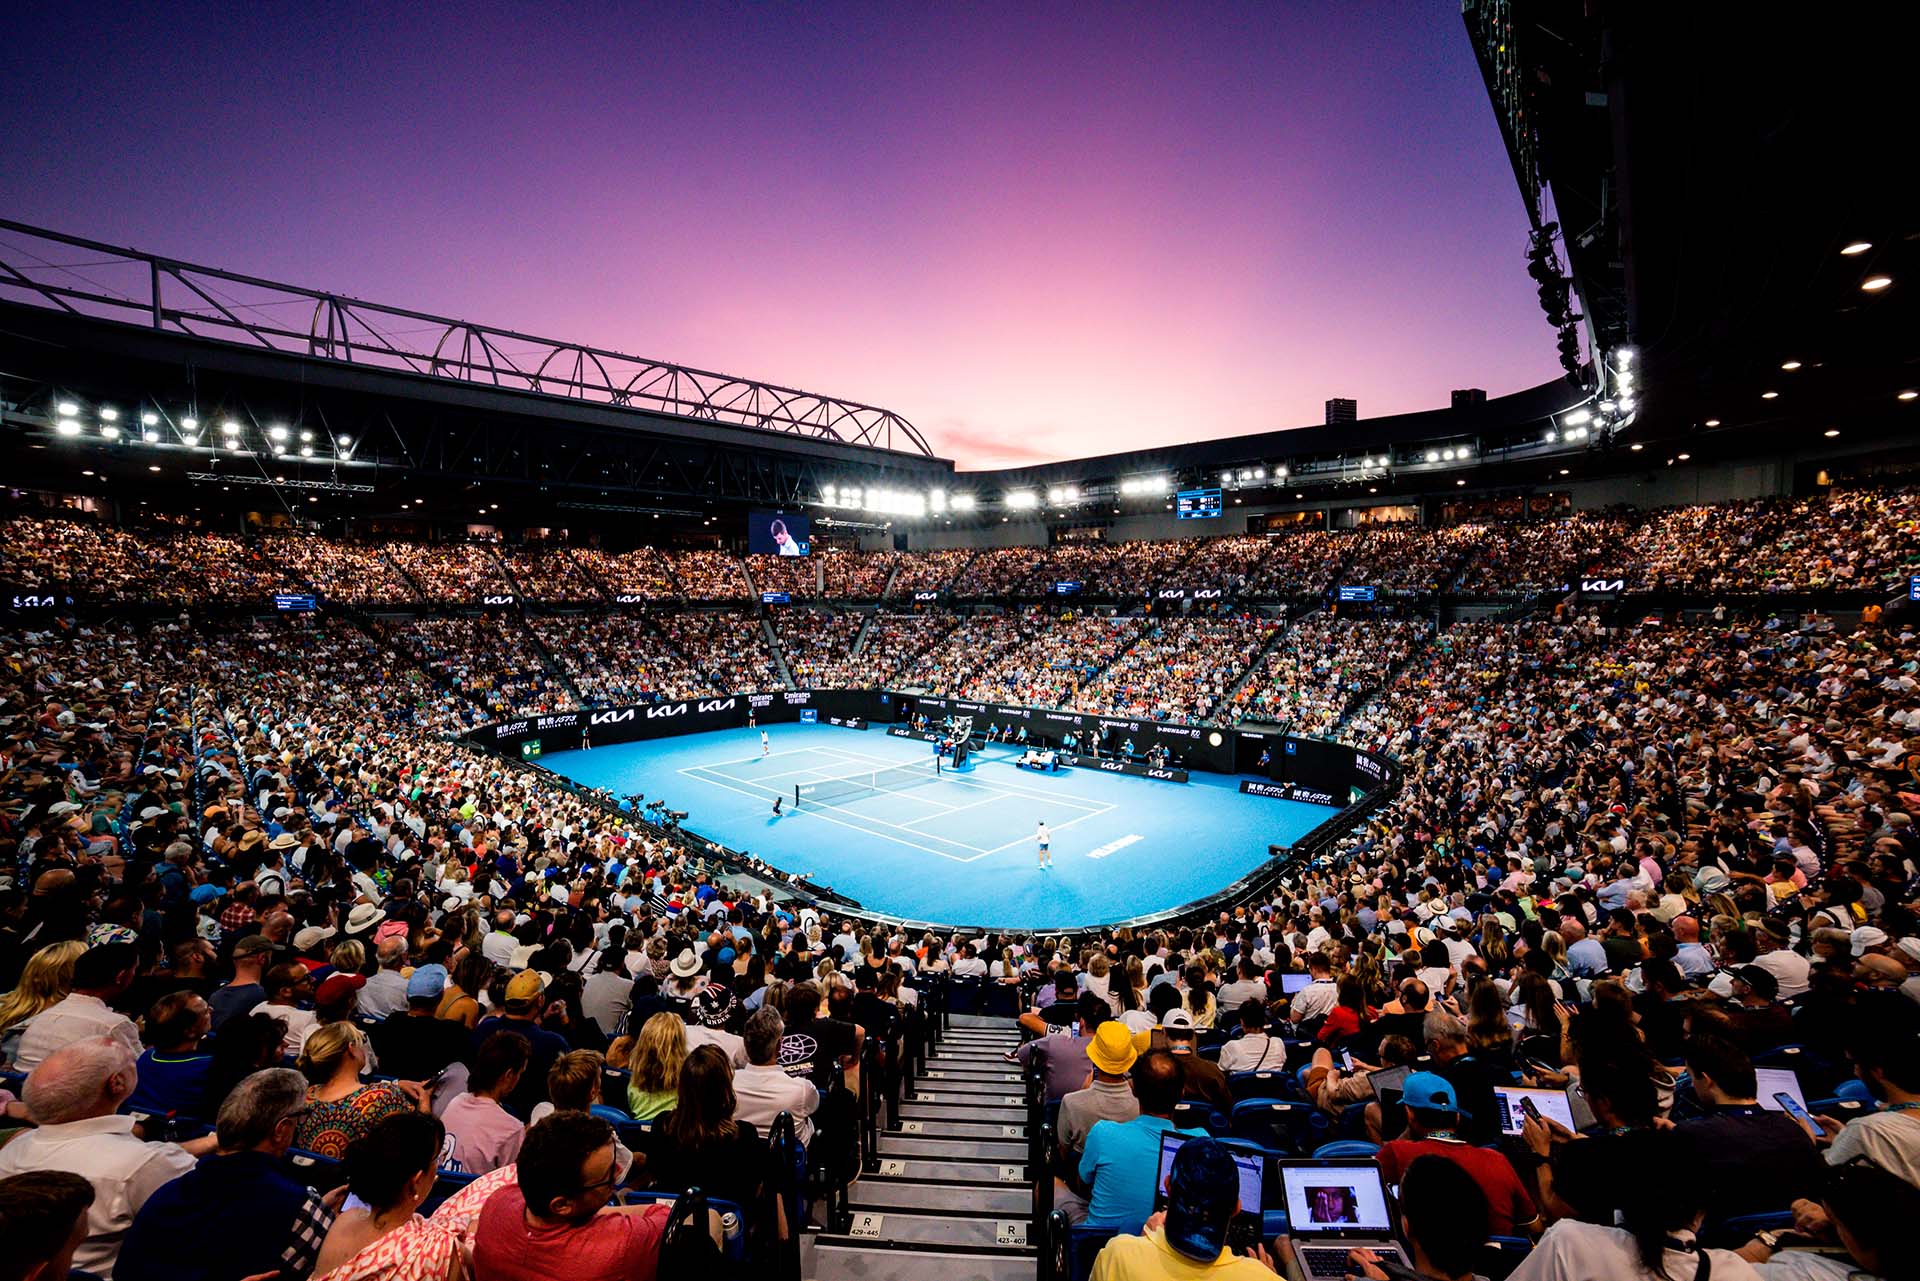
Concerts and Theatre
Typical lighting: Stage lighting with dark audience areas
Strategy:
- Expose for lit performers, not dark audience
- Spot metering on performers
- ISO 3200-12800 depending on lighting
- Fast prime lenses essential
- Respect venue rules (many prohibit photography)
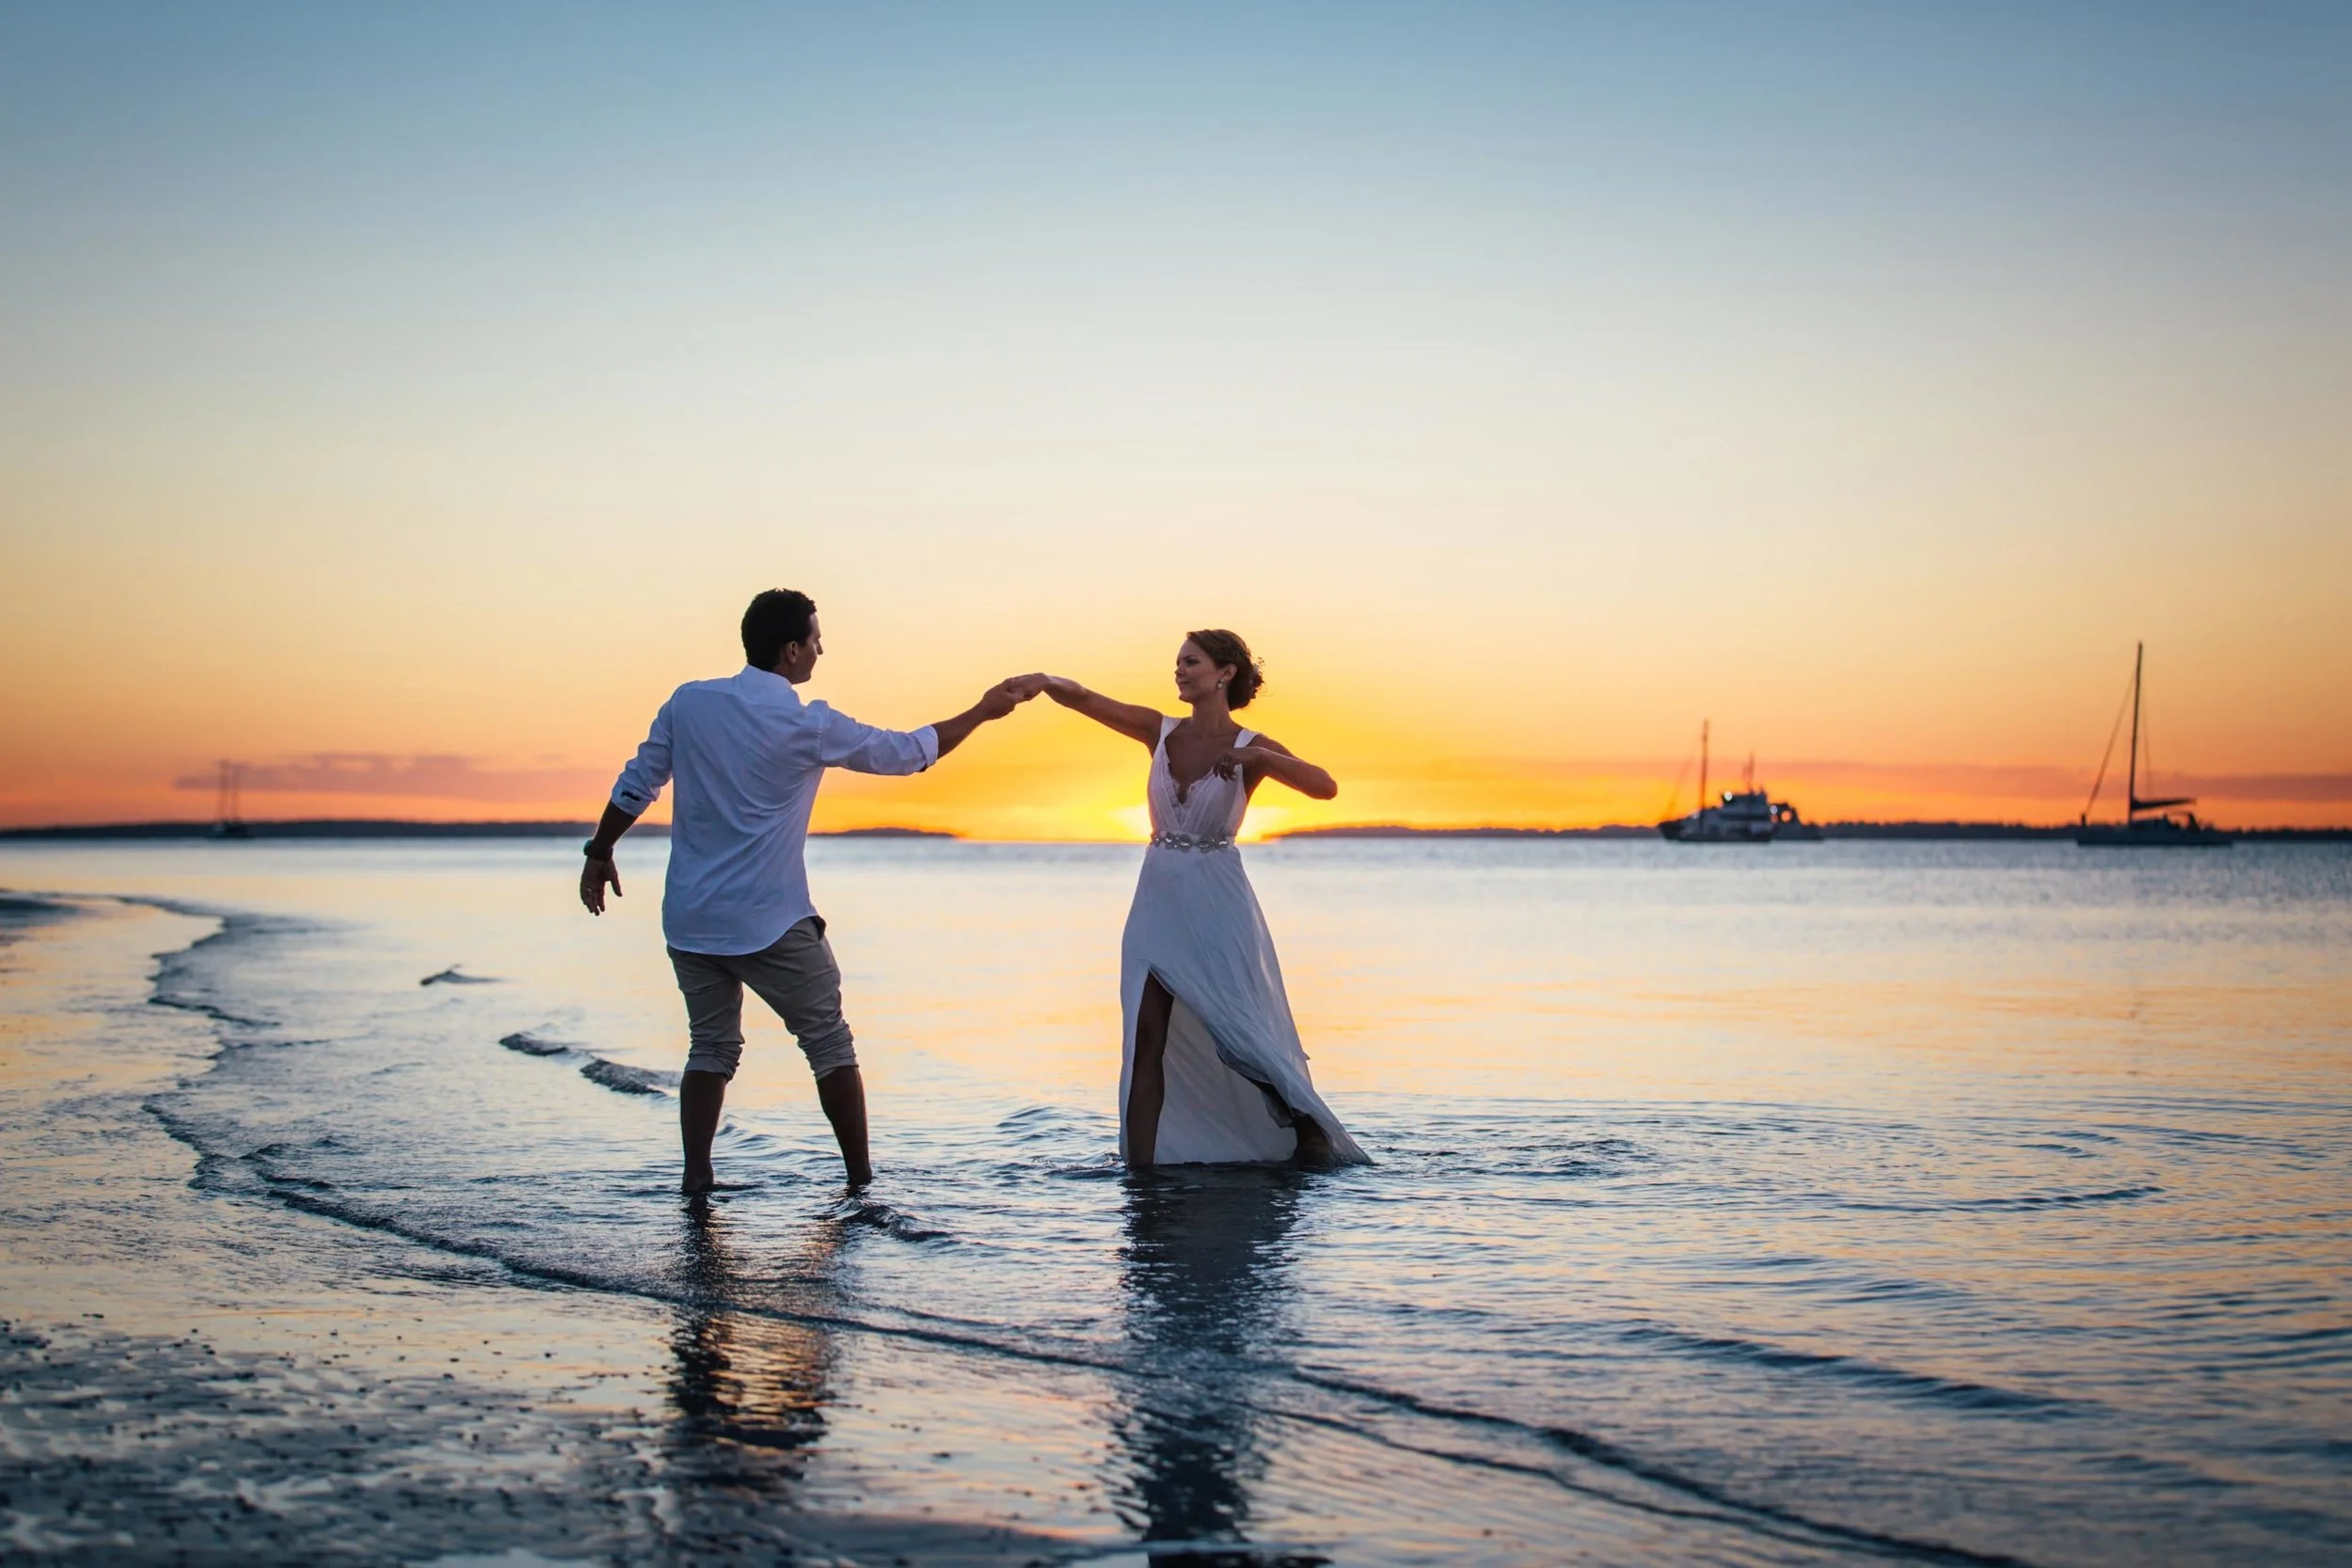
Wedding Receptions
Typical lighting: Variable—DJ lights, uplighting, mixed sources
Strategy:
- ISO 1600-4000 typical
- Anticipate key moments (first dance, cake cutting)
- Use DJ lighting creatively
- Balance ambient and any discrete supplemental lighting
If you’re specializing in event photography and need comprehensive training covering both technical skills and business development, our Business Photography course provides in-depth coverage of event photography including low-light techniques, client management, and pricing strategies.
Troubleshooting Common Low-Light Problems
Problem: Images Are Consistently Blurry
Diagnosis: Shutter speed too slow for subject motion or camera shake
Solutions:
- Increase ISO to allow faster shutter speed
- Open aperture wider if possible
- Enable image stabilization
- Brace camera against stable object
- Use burst mode to increase chance of sharp frames
Problem: Images Are Noisy/Grainy
Diagnosis: High ISO necessary for conditions
Solutions:
- Use fastest lenses available (f/1.4-f/2.8)
- Position near brighter areas
- Apply noise reduction in post-processing
- Accept some grain—it’s preferable to blur
- Consider upgrading camera for better high-ISO performance
Problem: Autofocus Won’t Lock
Diagnosis: Insufficient light or contrast for autofocus system
Solutions:
- Use centre focus point (most sensitive)
- Look for contrast areas to focus on
- Switch to manual focus
- Use AF-assist light if venue allows
- Pre-focus on known distance, recompose
Problem: Inconsistent Exposure
Diagnosis: Auto-exposure struggling with changing light or high contrast
Solutions:
- Switch to manual mode
- Use exposure lock on key subjects
- Meter for subjects, not background
- Review histogram regularly, adjust as needed
Problem: Weird Colour Casts
Diagnosis: Mixed colour temperature lighting
Solutions:
- Shoot RAW for flexibility
- Use custom white balance for dominant source
- Accept some colour cast as venue ambience
- Correct individual images in post-processing
- Consider creative black-and-white conversion
Building Your Low-Light Skills
Practice Deliberately
Don’t wait for paying events to develop low-light skills. Practice at:
- Restaurants and cafés
- Community theatre performances
- Friend’s gatherings
- Concerts (where photography is allowed)
- Night markets and festivals
Build confidence in controlled situations before stakes are high with paying clients.
Study Venue Lighting
Visit venues during events as a guest. Observe:
- Where is light brightest?
- What colour temperatures exist?
- How do successful photographers position themselves?
- What equipment are they using?
Upgrade Strategically
If serious about event photography:
- First investment: Fast prime lens (50mm f/1.8)
- Second investment: Second fast prime (35mm f/1.8)
- Third investment: Better camera body with good high-ISO performance
- Fourth investment: Professional f/2.8 zoom lens
Each upgrade expands your capabilities significantly.
Professional Standards and Client Expectations
Set realistic expectations: Explain to clients that low-light events require trade-offs. Images may show some noise, and occasionally challenging moments might not be perfectly sharp.
Deliver quality: Despite challenges, your images must meet professional standards. Clients hire photographers specifically because they can’t capture these images themselves—don’t disappoint.
Educate clients: Help them understand that low-light photography without flash is technically challenging. This context helps them appreciate your work and understand any limitations.
Mastering the Challenge
Low-light event photography separates photographers who understand their craft from those who rely on automatic settings and flash to solve all problems. Mastering these techniques expands your capabilities dramatically, allowing you to work successfully in venues and situations where other photographers struggle.
The combination of proper equipment (fast lenses), optimized camera settings (wide apertures, high ISO, adequate shutter speed), strategic positioning, and strong technical fundamentals allows you to capture compelling event photographs without flash. Yes, you’ll still face challenges—some venues are genuinely too dark for available-light work. But with the skills covered in this guide, you’ll succeed in the vast majority of event photography situations whilst delivering images that meet professional standards and exceed client expectations.
Remember that every professional event photographer once struggled with these same challenges. The difference between those who succeed and those who don’t is willingness to invest in appropriate equipment, practice deliberately in challenging conditions, and continuously refine technique through experience and evaluation. Keep pushing your skills, and low-light event photography transforms from obstacle to opportunity.