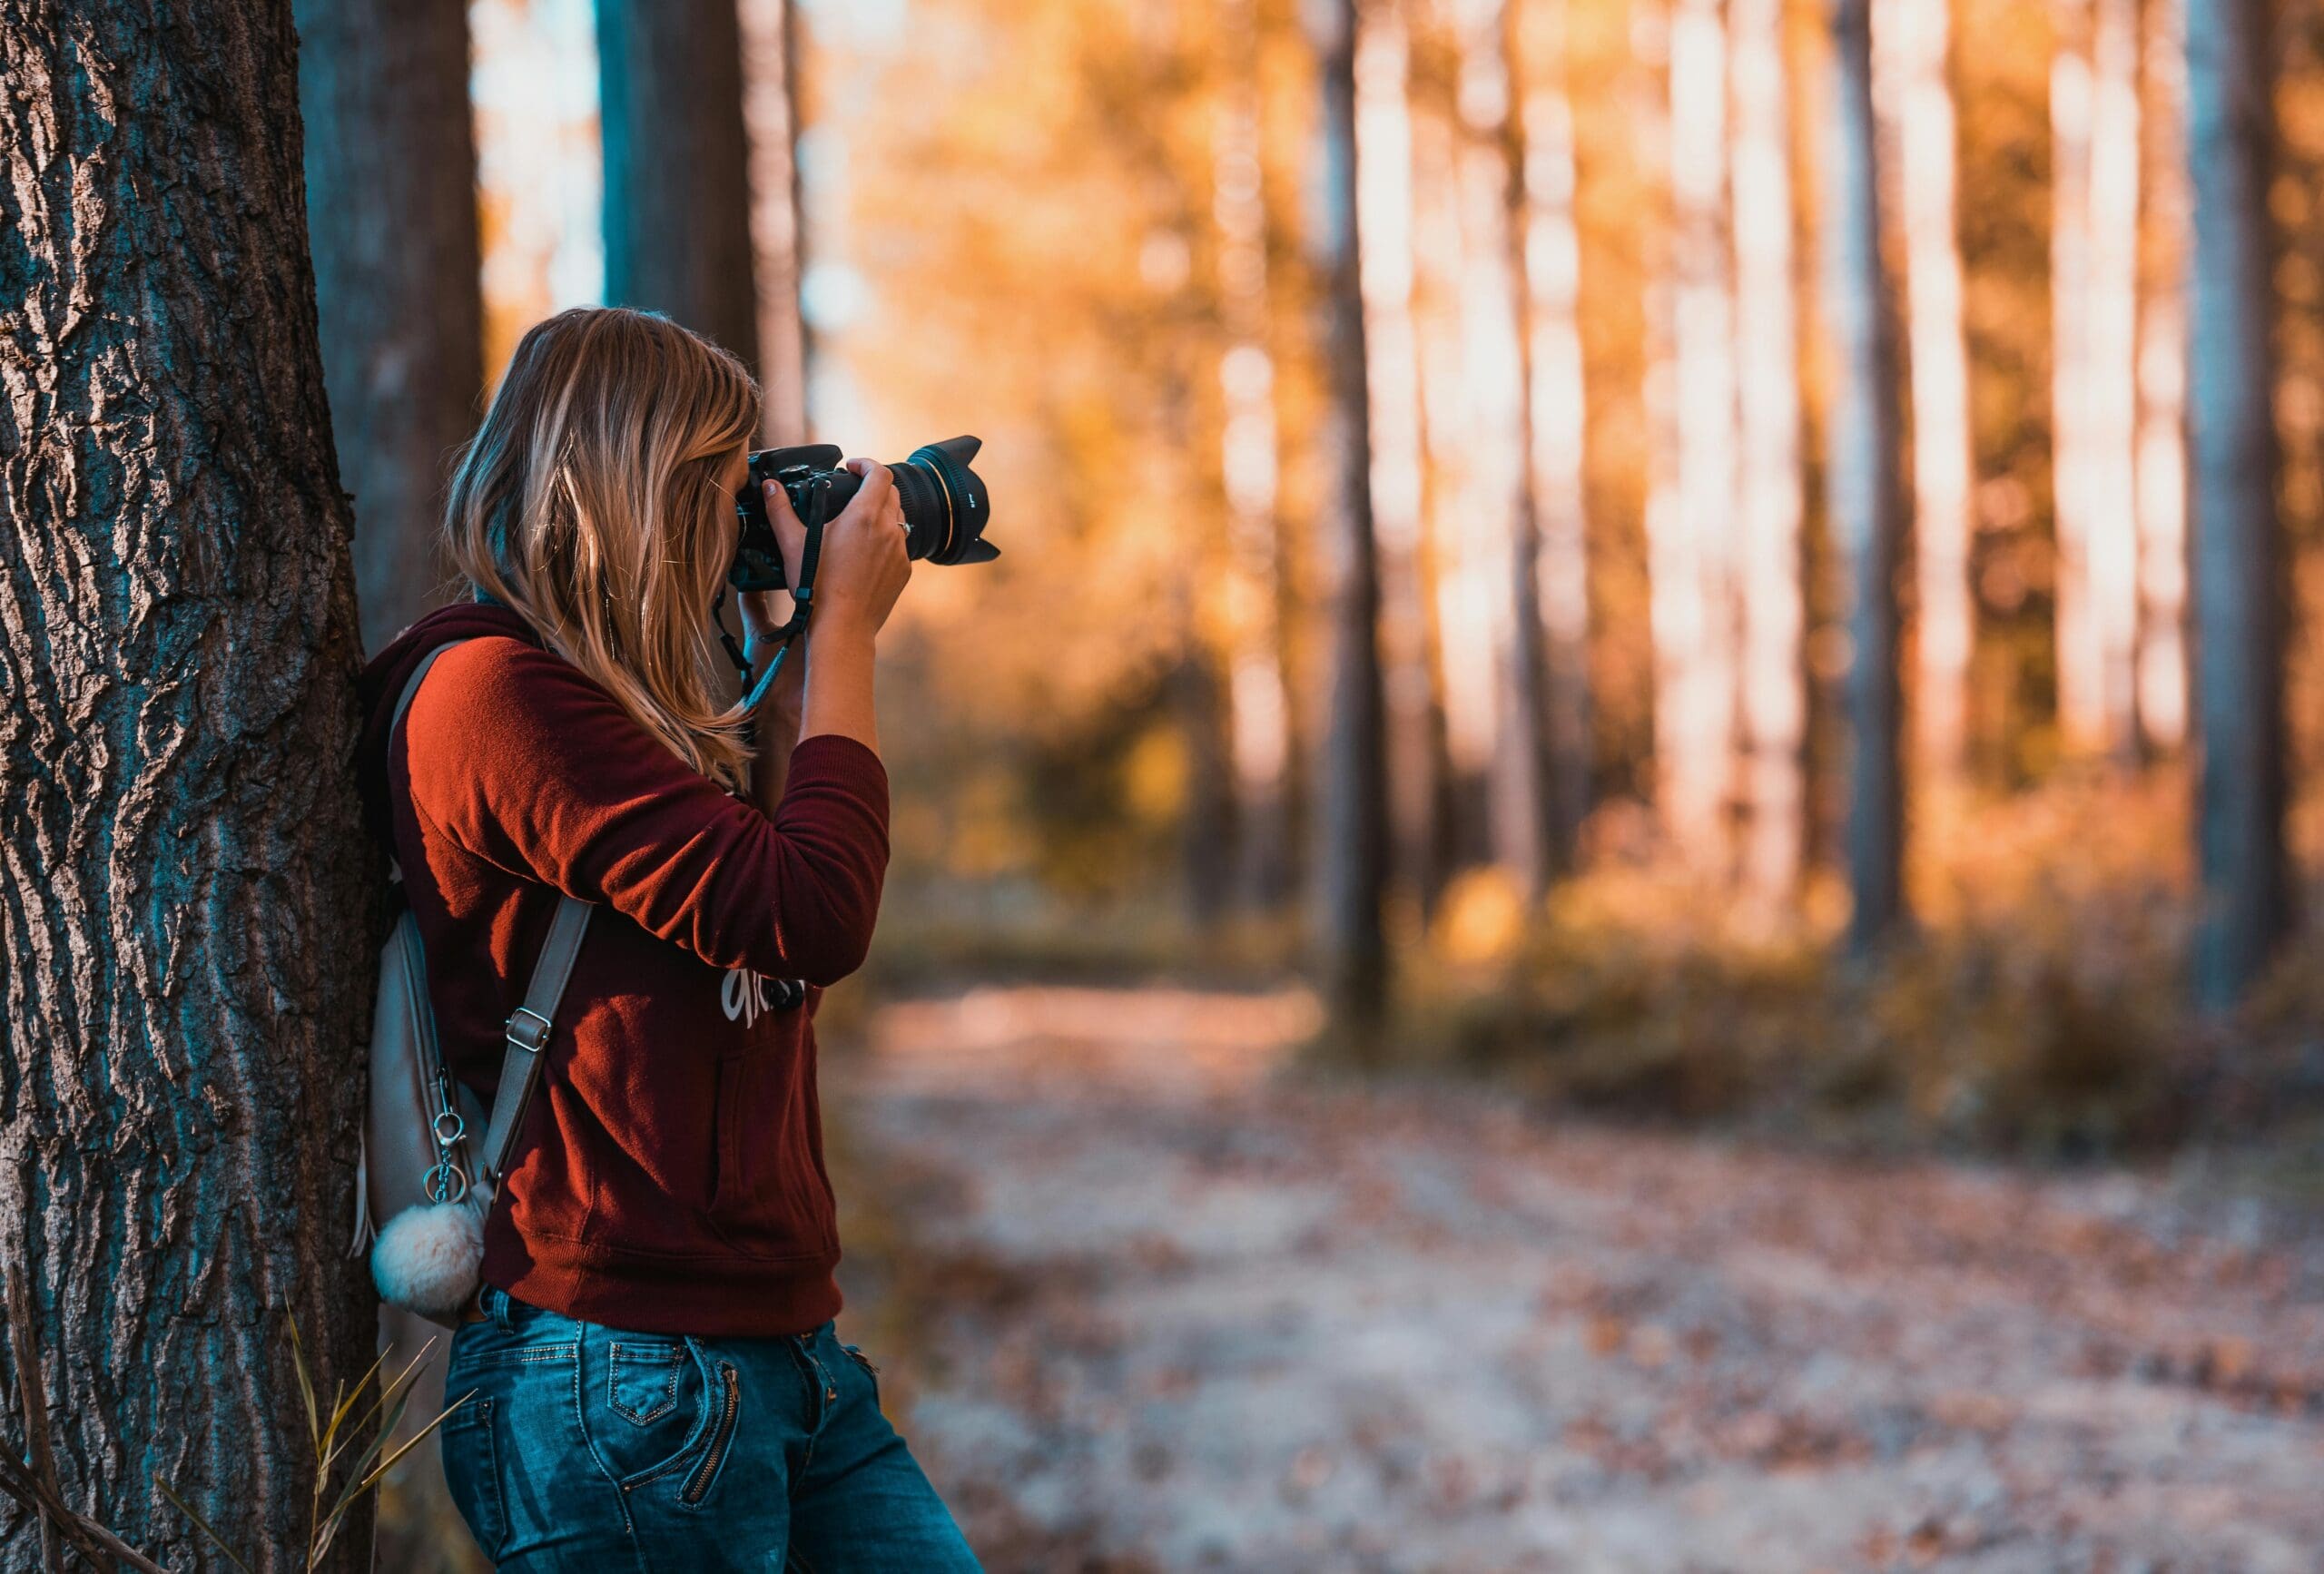
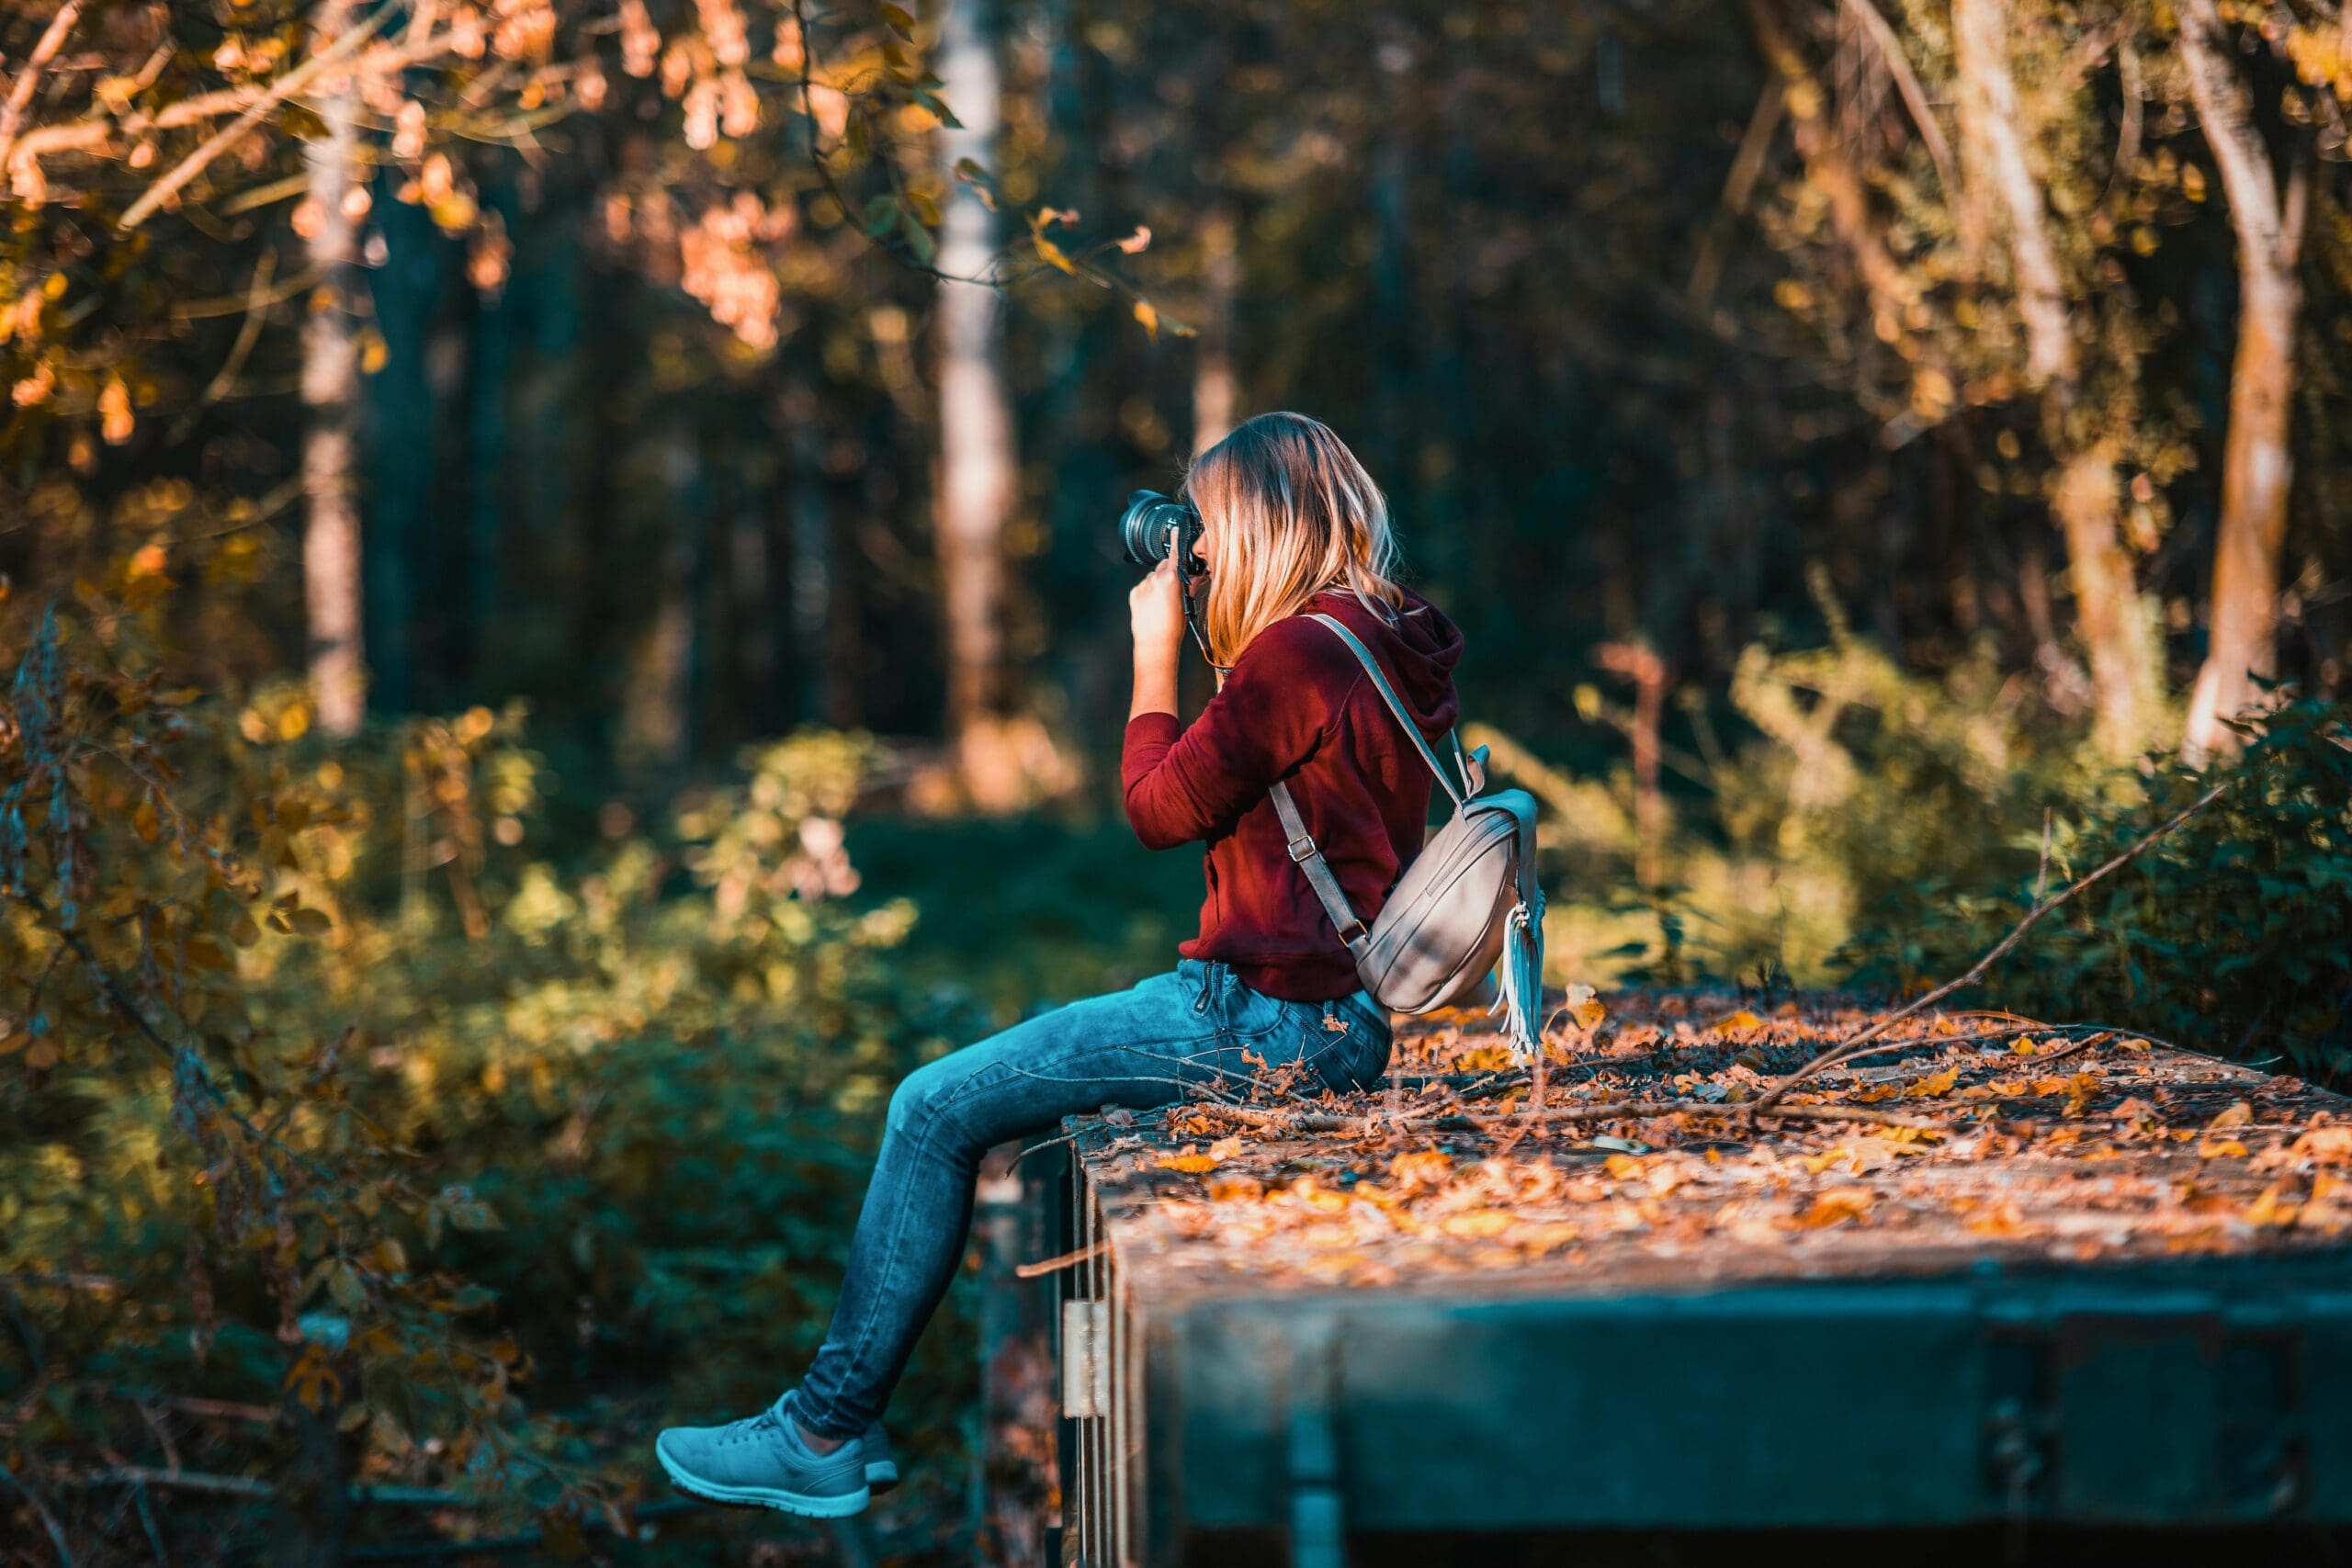
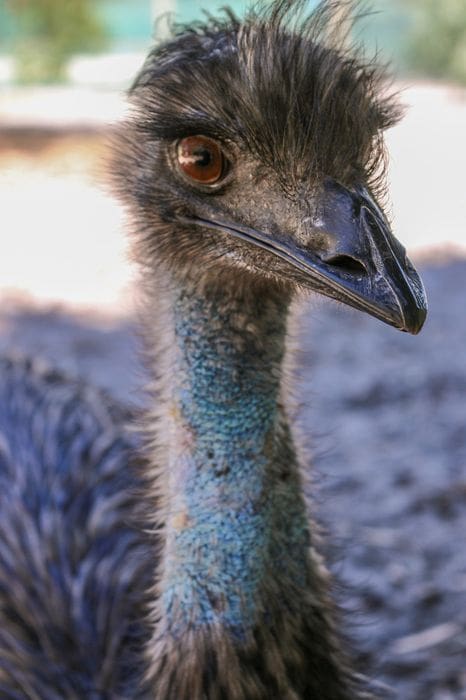
Australia’s unique fauna presents extraordinary opportunities for wildlife photographers. From iconic kangaroos and koalas to brilliantly coloured parrots and deadly snakes, our continent hosts species found nowhere else on Earth. However, photographing Australian wildlife successfully requires more than just technical camera skills—it demands understanding of animal behaviour, respect for conservation principles, and knowledge of our distinctive ecosystems. This comprehensive guide will teach you how to create stunning wildlife images whilst prioritising animal welfare and environmental protection.
Understanding Australian Wildlife Photography Ethics
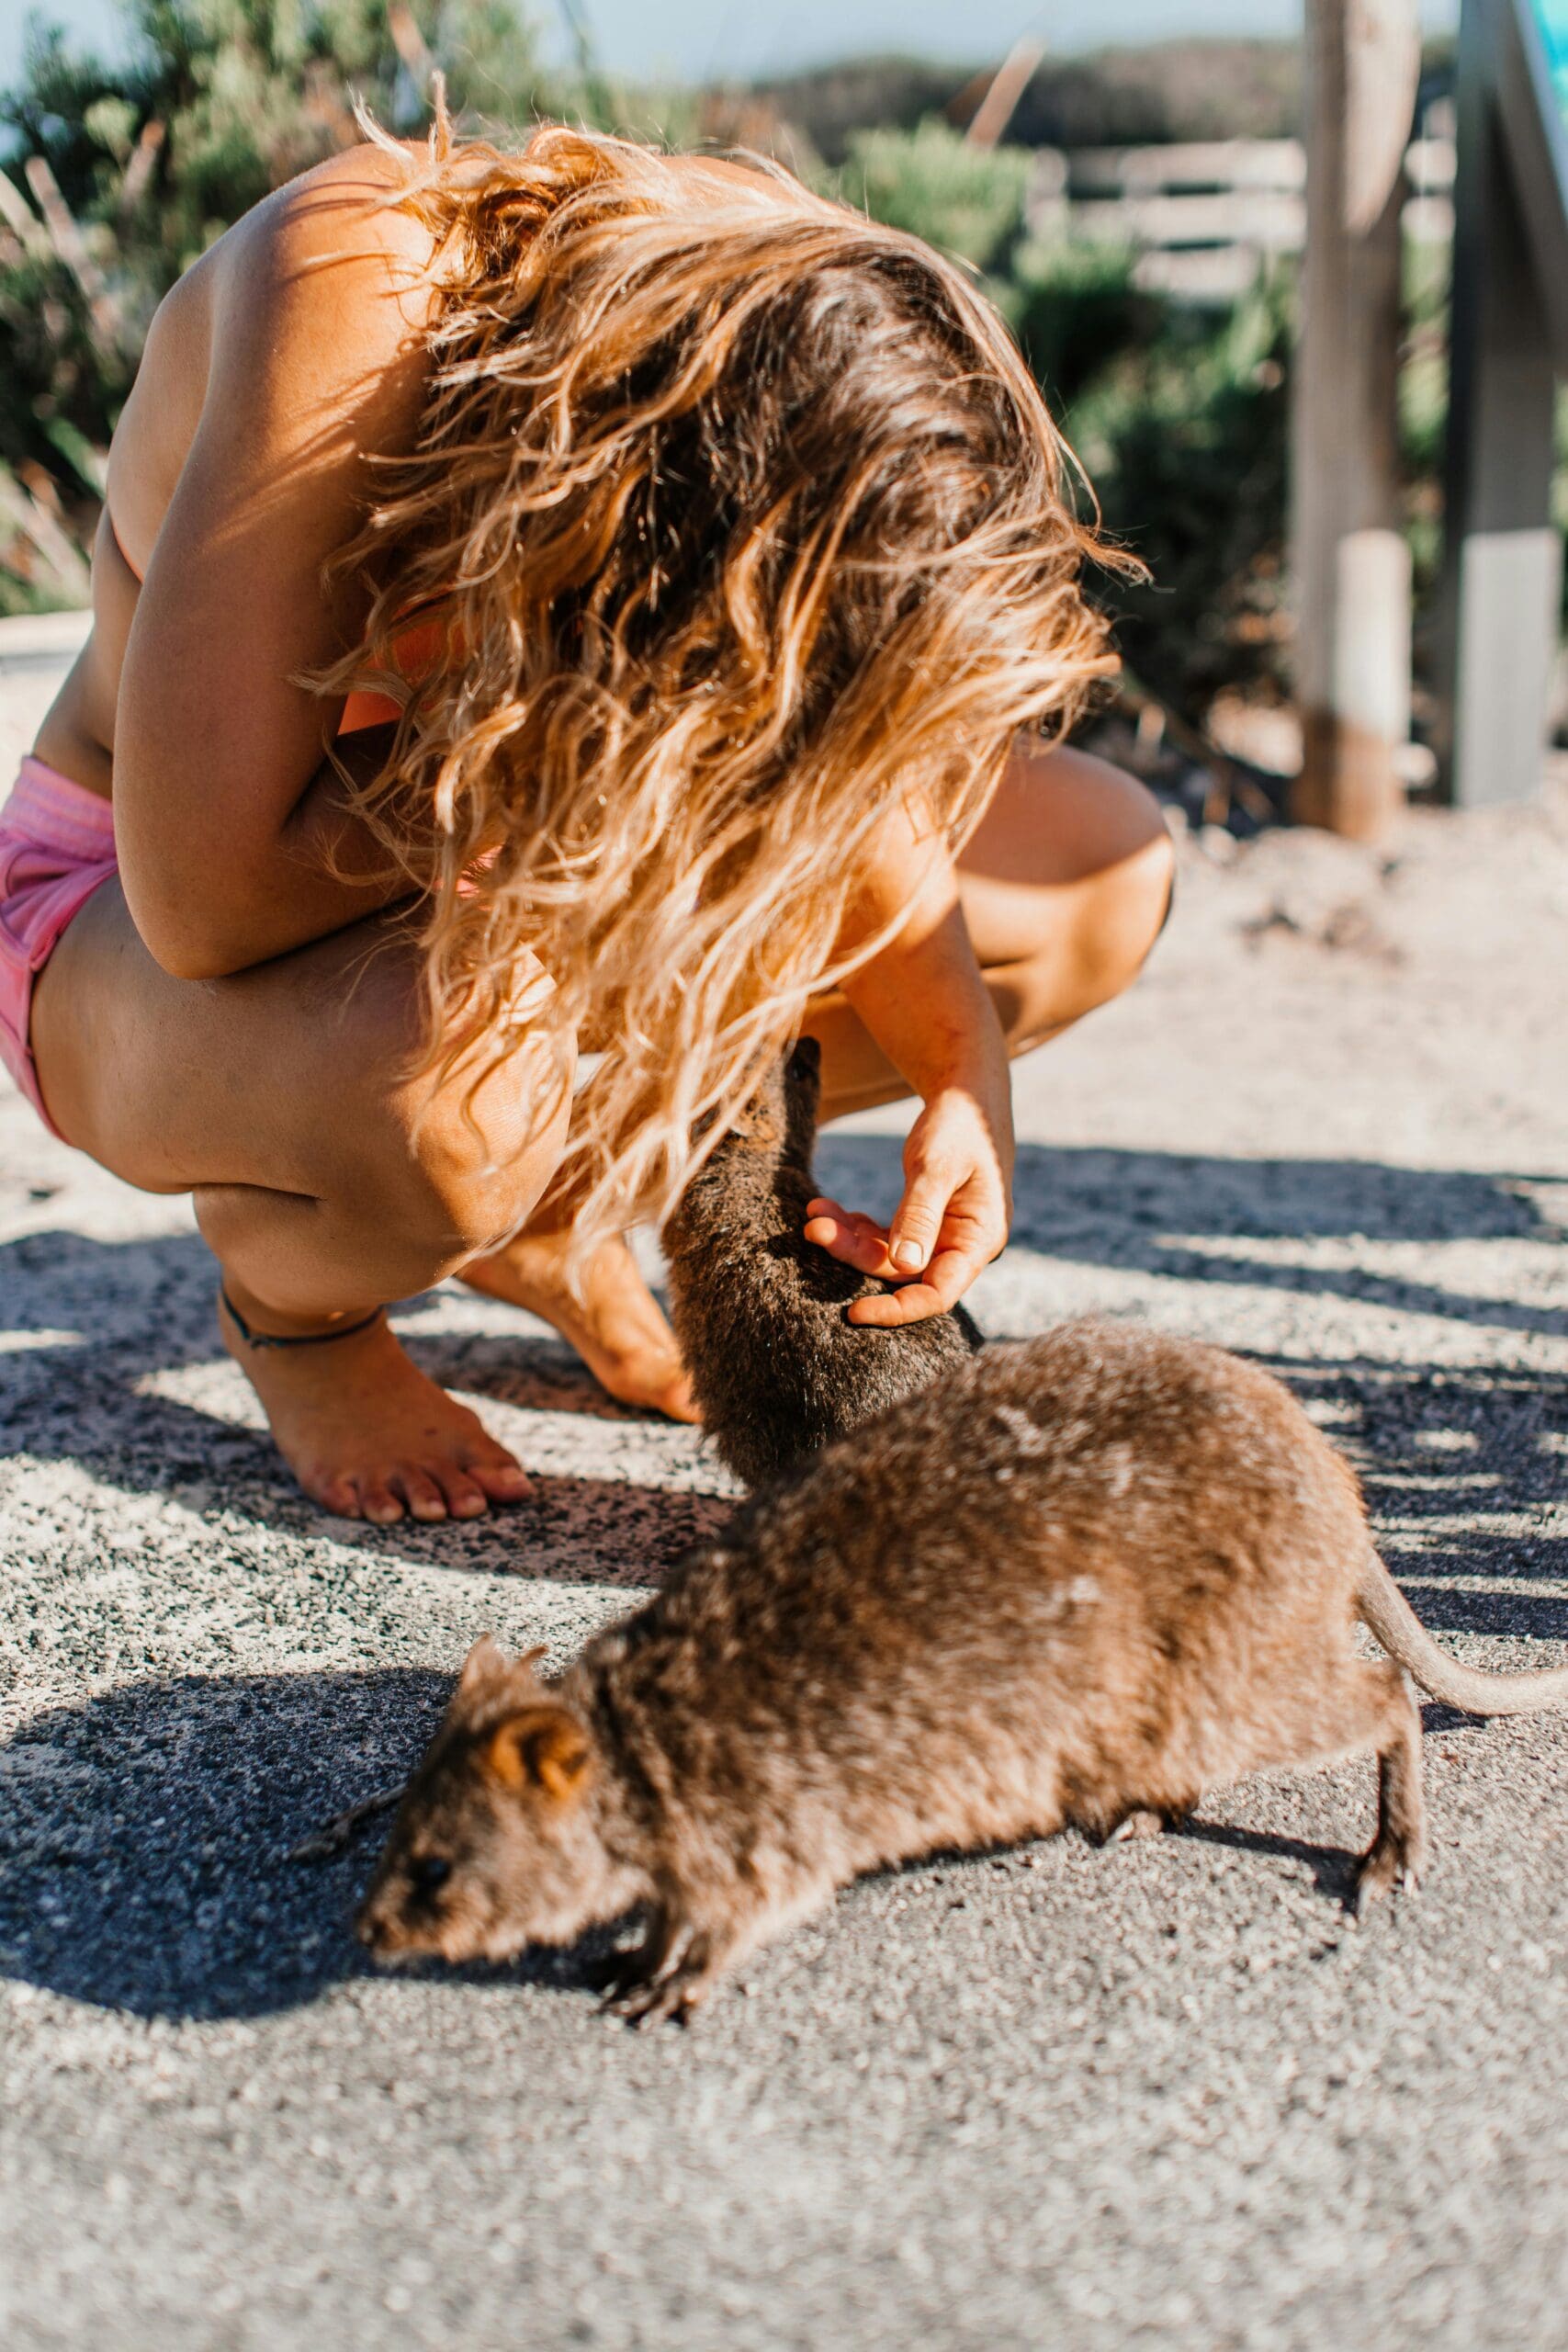
Before discussing technical aspects, we must address ethics. Wildlife photography’s primary principle is simple: the welfare of your subject always trumps getting the shot. According to Australian Geographic’s photography guidelines, ethical wildlife photography means never disturbing, stressing, or endangering animals for a photograph.
Ethical wildlife photography principles:
- Never bait or lure wild animals for photographs
- Maintain appropriate distance—use telephoto lenses rather than approaching closely
- Never touch, feed, or attempt to handle wild animals
- Avoid nesting sites during breeding season
- Stay on designated trails in protected areas
- Respect private property and “no photography” signs
- Report injured or distressed wildlife to appropriate authorities
- Never pursue animals that show signs of stress (fleeing, aggressive posturing, abandoning young)
These aren’t merely suggestions—many Australian wildlife species are protected by law, and harassment can result in substantial fines. More importantly, your actions affect fragile populations and ecosystems.
Essential Equipment for Australian Wildlife Photography
Camera and Lenses
Australian wildlife photography demands specific equipment:
Camera body: A camera with fast autofocus, good burst rate (8+ frames per second), and decent high-ISO performance. Full-frame sensors offer advantages in low light and image quality, though modern APS-C cameras perform excellently.
Lenses: Telephoto lenses are essential. According to Digital Photography School’s wildlife photography guide, the ideal focal length depends on your subjects and approach distance:
- 100-400mm: Versatile range for larger subjects (kangaroos, koalas) where closer approach is possible
- 150-600mm: Best all-around choice for Australian conditions, balancing reach with portability
- 400mm f/2.8 or 500mm f/4: Professional choice, exceptional image quality but expensive and heavy
- 600mm or 800mm: Specialised for birds and distant subjects, requires tripod
Modern telephoto zooms from brands like Canon, Nikon, Sony, Sigma, and Tamron deliver excellent results at varying price points. Don’t let equipment limitations stop you—even a 70-300mm lens can capture compelling wildlife images with the right approach.
Support Equipment
Tripod or Monopod: Essential for large telephoto lenses. A good tripod handles 5-8kg comfortably, features quick-release head, and adjusts smoothly. Monopods offer mobility whilst providing crucial support.
Gimbal Head: For serious wildlife work, gimbal heads (like Wimberley or Really Right Stuff models) allow smooth tracking of moving subjects whilst supporting heavy lenses effortlessly.
Beanbags: Incredibly useful for vehicle-based photography, providing stable support whilst allowing quick adjustment.
Camouflage or Neutral Clothing: Avoid bright colours that alert animals to your presence. Earth tones work well in most Australian environments.
Hiking Gear: Much Australian wildlife photography involves bushwalking—carry water, sun protection, insect repellent, and appropriate footwear.
Camera Settings for Australian Wildlife
Shutter Speed
Wildlife rarely sits motionless. Your primary technical concern is achieving a shutter speed fast enough to freeze motion whilst maintaining image quality.
Recommended minimum shutter speeds:
- Stationary animals: 1/focal length (1/500s for 500mm lens)
- Slow-moving animals: 1/500s-1/1000s
- Active animals (jumping kangaroos, running wallabies): 1/1000s-1/2000s
- Flying birds: 1/1600s-1/2500s minimum
- Fast birds in flight (falcons, swallows): 1/3200s or faster
Cambridge in Colour’s wildlife photography tutorial explains that slower shutter speeds create motion blur even with image stabilisation, particularly when using long telephoto lenses.
Aperture
Aperture serves two purposes in wildlife photography: controlling depth of field and allowing faster shutter speeds.
Aperture guidelines:
- Single animal portraits: f/4-f/5.6 (throws background out of focus, emphasises subject)
- Groups of animals: f/8-f/11 (keeps multiple animals in acceptable focus)
- Action shots: Widest aperture your lens allows (maximises shutter speed)
Remember that telephoto lenses create shallow depth of field even at narrow apertures. At f/5.6 with a 500mm lens, your depth of field may be only several centimetres, so focus accuracy is critical.
ISO
Don’t fear high ISO in wildlife photography. A sharp image with some noise is far superior to a blurry image with clean tones.
ISO strategy:
- Start with ISO 400-800 in good light
- Increase as needed to maintain appropriate shutter speed
- Modern cameras handle ISO 1600-3200 excellently
- ISO 6400 is acceptable when necessary
- Prioritise freezing motion over minimising noise
Autofocus Settings
AF Mode: Use continuous autofocus (AI Servo on Canon, AF-C on Nikon/Sony). This mode continuously adjusts focus as your subject moves, essential for wildlife photography.
AF Area Mode: Start with a small cluster of focus points centred in your frame. Expand to zone or wide-area AF for birds in flight once comfortable. According to Photography Life’s autofocus guide, different situations demand different AF area modes—practice switching between them.
Back-Button Focus: Many wildlife photographers use back-button focus, separating focus activation from the shutter button. This prevents the camera from refocusing if you momentarily lose your subject.
Metering and Exposure
Metering Mode: Evaluative/Matrix metering works well for most situations. Switch to spot metering when your subject contrasts dramatically with the background (white birds against dark trees).
Exposure Compensation: Australia’s bright light often requires +1/3 to +2/3 exposure compensation to prevent underexposed subjects. Conversely, backlit animals may need negative compensation to preserve highlights.
Our Wildlife Photography course covers these technical aspects in depth, with specific modules on Australian species including kangaroos, koalas, wombats, marine life, and birds unique to our continent.
Step-by-Step Guide to Photographing Australian Wildlife
Step 1: Research Your Subject
Successful wildlife photography starts long before you pick up your camera. Research your target species:
- Where and when are they most active?
- What behaviours should you expect?
- What food sources attract them?
- Are they territorial or habituated to humans?
- What are their stress signals?
National parks often provide species information and recommended viewing locations. Parks Australia offers extensive resources for planning wildlife photography trips in protected areas.
Step 2: Scout Locations
Visit potential photography locations before your main shoot:
- Identify where animals congregate
- Note light direction at different times of day
- Find natural blind spots or approach routes
- Check if permits are required
- Assess safety concerns (venomous snakes, crocodiles, aggressive animals)
Many Australian species are most active during dawn and dusk (crepuscular), making golden hour doubly valuable—optimal light coincides with peak activity.
Step 3: Position Yourself Strategically
Rather than pursuing wildlife, position yourself in locations animals naturally visit:
- Water sources during dry periods
- Flowering trees for nectar-feeding birds
- Forest edges at dawn/dusk for grazing macropods
- Beaches and mudflats for shorebirds
- Established wildlife corridors
Approach technique:
- Move slowly and deliberately
- Avoid sudden movements or loud noises
- Allow animals to accept your presence gradually
- Use natural cover (trees, rocks, vegetation)
- Stay low—silhouetting yourself against skyline makes you more obvious
- Watch for stress signals and retreat if animals show discomfort
Step 4: Camera Setup
Before the action starts:
- Set continuous autofocus (AI Servo/AF-C)
- Select high-speed burst mode
- Configure back-button focus if you use it
- Set minimum shutter speed based on subject
- Choose aperture (wide for action, moderate for stationary subjects)
- Set ISO to achieve your target shutter speed
- Check exposure with test shots
Step 5: Compose and Focus
Composition principles:
- Eye-level perspective: Get down to your subject’s eye level for engaging images
- Eye focus: Always focus on the animal’s nearest eye—sharp eyes are critical
- Rule of thirds: Position your subject off-centre for dynamic composition
- Negative space: Leave space in the direction your subject is looking or moving
- Environmental context: Include habitat elements that tell a story
Step 6: Anticipate Behaviour
Great wildlife photography comes from anticipating action:
- Watch for behavioural cues (ears forward, body tension, eye direction)
- Pre-focus where action will occur
- Shoot bursts during active moments
- Continue shooting after peak action—interesting moments often follow
Step 7: Review and Adjust
Between action sequences:
- Review images for exposure and focus accuracy
- Check histogram—are highlights blown or shadows blocked?
- Adjust settings based on changing conditions
- Reposition for better light or composition

Photographing Specific Australian Wildlife
Kangaroos and Wallabies
Best locations: National parks, golf courses at dawn/dusk, rural properties
Approach: Macropods are generally tolerant of humans but flee if approached too closely. Use 100-400mm lenses for portrait shots, longer glass for more skittish subjects.
Key shots:
- Joeys in pouches
- Boxing/fighting behaviour
- Mob interactions
- Silhouettes at sunrise/sunset
Camera settings: 1/1000s minimum for action, f/4-f/5.6 for portraits
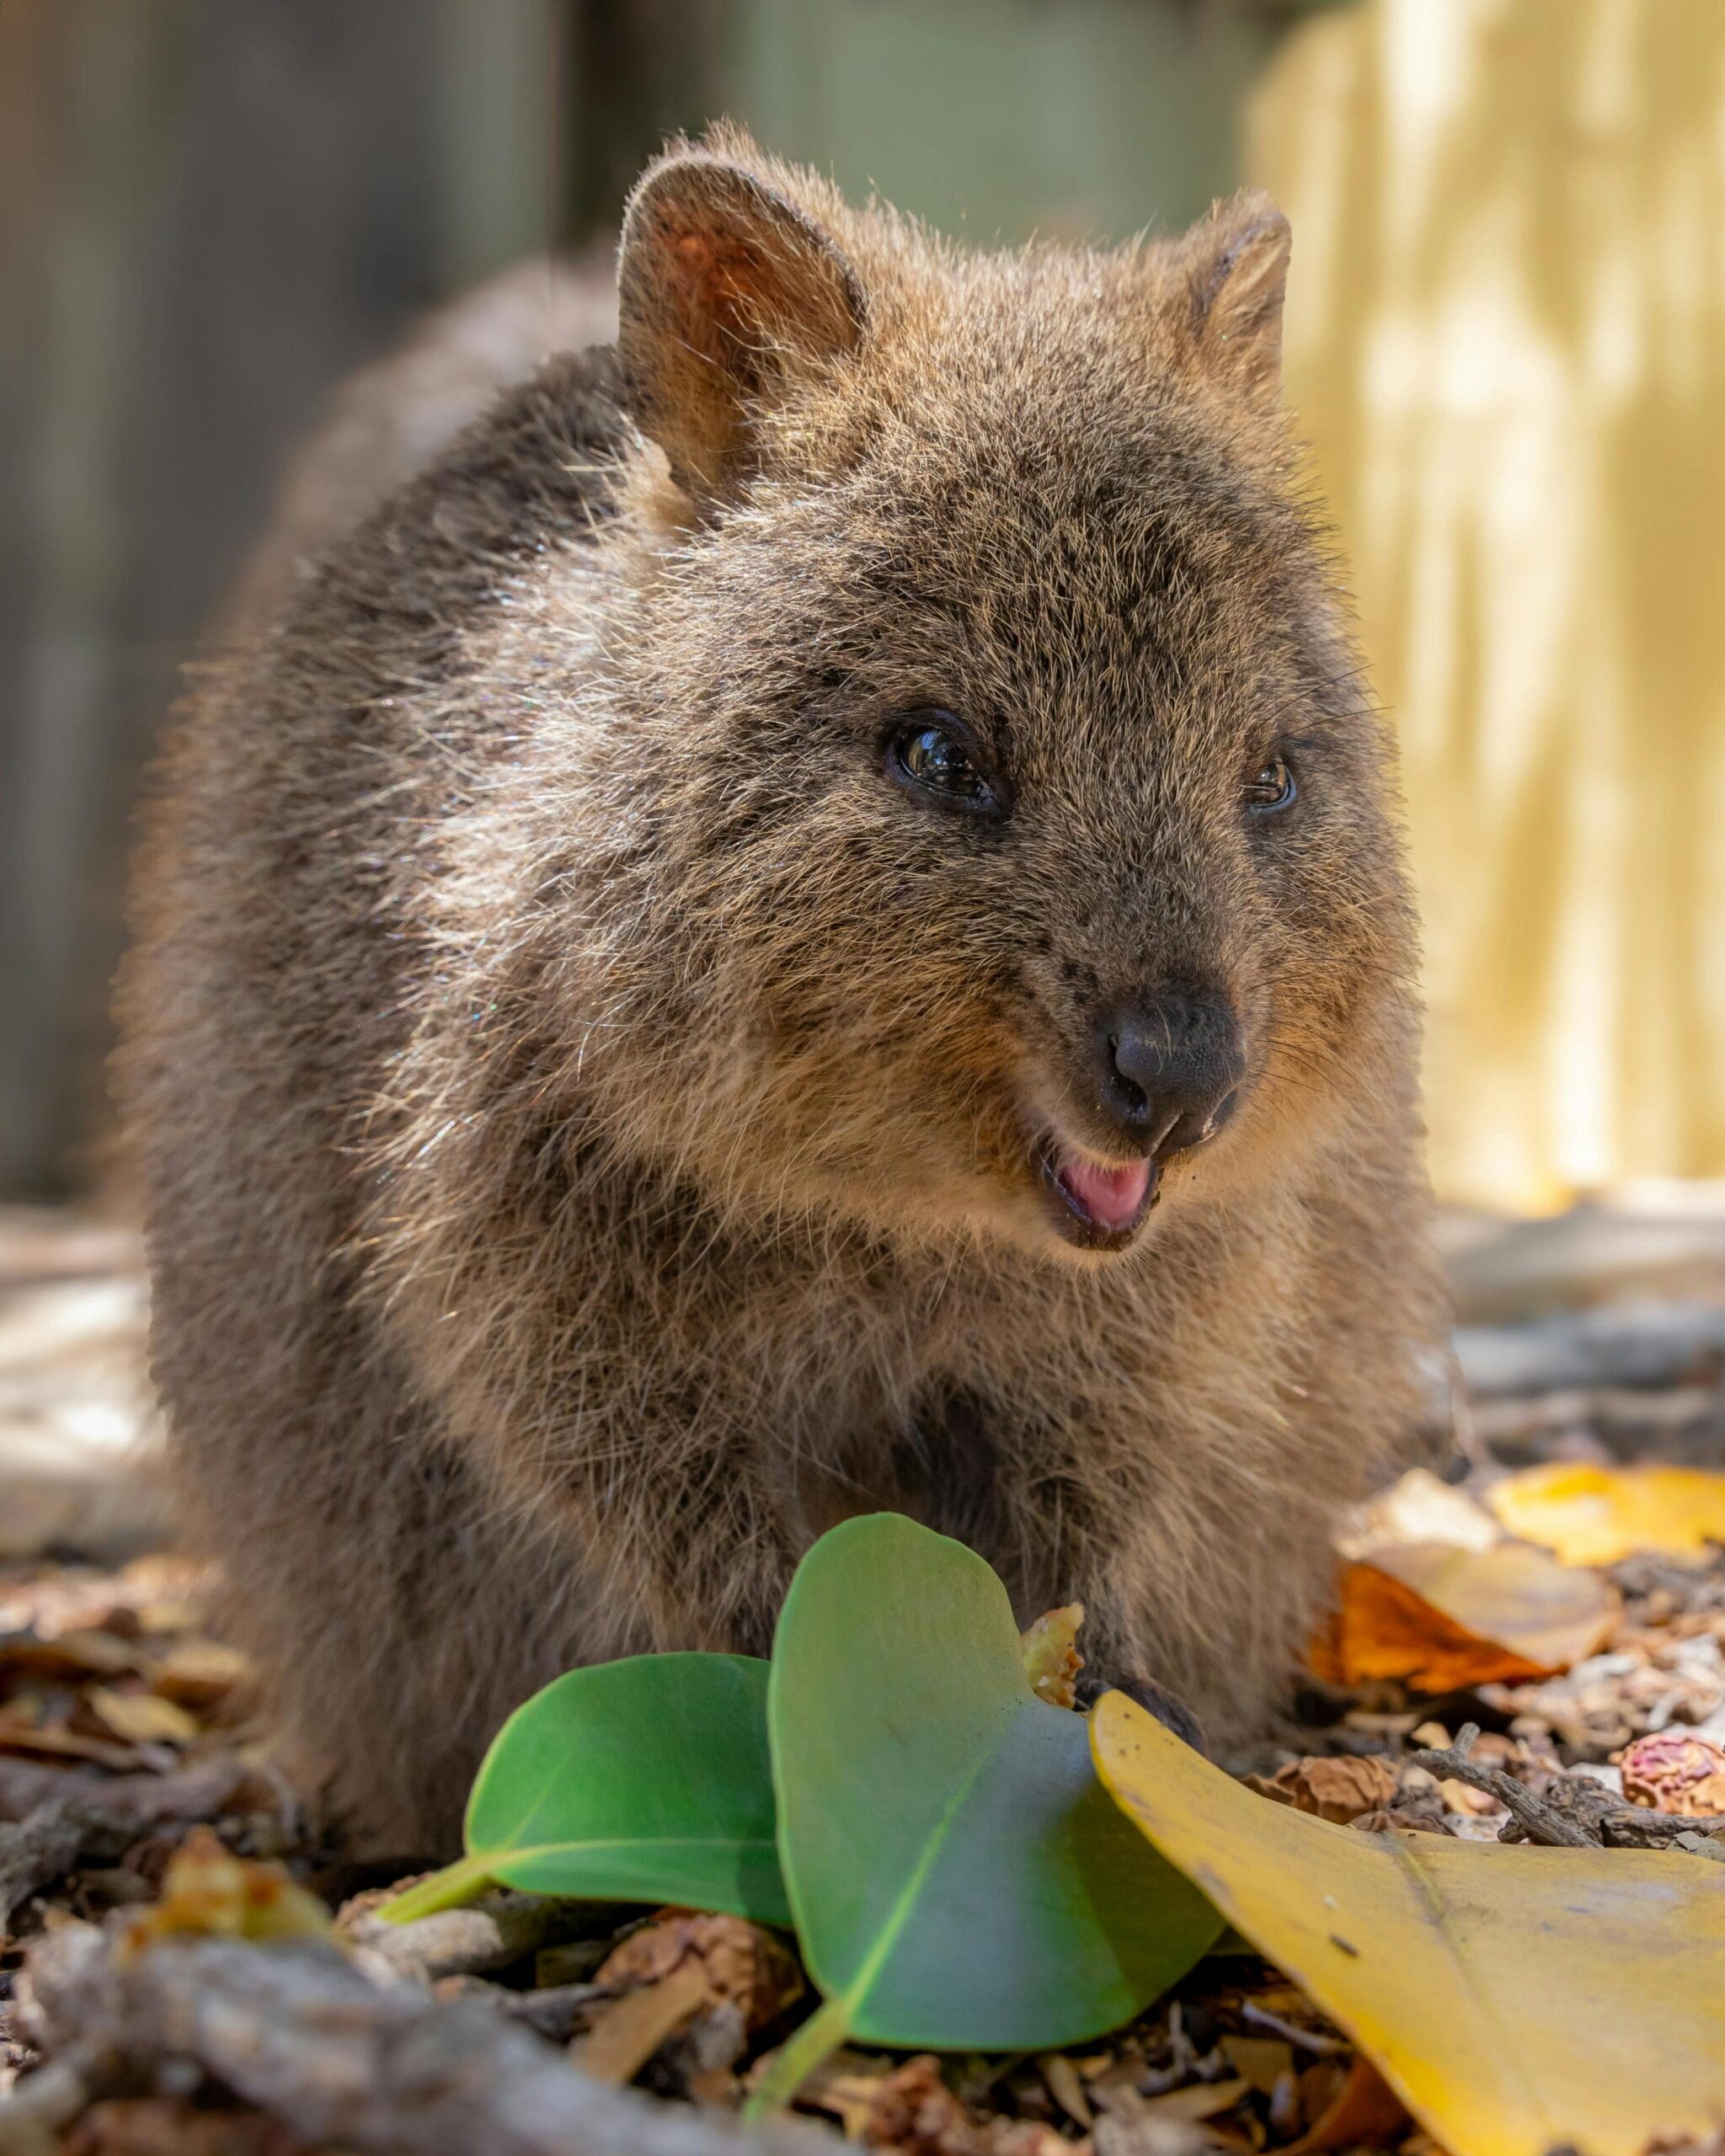
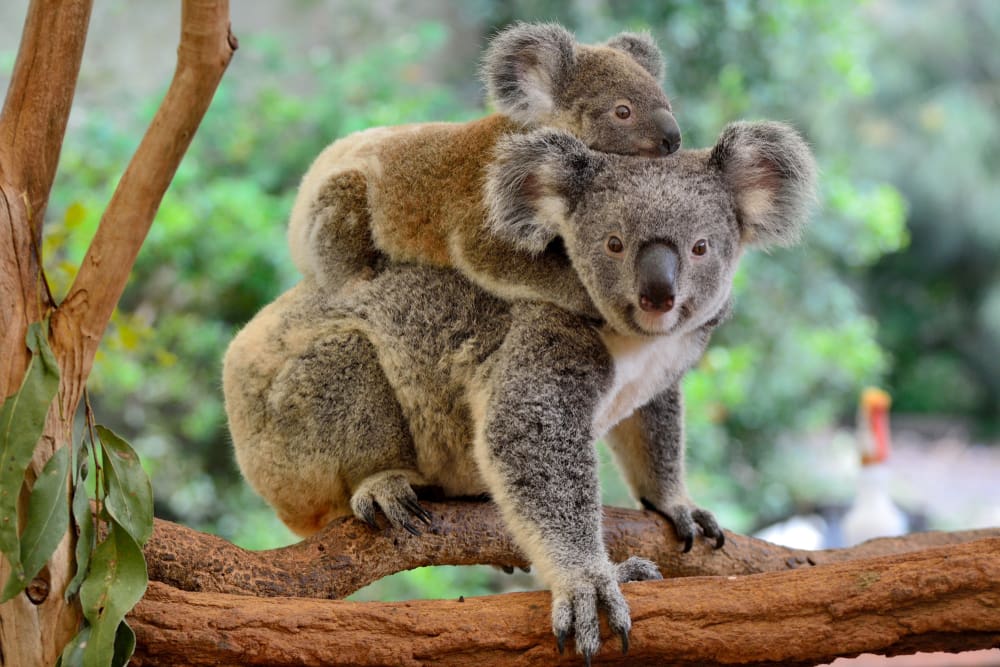
Koalas
Best locations: Eucalyptus forests, especially in Queensland, Victoria, and South Australia
Approach: Koalas spend 20 hours daily sleeping, so patience is essential. They’re most active during feeding (early morning and evening).
Key shots:
- Close-up portraits showing personality
- Mother and joey interactions
- Feeding behaviour
- Environmental portraits showing eucalyptus habitat
Camera settings: 1/250s-1/500s (usually stationary), f/4-f/5.6, ISO 800-1600 in forest shade
Ethical considerations: Never disturb resting koalas. Koala stress causes serious health issues. If a koala moves away, you’re too close.
Australian Birds
Best locations: Wetlands, flowering trees, beaches, gardens
Approach: Birds are often the most challenging subjects due to speed and wariness. Species-specific knowledge is invaluable.
Popular subjects:
- Rainbow lorikeets and other parrots
- Cockatoos and corellas
- Kookaburras
- Eagles and other raptors
- Kingfishers
- Shorebirds
Camera settings: 1/1600s minimum (1/2500s for flight), f/5.6-f/8, continuous autofocus with zone or wide-area AF
Tips: Use continuous high-speed burst mode, track birds in flight before they enter frame, focus on the head/eye.
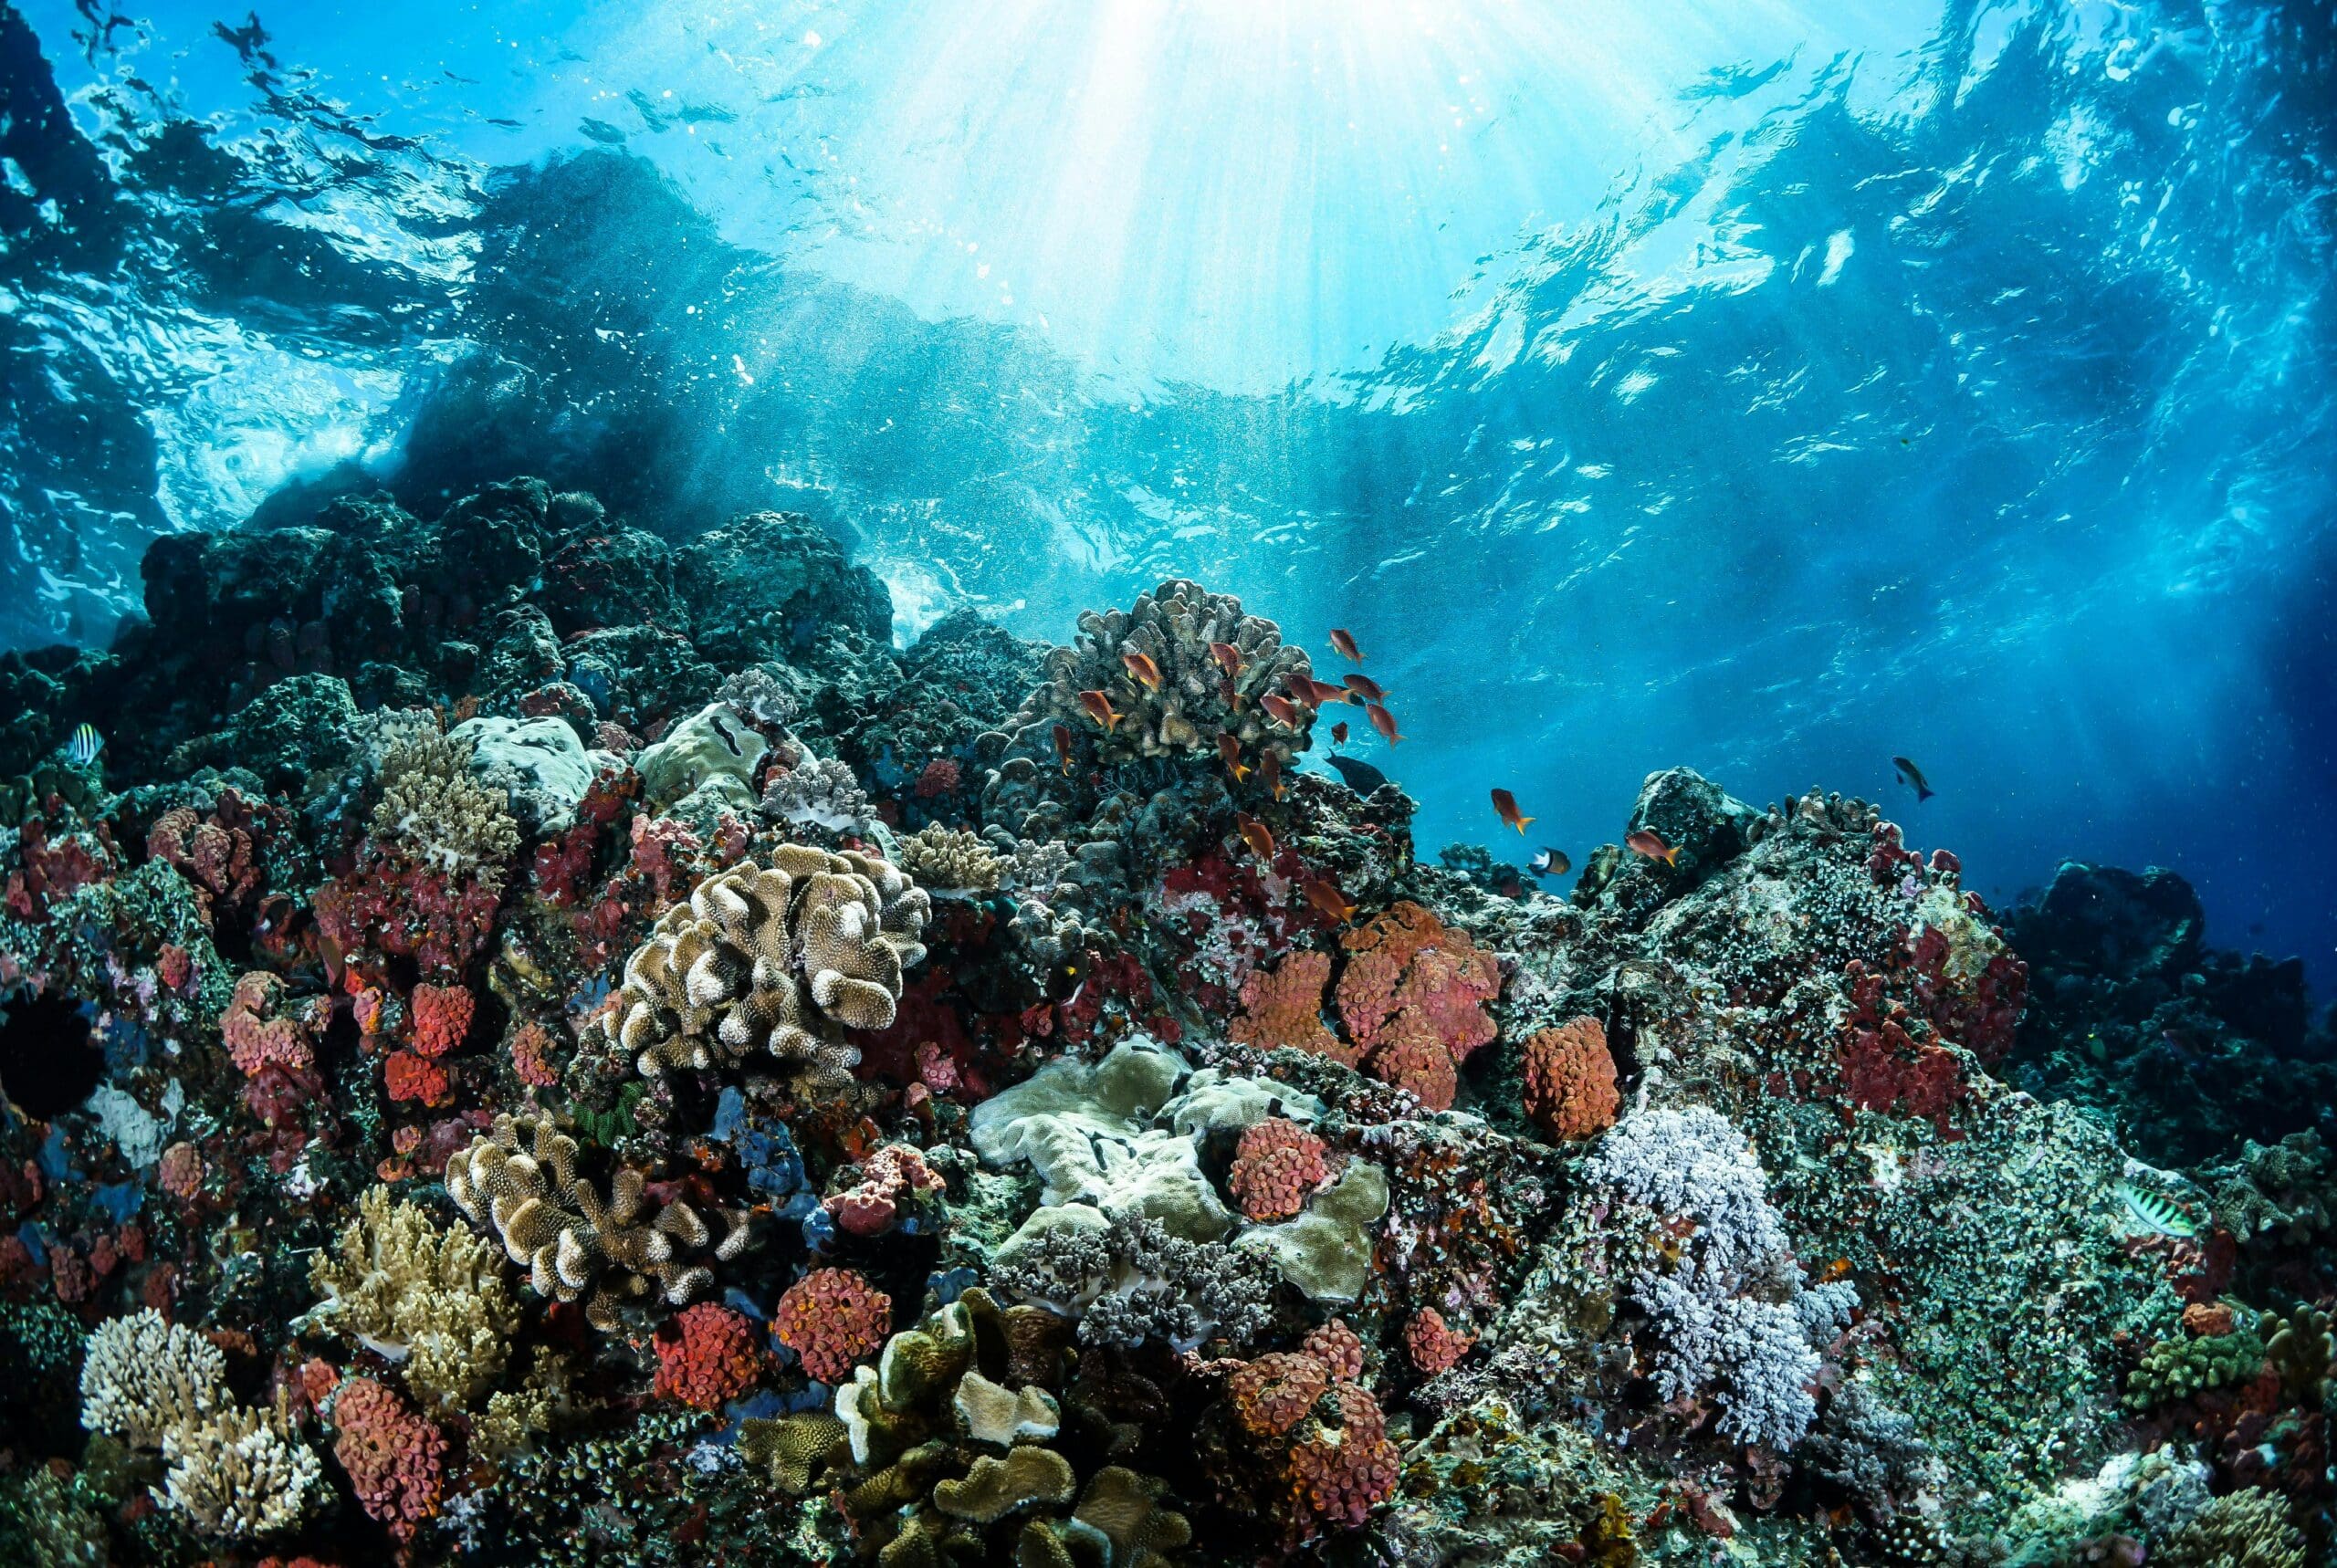
Marine Life
Best locations: Coral reefs, rock pools, coastal waters
Approach: Underwater photography requires specialised housing. For surface or beach subjects, use polarising filters to cut water reflections.
Key shots:
- Dolphins and whales (telephoto from boats)
- Sea turtles nesting on beaches
- Penguins (Tasmania, Victoria)
- Rock pool creatures at low tide
Camera settings: 1/1000s for breaching whales, 1/250s for swimming, f/8 for depth of field in pools
Ethical note: Never pursue marine mammals—photograph from appropriate distances. For sea turtles, check local regulations regarding lights and approach distances during nesting season.
Best Times and Locations for Australian Wildlife Photography
Seasonal Considerations
Spring (September-November):
- Breeding season for many species
- Wildflowers attract birds
- Active wildlife behaviour
- Caution: Avoid nesting sites
Summer (December-February):
- Hot, dry conditions concentrate wildlife near water
- Marine life active in warmer waters
- Dawn/dusk shooting essential due to harsh midday light
Autumn (March-May):
- Moderate temperatures
- Good light quality
- Wildlife active throughout day
Winter (June-August):
- Quieter periods for many species
- Excellent whale watching season
- Koalas more visible (deciduous eucalypts lose leaves)
Top Australian Wildlife Photography Locations
Kakadu National Park, NT: Crocodiles, water birds, wallabies Kangaroo Island, SA: Kangaroos, koalas, seals, sea lions, diverse birds Daintree Rainforest, QLD: Cassowaries, tree kangaroos, exotic birds Phillip Island, VIC: Penguin colony, seals Lamington National Park, QLD: Lyrebirds, pademelons, diverse rainforest species Flinders Ranges, SA: Yellow-footed rock wallabies, wedge-tailed eagles
If you’re serious about wildlife photography as a career or passionate hobby, our comprehensive Wildlife Photography course includes location guides, species-specific techniques, and post-processing workflows specifically for Australian wildlife images.
People Also Ask
Do I need permission to photograph wildlife in national parks? You can typically photograph wildlife for personal use without permits in national parks. However, commercial photography often requires permits. Check with park authorities before your visit. Some sensitive areas and breeding colonies prohibit all photography.
What’s the best lens for Australian wildlife photography? A 150-600mm zoom offers the best balance of reach, versatility, and affordability for Australian conditions. This focal length range handles everything from kangaroos to distant birds. If budget allows, a 100-400mm plus a 600mm prime covers most situations professionally.
How close should I get to Australian wildlife? Maintain distances that don’t cause stress or behaviour changes. Generally, stay 30+ metres from kangaroos, 50+ metres from koalas (if they must be approached), and greater distances for more sensitive species. Use longer lenses rather than approaching closely. If an animal reacts to your presence, you’re too close.
Can I photograph Australian wildlife at night? Many Australian animals are nocturnal or crepuscular. Night photography is possible but requires specialised equipment (fast lenses, high ISO capability, possibly flash) and extreme caution regarding animal stress. Never use flash on nocturnal species with large eyes (possums, tarsiers) as it can cause vision damage.
Post-Processing Australian Wildlife Images
Basic Adjustments
Exposure and Contrast:
- Adjust exposure to properly render subject (particularly important for backlit animals)
- Increase contrast to add punch whilst maintaining detail
- Use graduated adjustments to balance bright skies with darker subjects
Clarity and Sharpness:
- Apply moderate clarity to enhance detail (don’t overdo it)
- Sharpen appropriately—wildlife images benefit from more aggressive sharpening than portraits
- Use masking to sharpen only your subject, not background
Colour and White Balance:
- Adjust white balance for accurate colours
- Enhance saturation subtly—Australian wildlife often features naturally vibrant colours
- Use HSL adjustments to fine-tune specific colours
Advanced Techniques
Eye Enhancement: Brighten and sharpen eyes to draw viewer attention
Distracting Element Removal: Clone out branches, twigs, or other elements that draw attention from your subject
Background Simplification: Darken or desaturate backgrounds to emphasise subjects
Noise Reduction: Apply judiciously in shadowed areas, preserving detail in your subject
According to The Creative Photographer’s guide to image editing, wildlife images benefit from enhancement but should maintain natural appearance—over-processing destroys credibility.
Conservation Through Photography
Wildlife photography connects people with nature, fostering conservation awareness. Consider:
- Sharing images with conservation organisations
- Documenting threatened species
- Contributing to citizen science projects
- Using your platform to educate about conservation issues
- Supporting wildlife research through your photography
Australian Wildlife Conservancy and similar organisations welcome quality wildlife imagery for education and advocacy.
Your wildlife photography can inspire others whilst documenting Australia’s extraordinary biodiversity. By combining technical excellence with ethical practices, you create images that celebrate our unique fauna whilst contributing to their protection. Remember: the best wildlife photograph is one that doesn’t come at the expense of the animal’s wellbeing. When in doubt, lower your camera and simply enjoy the experience of encountering Australia’s remarkable wildlife in their natural habitat.