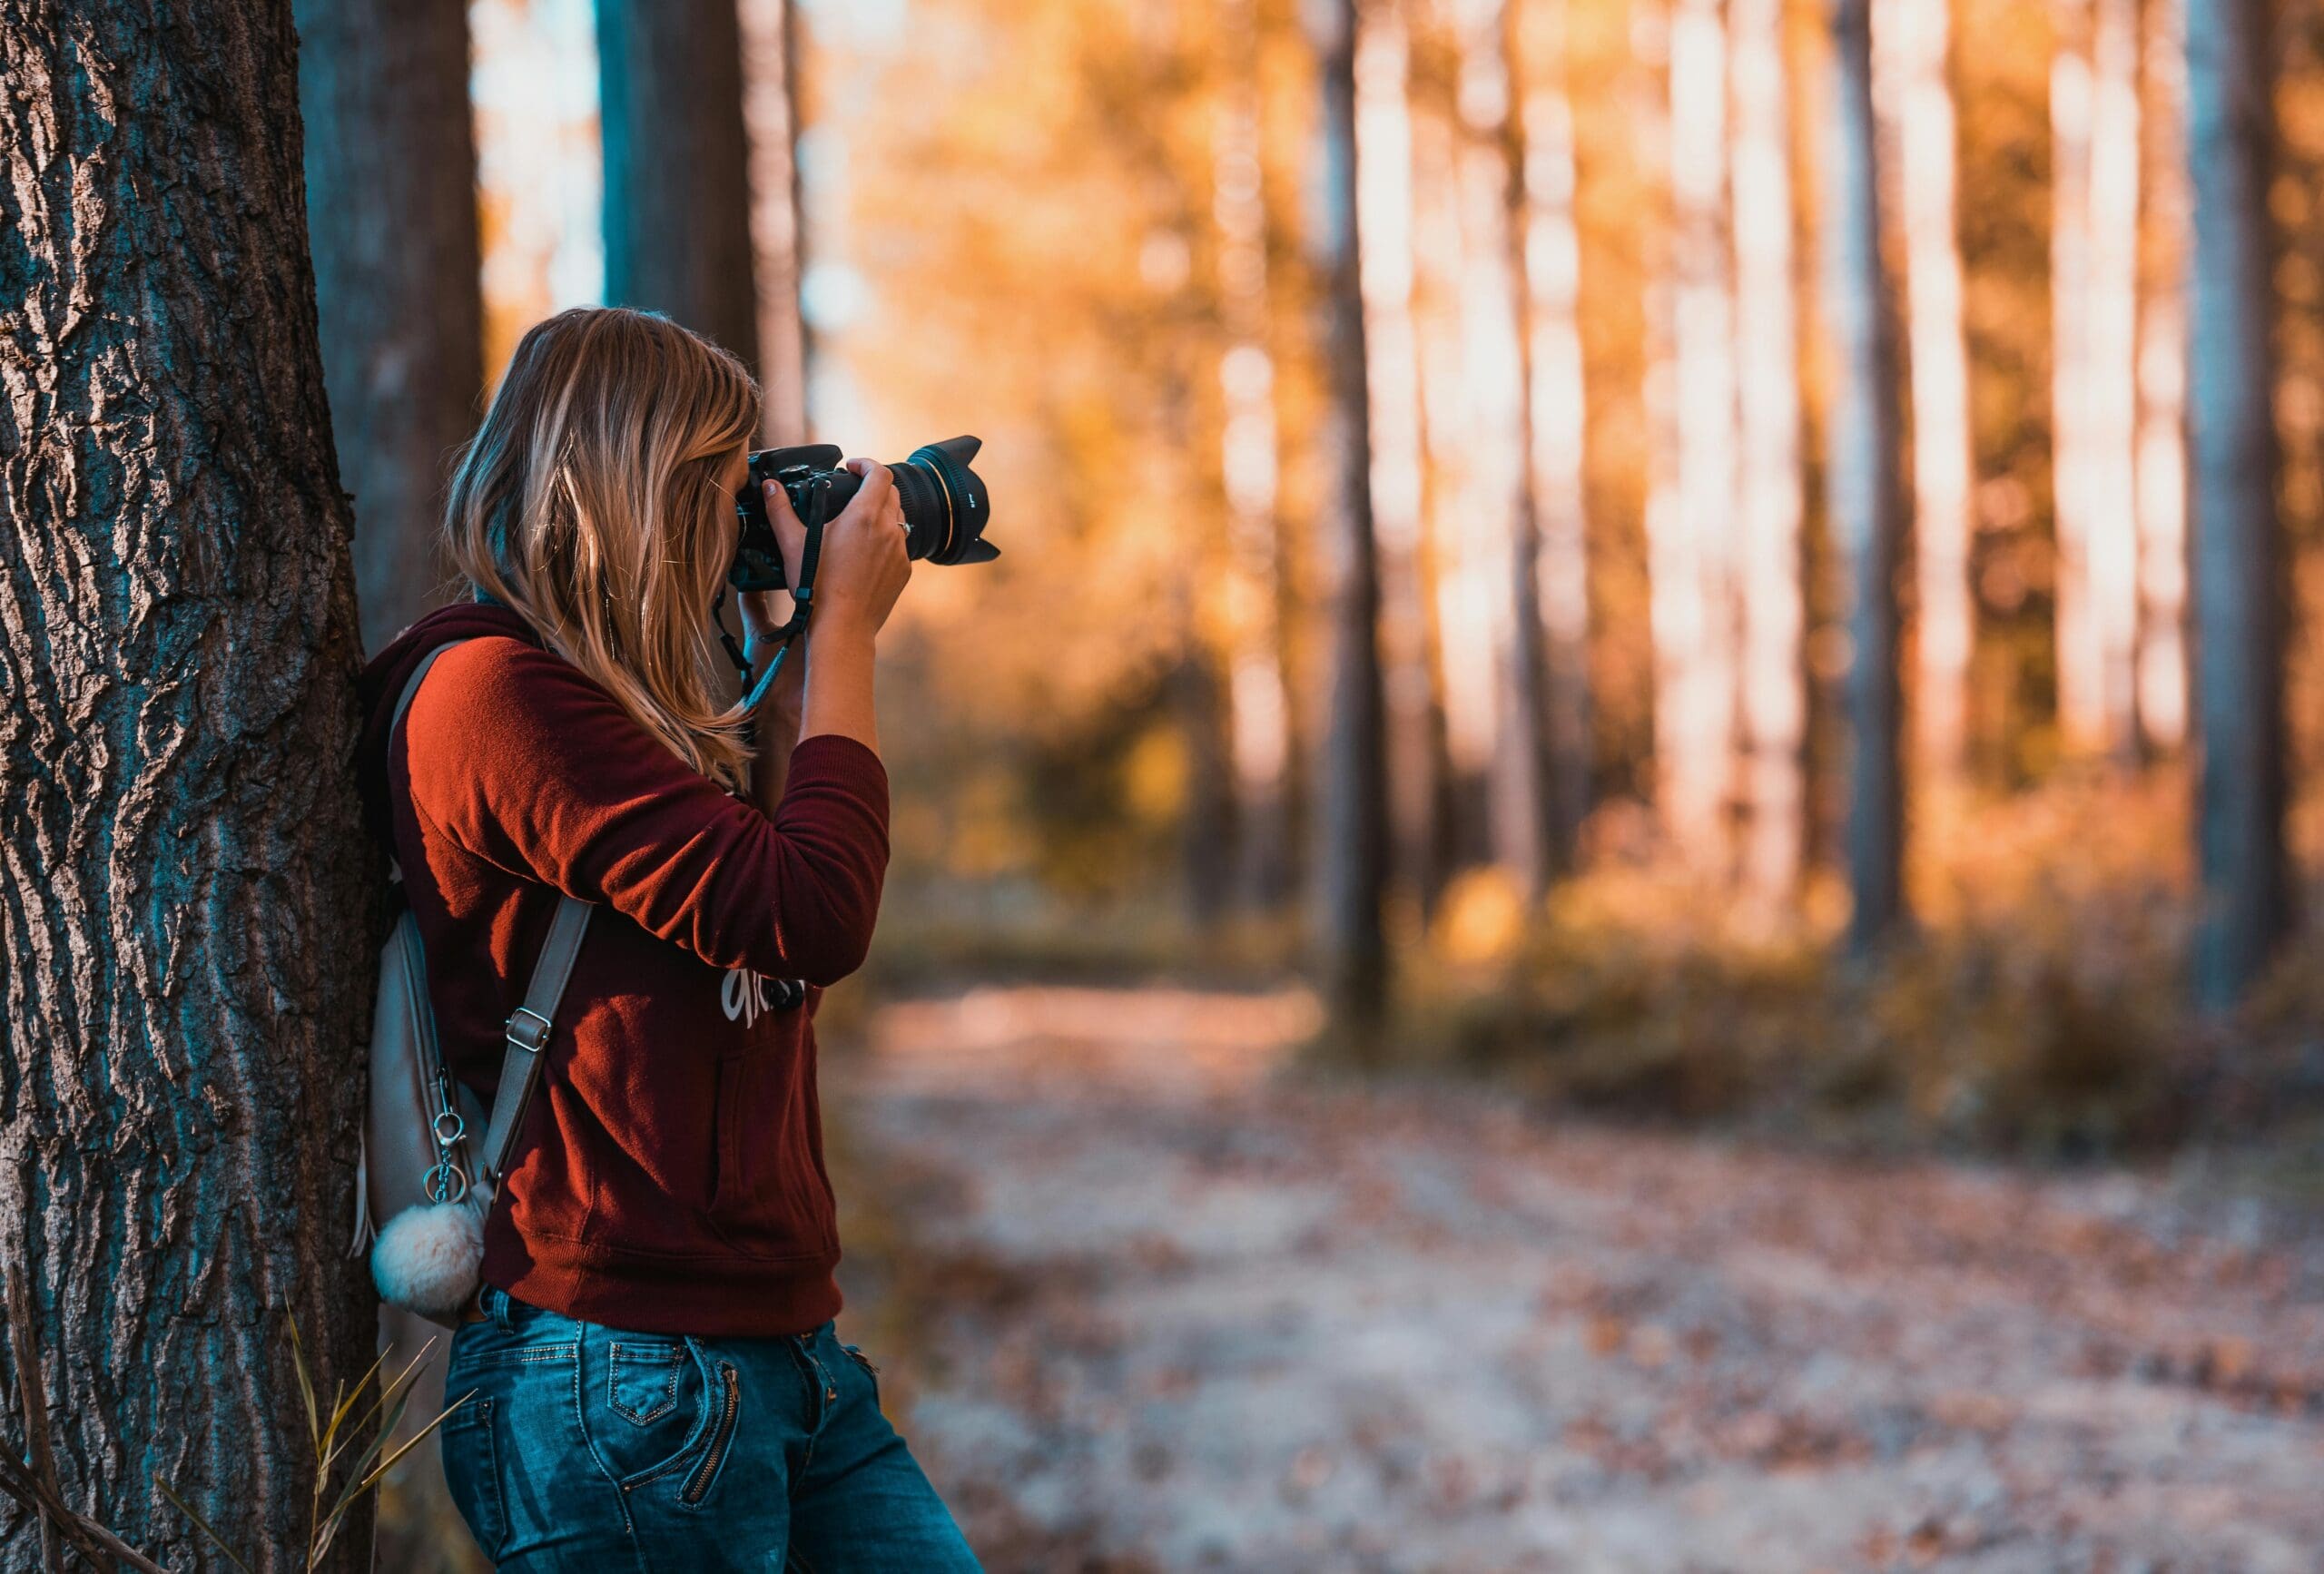
Taking your first photo in manual mode can feel like learning a new language. If you’re considering a photography course for beginners, this 30-day roadmap will show you exactly what to expect and how to maximize your learning journey. From understanding your camera to capturing your first portfolio-worthy shot, let’s break down your first month in photography.
Days 1-7: Camera Basics and Settings
Day 1-3: Get Familiar with Your Equipment
Start your beginner camera course journey by:
- Holding your camera correctly to avoid shake
- Locating all buttons and dials without looking
- Understanding the viewfinder vs LCD screen
- Practicing battery and memory card changes
- Cleaning your lens properly
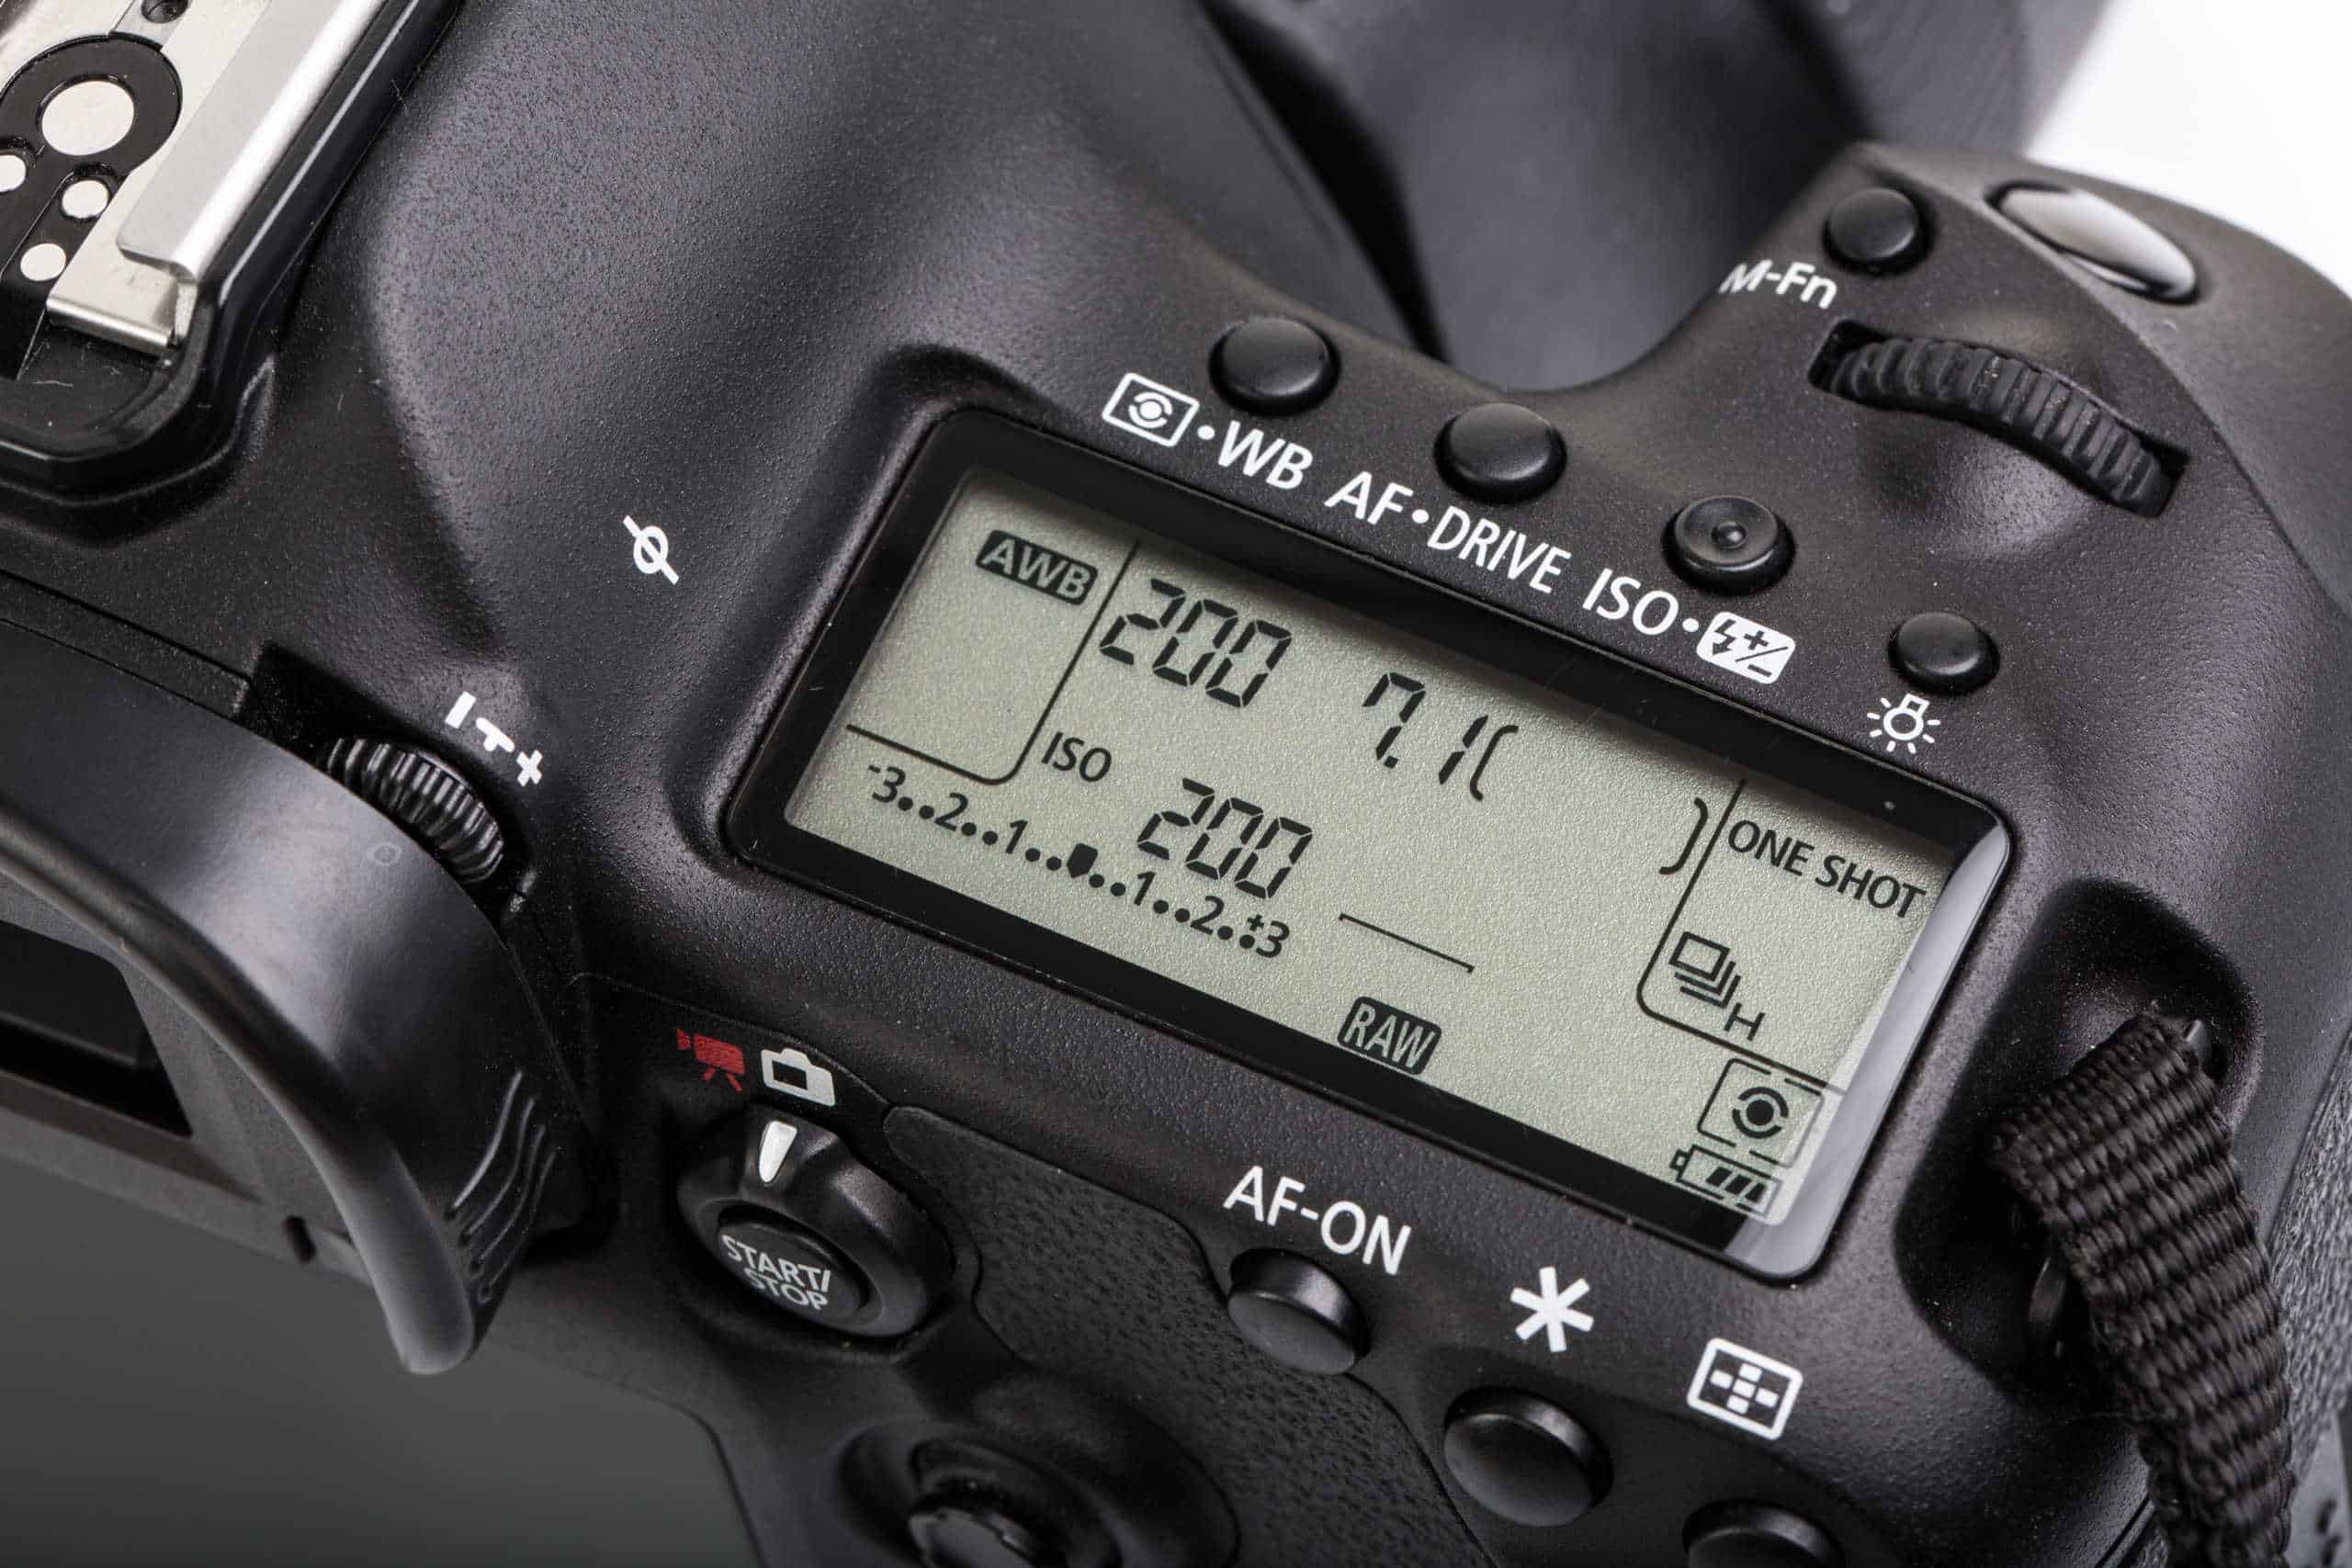
Day 4-7: Master the Exposure Triangle
Every photography course for beginners emphasizes these three pillars:
Aperture (f-stop):
- Controls depth of field
- f/1.8 = blurry background
- f/11 = everything in focus
Shutter Speed:
- Controls motion blur
- 1/500 = freeze action
- 1/30 = motion blur
ISO:
- Controls sensor sensitivity
- ISO 100 = clean image (bright conditions)
- ISO 3200 = grainy but usable (low light)
Practice changing each setting independently while keeping the others constant. Our introduction to photography course includes exercises for each day.

Days 8-14: Composition and Light
Day 8-10: Composition Rules
Learn photography basics through these fundamental rules:
Rule of Thirds:
- Divide frame into 9 sections
- Place subjects on intersection points
- Horizons on horizontal lines
Leading Lines:
- Use roads, fences, shadows
- Guide viewer’s eye through image
- Create depth and dimension
Framing:
- Use natural frames (archways, trees)
- Add context and depth
- Focus attention on subject

Day 11-14: Understanding Light
Photography literally means “drawing with light.” Master these concepts:
Golden Hour (sunrise/sunset):
- Warm, soft, directional light
- Long shadows create drama
- Most flattering for portraits
Blue Hour (just after sunset):
- Even, ethereal light
- Perfect for cityscapes
- No harsh shadows
Overcast Days:
- Nature’s softbox
- Even lighting for portraits
- Saturated colors

Days 15-21: Genre Exploration
Day 15-17: Portrait Photography
Even in a general digital photography course, portraits are essential:
- Focus on eyes
- Use wider apertures (f/1.8-f/2.8)
- Position subjects near windows
- Practice with willing friends/family
Day 18-19: Landscape Photography
Explore your local area:
- Use narrow apertures (f/8-f/11)
- Include foreground interest
- Shoot during golden hour
- Try different perspectives
Day 20-21: Street Photography
Document everyday life:
- Be respectful and aware of laws
- Shoot from the hip for candid shots
- Look for interesting characters
- Capture decisive moments
Days 22-28: Technical Refinement
Day 22-24: Focus Modes and Techniques
Move beyond auto-focus:
- Single AF for still subjects
- Continuous AF for moving subjects
- Back button focus for control
- Manual focus for precision
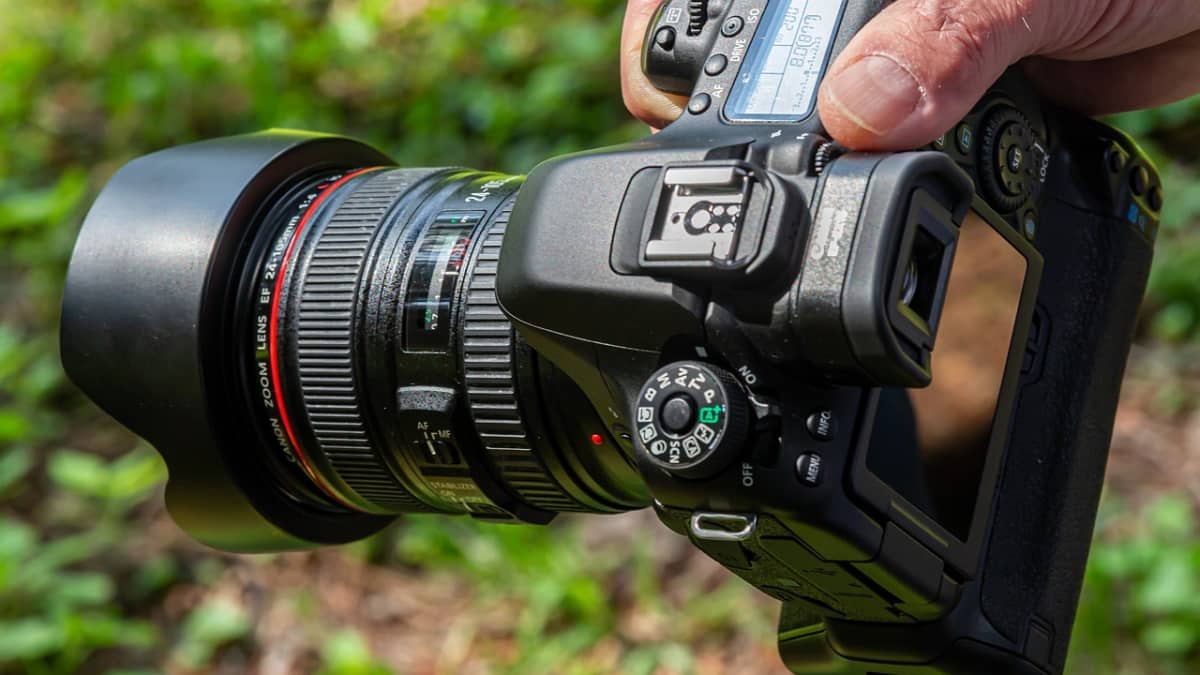
Day 25-28: Shooting Modes
Graduate from auto mode:
- Aperture Priority (A/Av): You set aperture, camera sets shutter
- Shutter Priority (S/Tv): You set shutter, camera sets aperture
- Manual Mode (M): Full creative control
- Program Mode (P): Smart auto with override options
Days 29-30: Review and Plan Ahead

Evaluate Your Progress
After 30 days of photography classes near me or online learning:
- Review all photos taken
- Identify strengths and weaknesses
- Note favorite subjects/styles
- Create your first mini-portfolio (10 best images)
Set Goals for Next Month
Continue your photography education:
- Choose a specialization to explore
- Join local photography groups
- Start a photo-a-day project
- Consider advanced training
Common Beginner Mistakes to Avoid
- Buying too much gear – Master basics first
- Only shooting in auto – Practice manual mode daily
- Deleting “bad” photos immediately – Review on computer first
- Comparing to professionals – Focus on your progress
- Not backing up images – Develop good habits early
Essential Gear for Your First 30 Days
Start simple with:
- Camera with manual controls (DSLR or mirrorless)
- One versatile lens (50mm or kit lens)
- Extra battery and memory card
- Basic cleaning kit
- Comfortable camera strap
Our beginner photography course includes all necessary equipment.
Daily Practice Exercises
Week 1: Take 10 photos daily focusing on exposure Week 2: Capture 5 photos using different compositions Week 3: Shoot one portrait, landscape, and detail daily Week 4: Create themed mini-projects (colors, shadows, textures)
Online vs In-Person Learning
Benefits of Online Photography Courses
- Learn at your own pace
- Replay lessons unlimited times
- Practice in familiar environments
- Access to global instructors
- Typically more affordable
When to Seek In-Person Guidance
- Hands-on equipment demonstrations
- Immediate feedback needs
- Group shooting experiences
- Networking opportunities
Your Photography Journey Starts Now
These first 30 days lay the foundation for your photography career. Whether you’re interested in portraits, landscapes, or commercial work, mastering these basics is essential. Our comprehensive photography course for beginners guides you through each day with structured lessons, practical exercises, and expert support.
Remember, every professional photographer started exactly where you are now. The difference between dreaming and doing is simply picking up the camera and starting your journey.