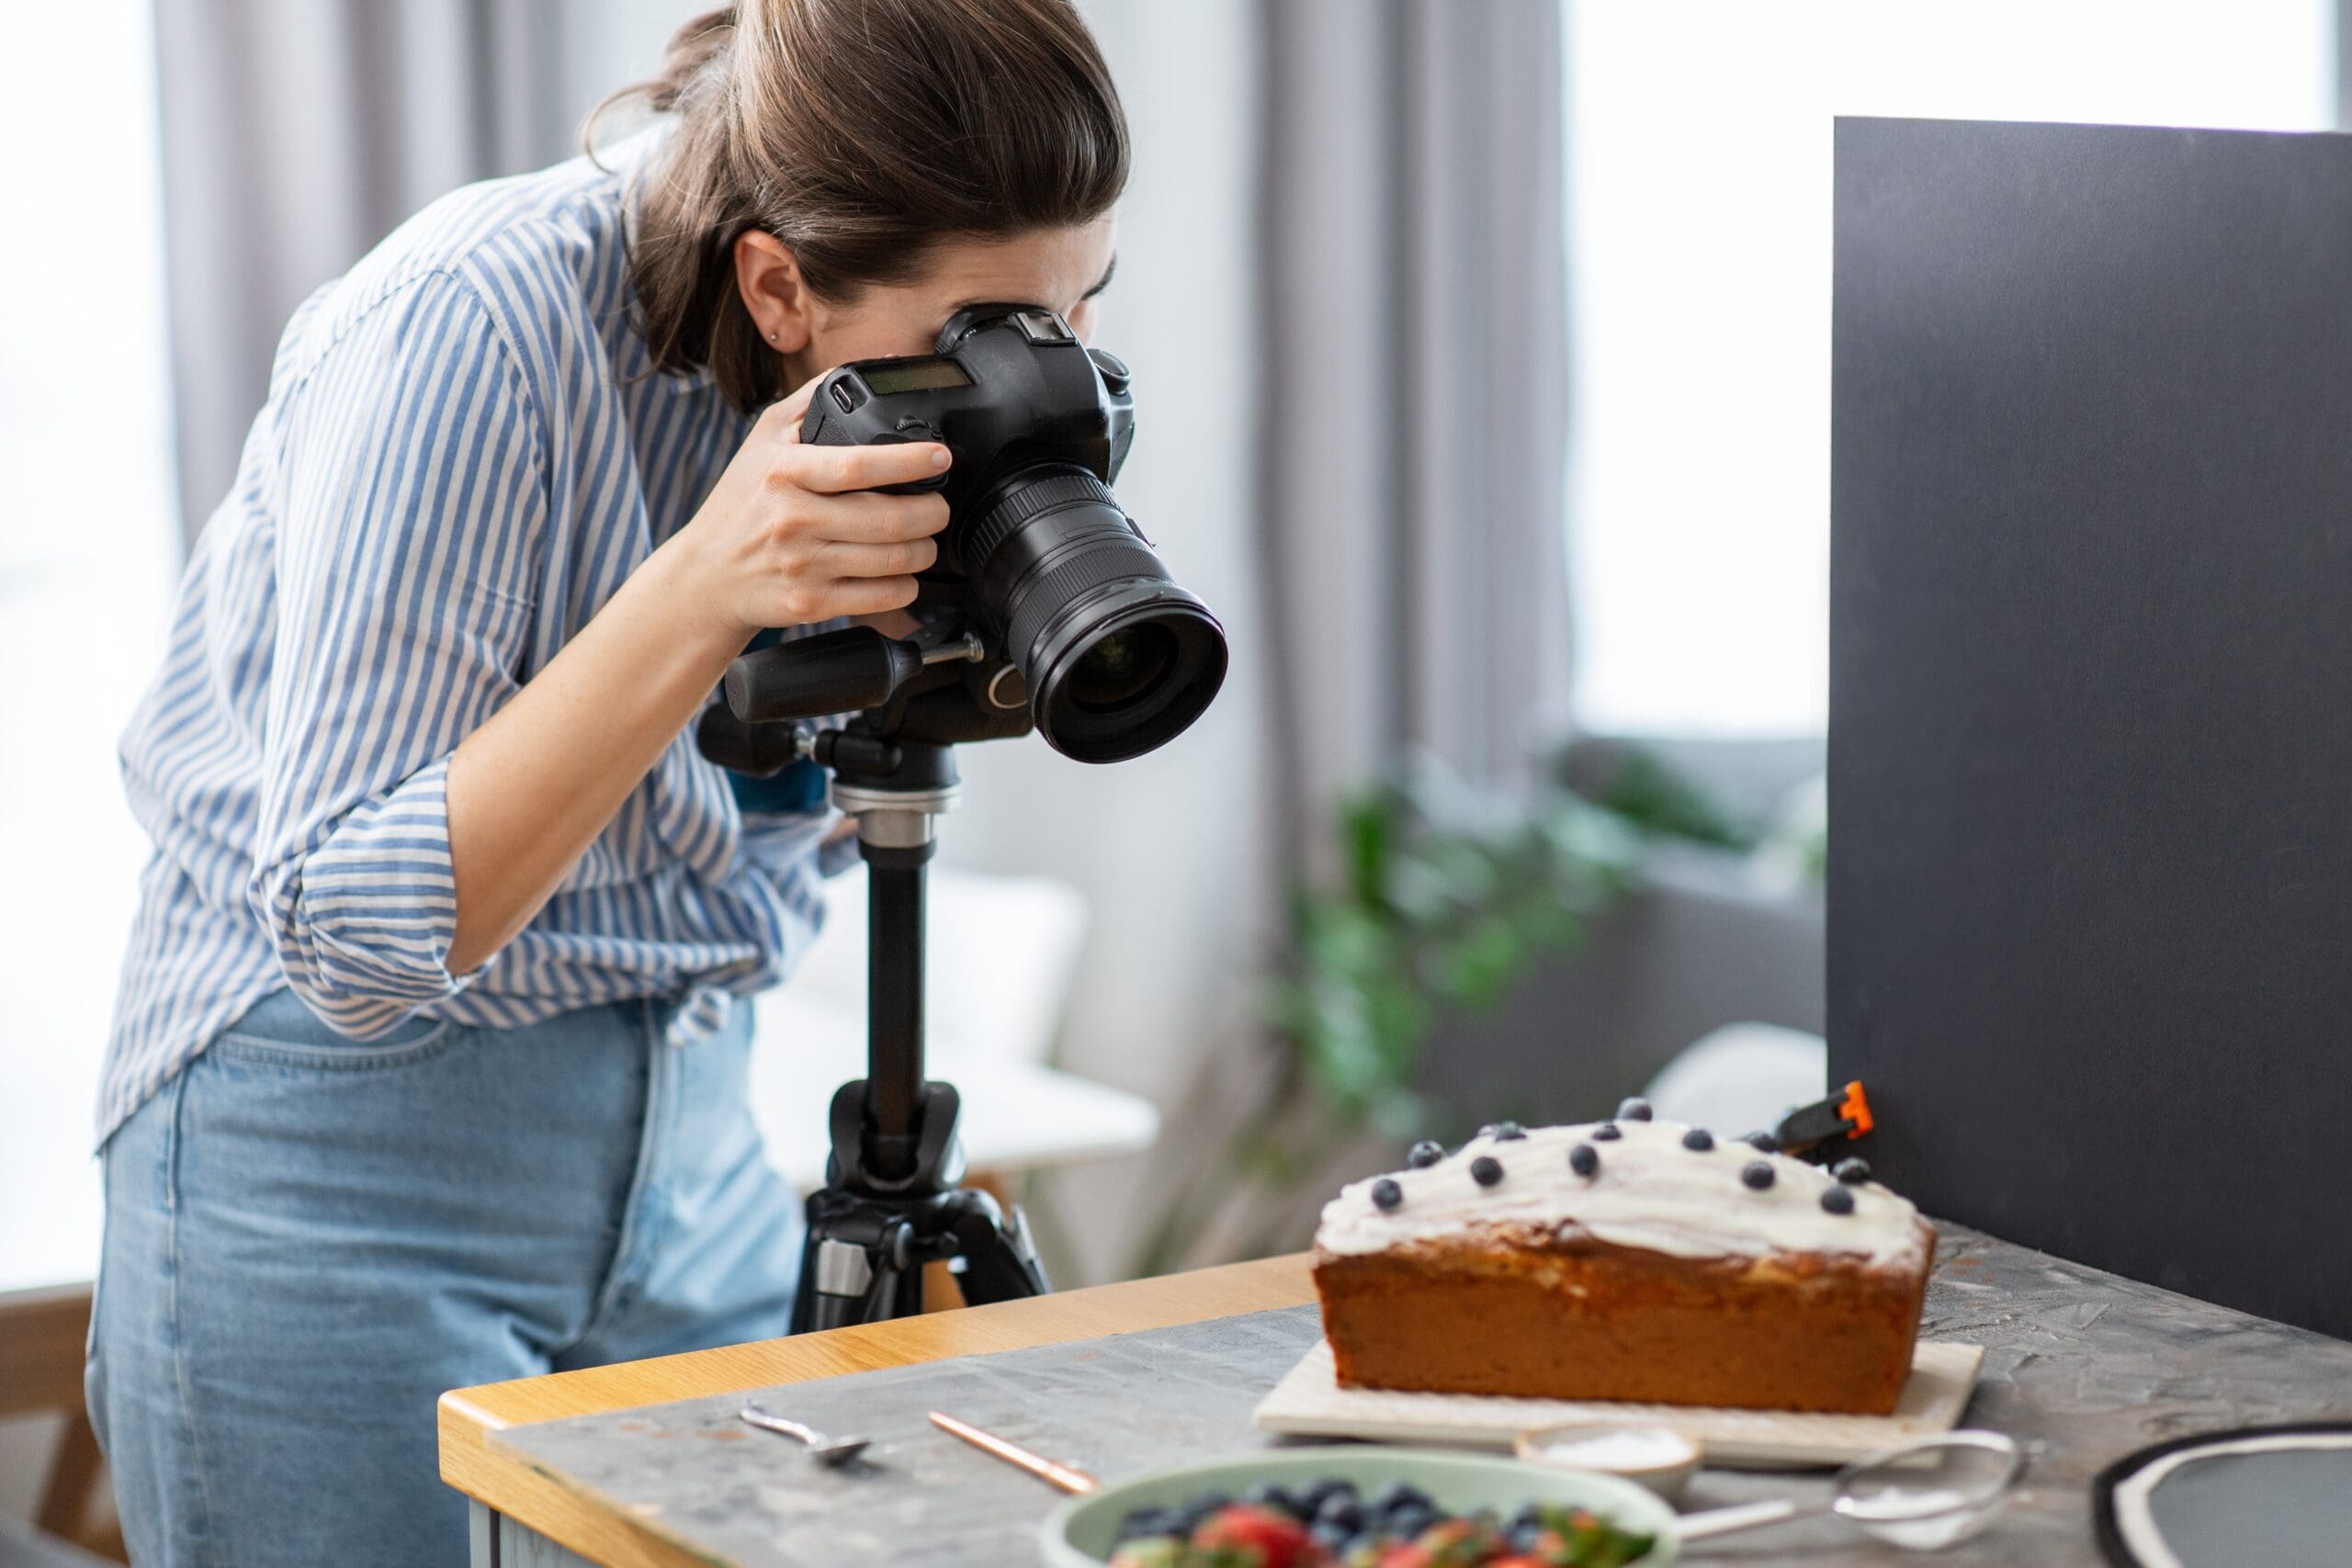
Controlling light is what separates professional photography from guesswork. When you shoot outdoors in Australia, you are dealing with some of the most intense and variable sunlight on earth. A studio gives you complete control — over light quality, direction, intensity, colour, and background. Every variable is in your hands.
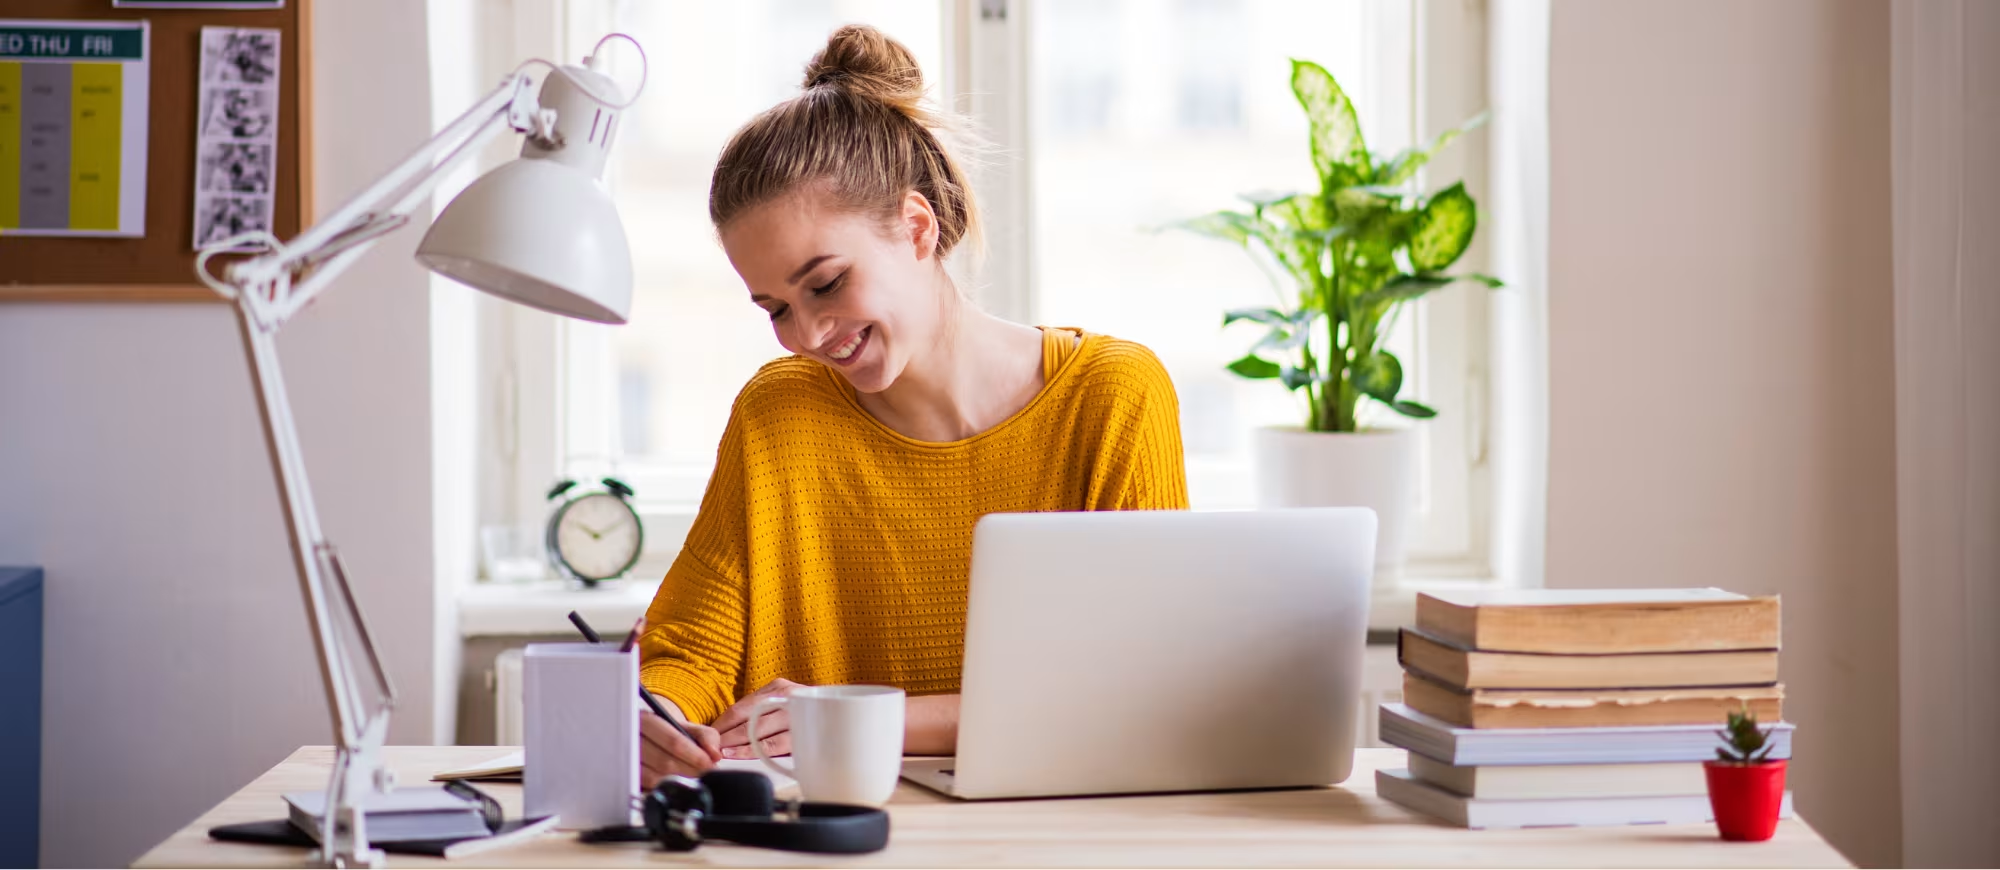
A studio photography course teaches you how to use that control effectively. Whether you are setting up a dedicated room in your home or renting professional space, this guide covers the equipment, lighting setups, and techniques needed to produce professional studio images.
Why Learn Studio Photography?
Studio skills open commercial opportunities that location photography cannot match. Corporate headshots, product photography, e-commerce imagery, beauty and fashion work, newborn photography, and portfolio shoots all benefit from or require the controlled environment a studio provides.
More importantly, learning to build light from scratch in a dark room teaches you to understand all light at a fundamental level. Once you can construct a lighting setup from nothing, you will see and understand natural light outdoors with far greater clarity. The skills transfer directly and make everything else easier.
Students who study a portrait photography course develop studio lighting skills as a core part of their training, and those completing a professional photography course gain advanced studio techniques applicable to commercial and high-end work.
Our portrait lighting guide covers how studio and natural lighting principles connect and reinforce each other.
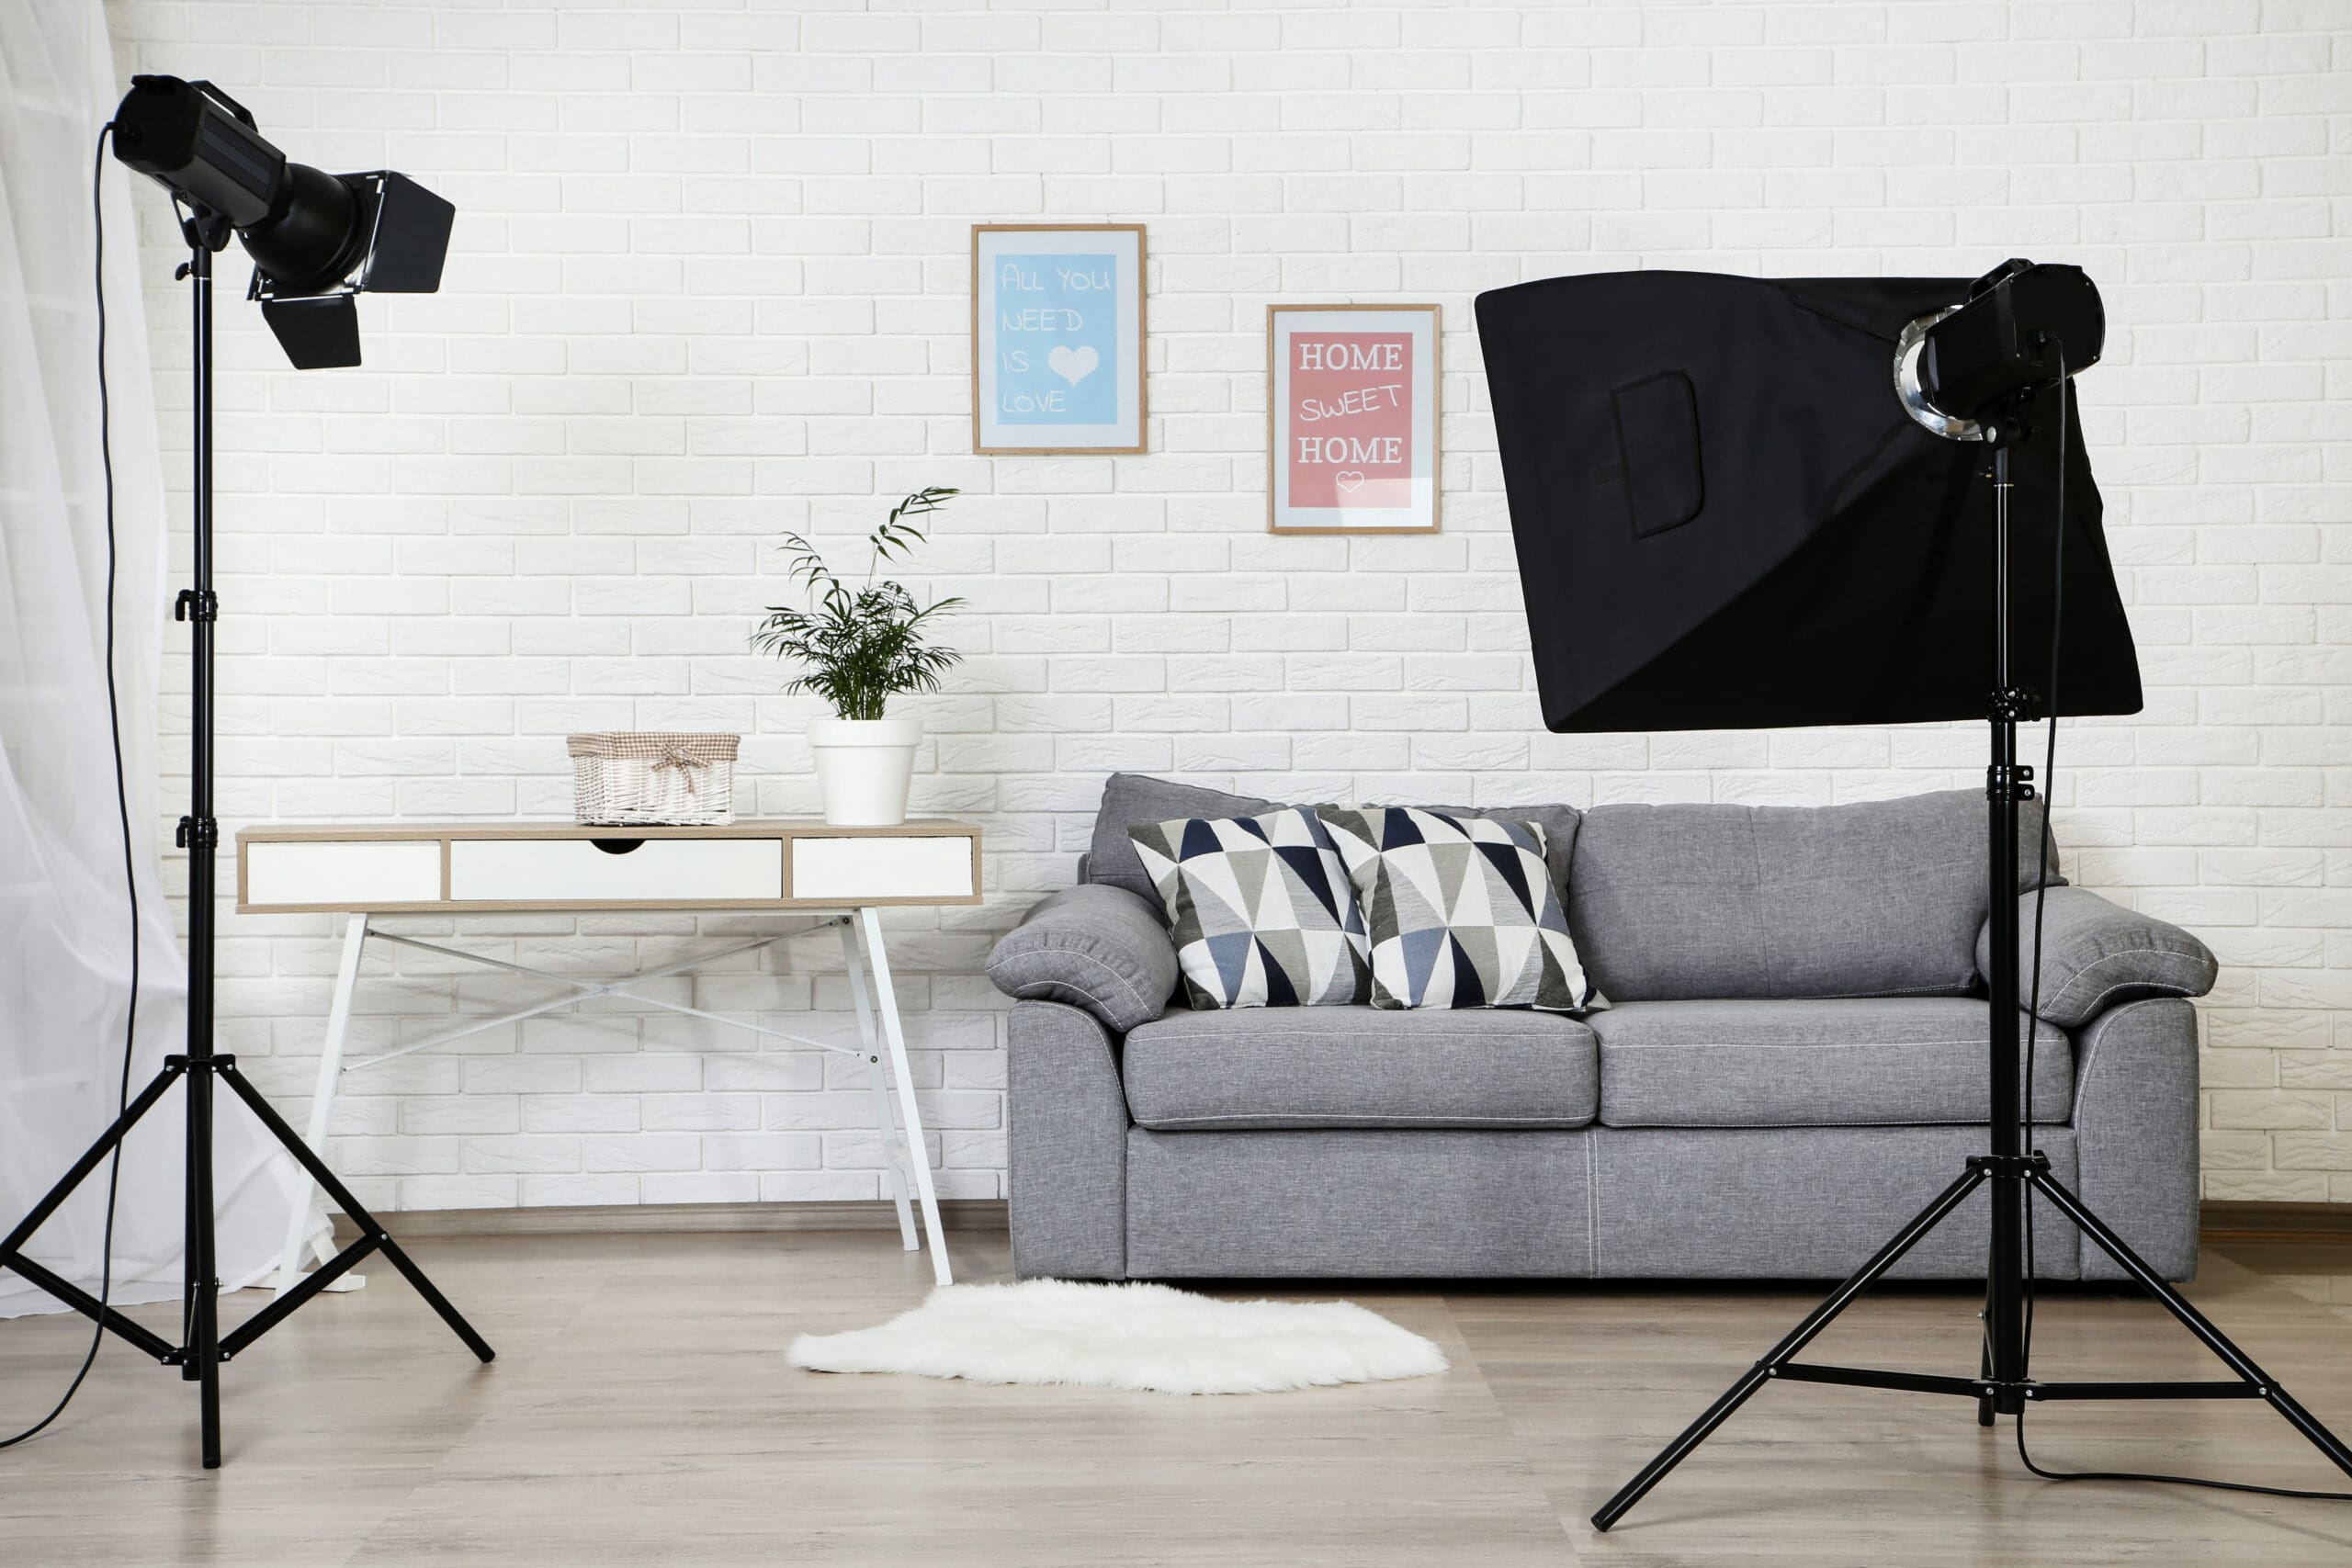
Setting Up a Home Studio in Australia
You do not need a massive space. A spare room, a garage, or even a corner of your living room can function as a home studio. The minimum practical shooting space is roughly 3 metres wide by 4 metres deep by 2.5 metres high — enough for headshots, upper-body portraits, and small product photography.
Paint walls a neutral colour — white or light grey is ideal. White walls serve as additional light sources when you bounce studio lights off them, giving you soft fill light without additional equipment.
Australia’s climate creates specific considerations for home studios. Garages in summer can reach extreme temperatures that make shooting uncomfortable for both photographer and subject. Air conditioning or adequate ventilation is important if you are converting a non-climate-controlled space. North-facing rooms (in the Southern Hemisphere) receive the most consistent natural light if you want to combine studio and window-light techniques.
Essential Studio Equipment
The lighting system is the heart of any studio. You have two main options.
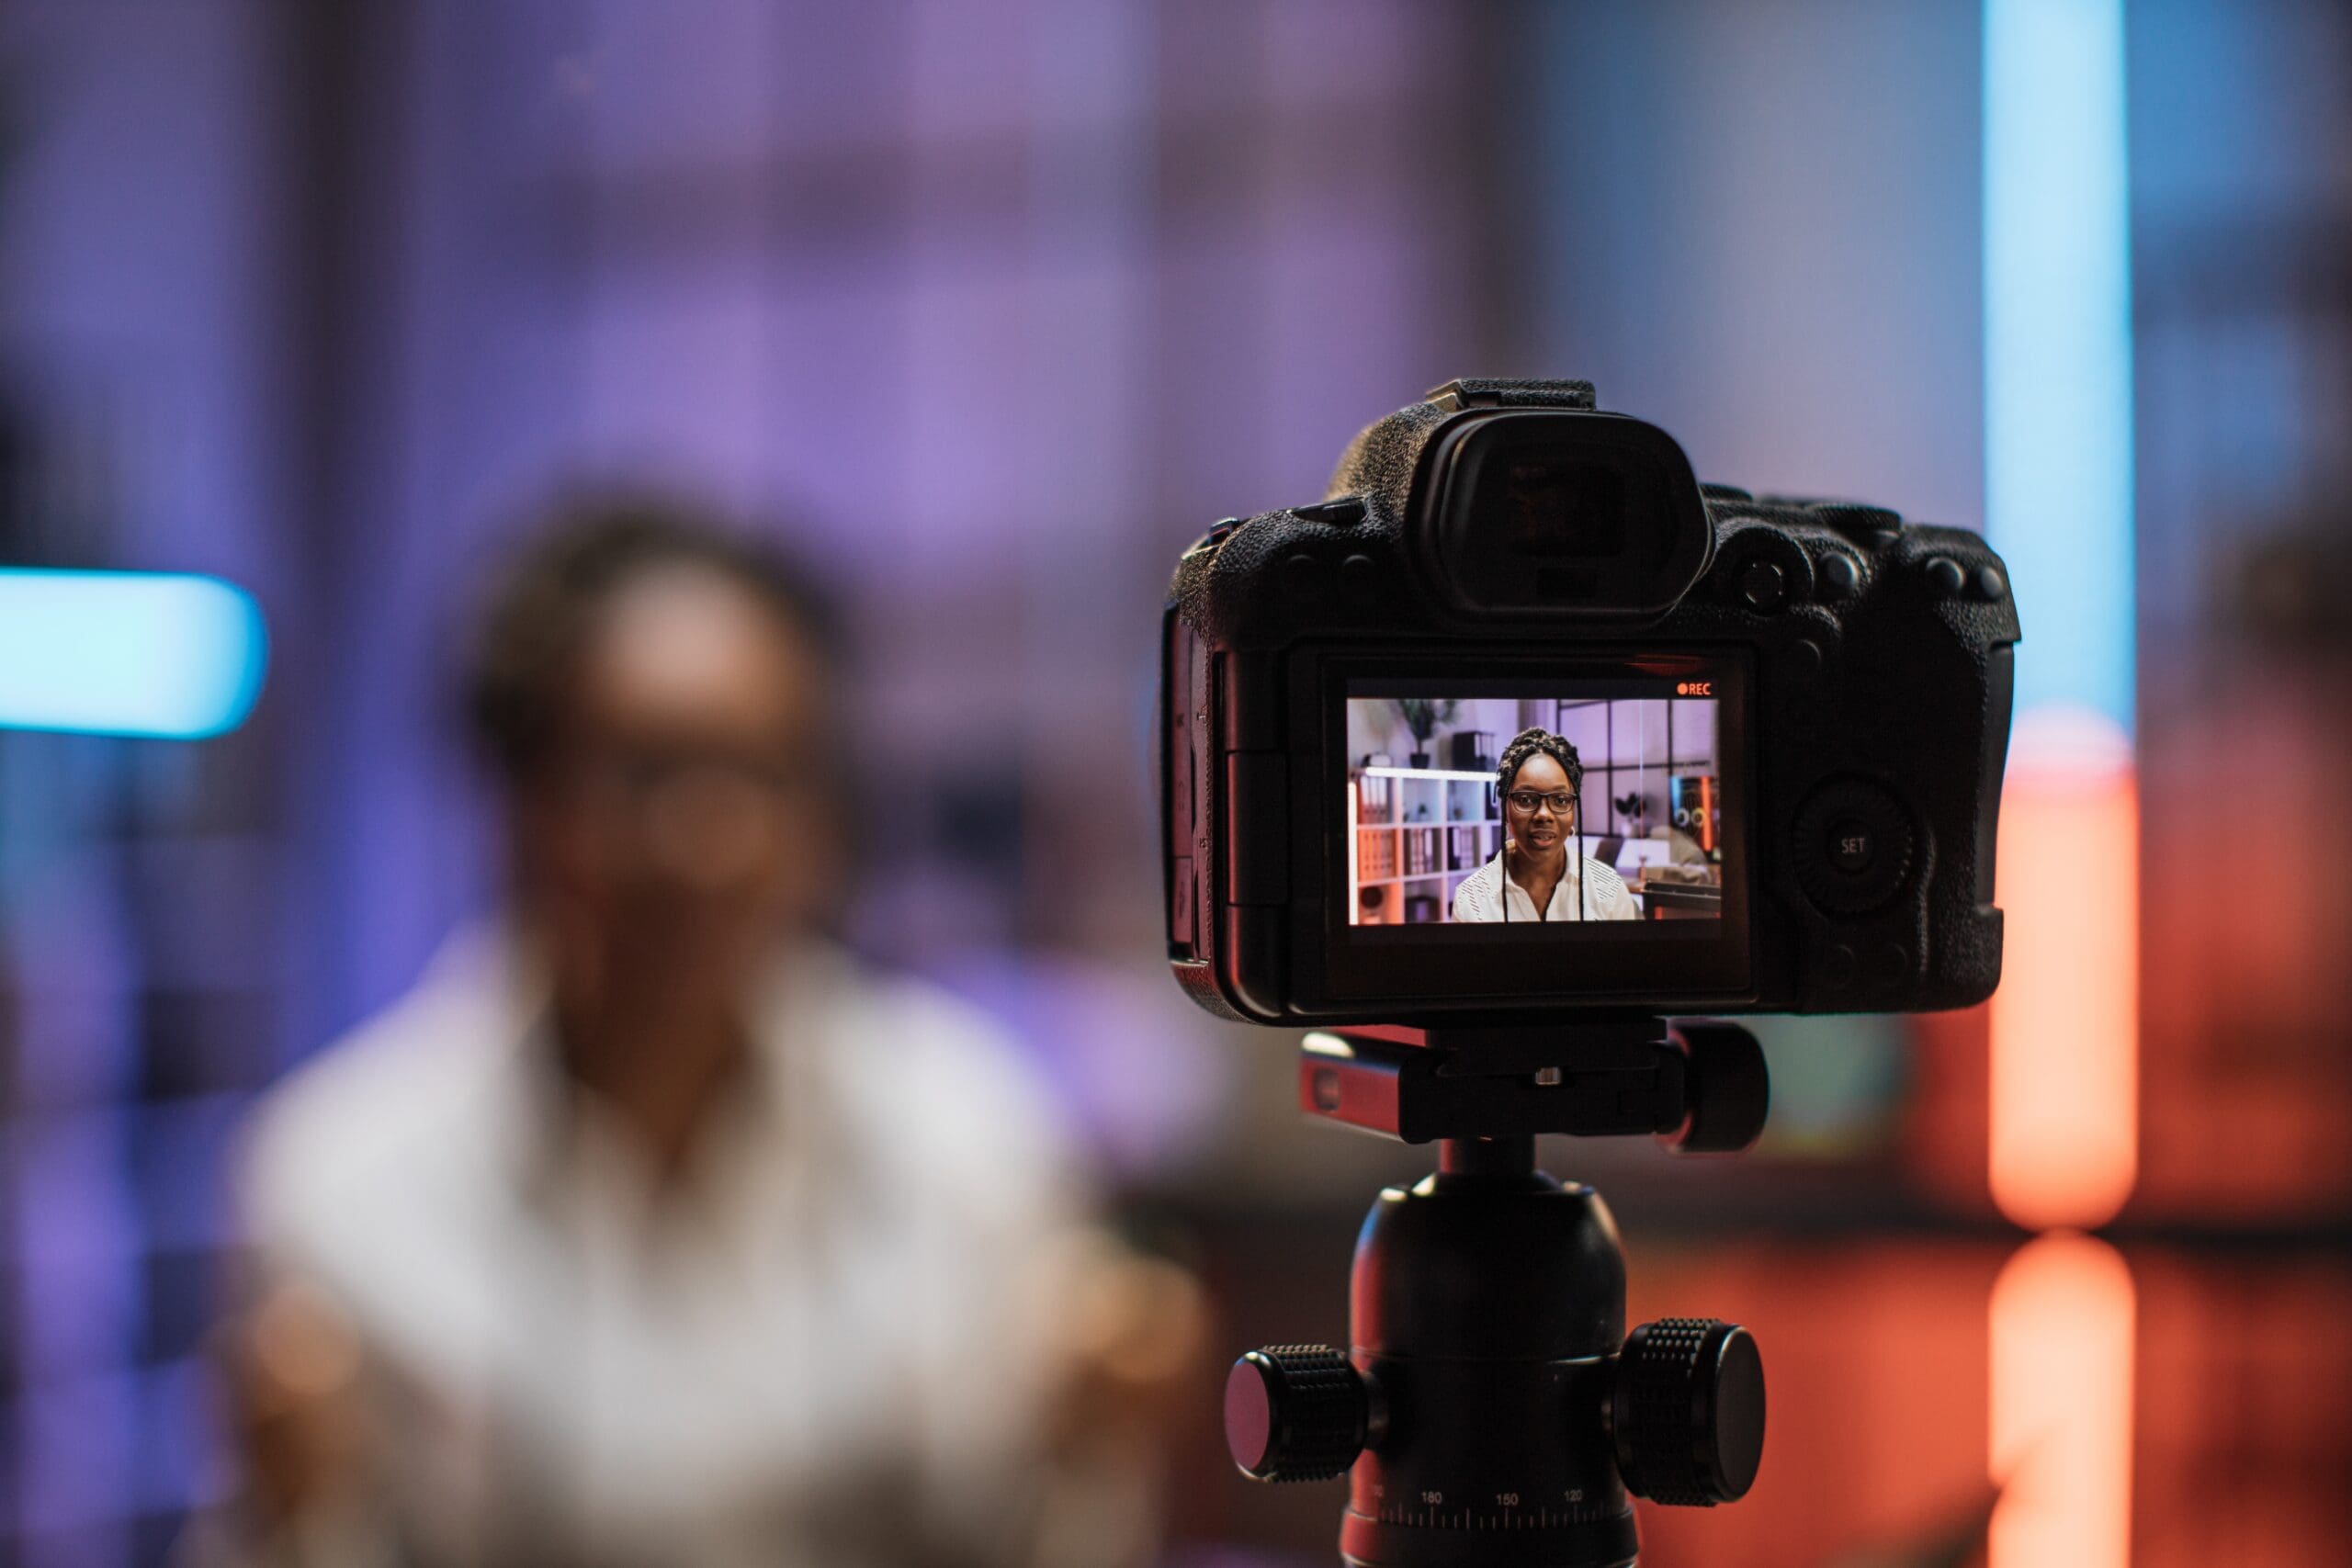
Continuous LED panels produce constant light that lets you see exactly what the camera will capture in real time. They are intuitive for beginners, work for both photo and video (excellent for videographers studying a videography course), and generate minimal heat — a genuine advantage in Australian conditions. Quality continuous lights start around $250–$600 AUD per light.
Studio strobes produce a brief, powerful burst of light triggered by your camera. They are more powerful than continuous lights, produce sharper results due to fast flash duration, and are the industry standard for professional studio photography. Entry-level kits with two strobes, softboxes, and stands start around $600–$1,200 AUD.
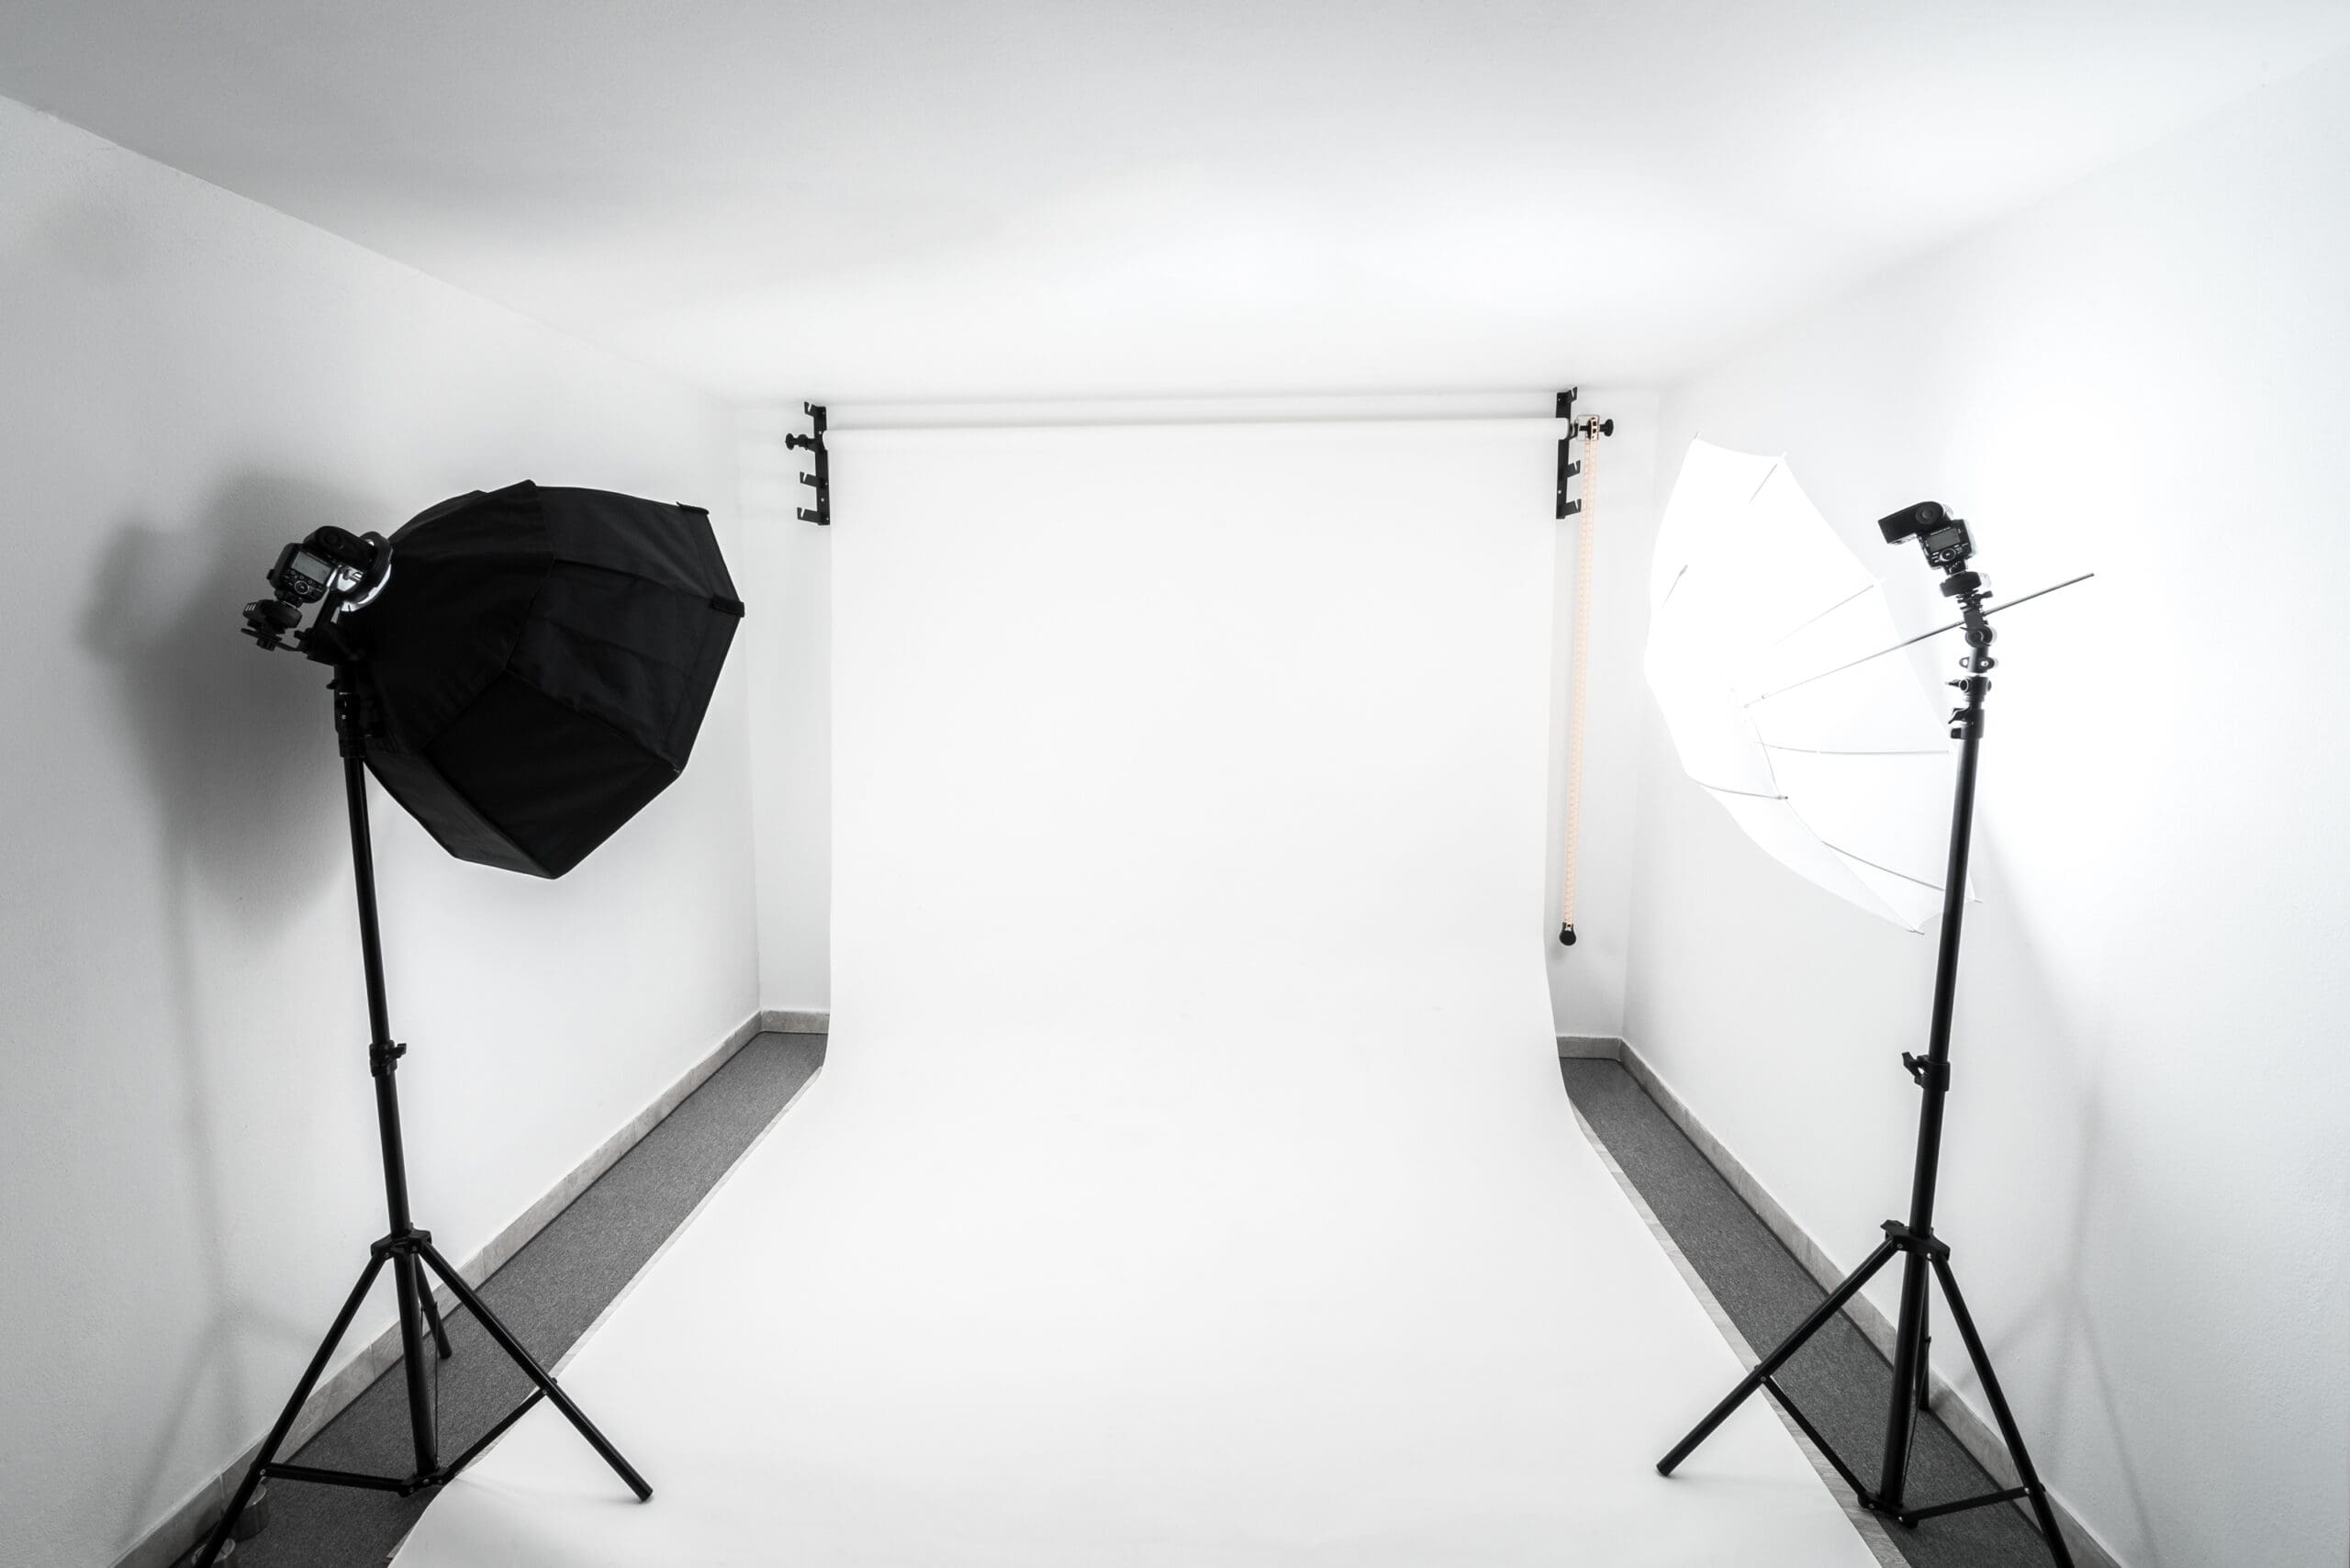
Light modifiers shape and control quality. Softboxes produce soft, even light ideal for portraits. Umbrellas are affordable and versatile. Beauty dishes create wrap-around light for beauty and fashion work. Grids, snoots, and barn doors restrict light to specific areas.
Backgrounds come in several forms. Seamless paper rolls in 2.7-metre width are the standard — grey is the most versatile single colour. Fabric backdrops fold for easy storage. A sturdy background support system costs $100–$250 AUD.
B&H Photo is one of the most trusted retailers for studio equipment, and Hypop is an excellent Australian-based supplier for studio lighting and accessories with local shipping.
Fundamental Lighting Setups
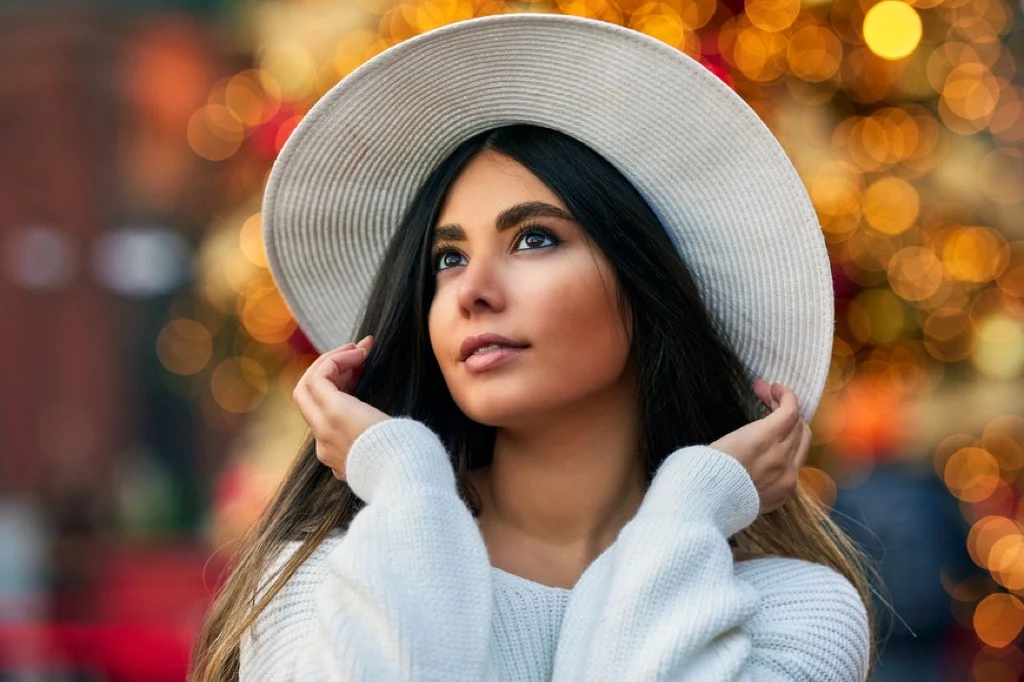
One-light setup is where every studio photographer should start. A single softbox at 45 degrees, slightly above eye level, with a white reflector on the opposite side creates beautiful, dimensional light. This alone produces professional headshots and portraits.
Two-light setup adds a second light behind the subject for rim or hair light — creating separation from the background and adding polish.
Three-point lighting adds a background light for independent control over background brightness. This enables pure white backgrounds, graduated tones, or coloured effects using gels.
High-key lighting uses multiple lights for bright, even, shadow-free illumination — the clean commercial look for e-commerce and corporate headshots. Low-key lighting uses minimal, directional light against dark backgrounds for dramatic, moody images.
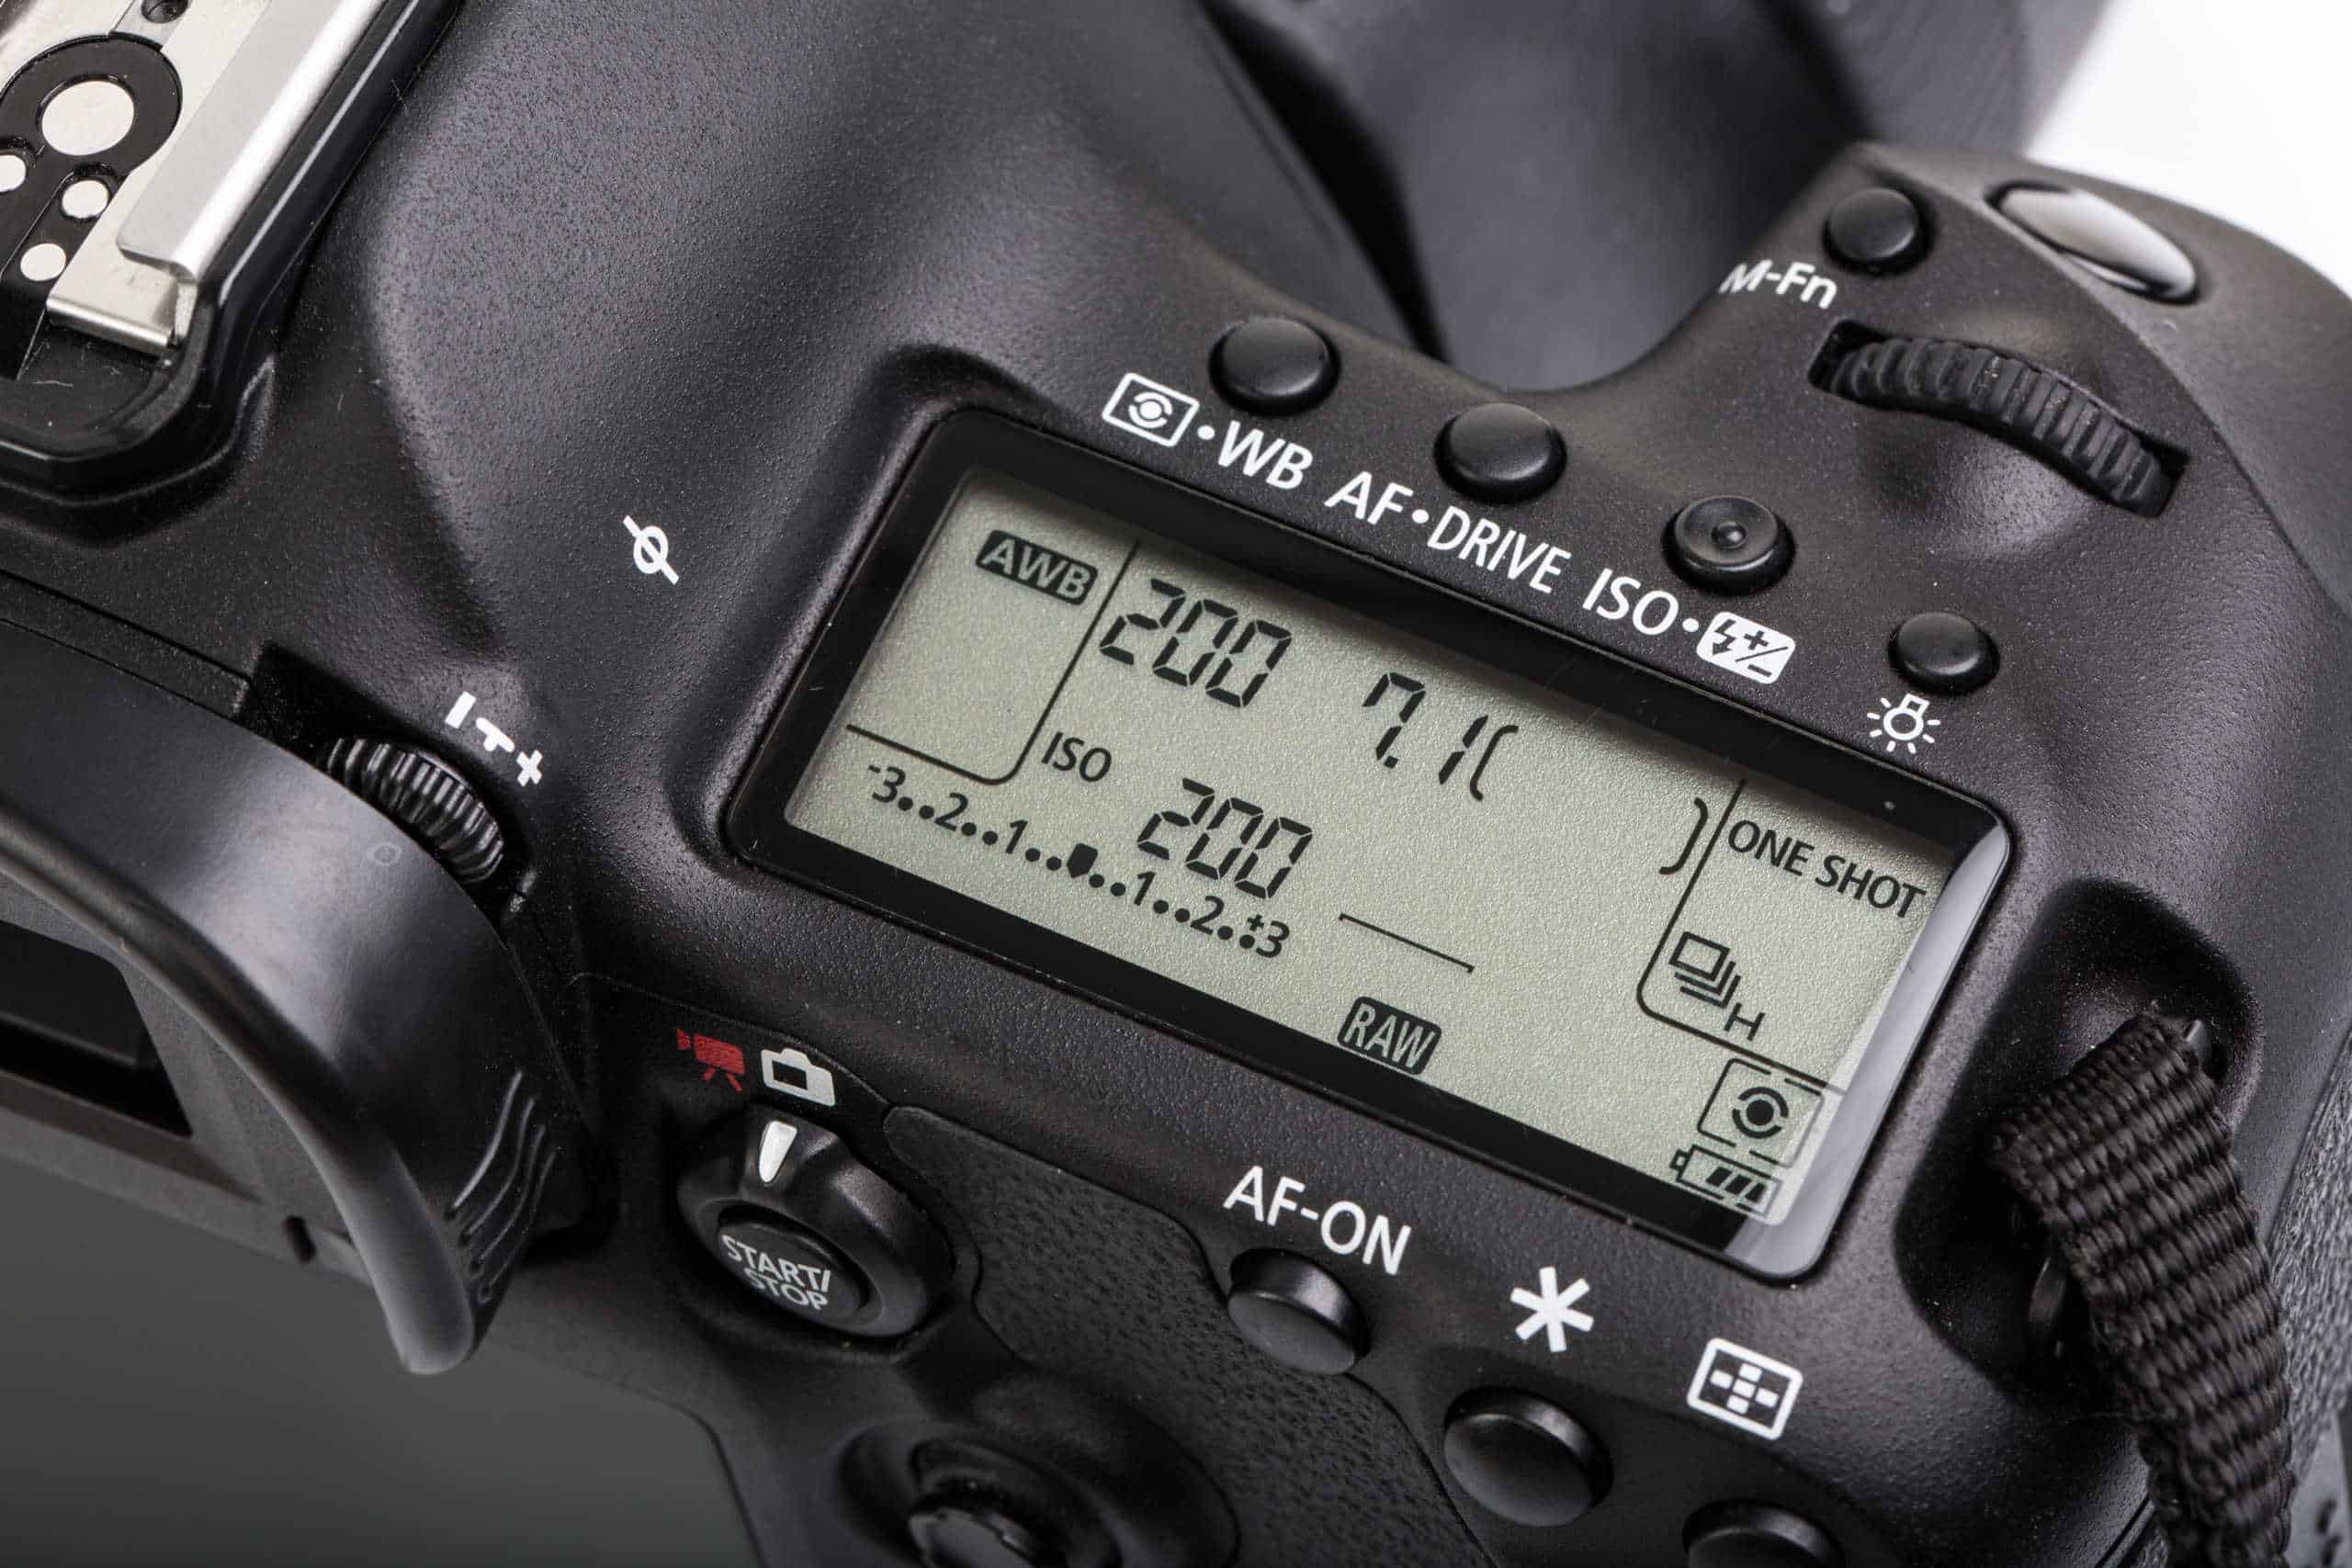
Camera Settings for Studio Photography
Shoot in Manual mode at ISO 100 for maximum quality. Set shutter speed to flash sync — typically 1/160th or 1/200th. Adjust aperture to control exposure: f/2.8 for shallow depth of field, f/8 for sharpness across the entire face.
Our camera modes guide covers these settings, and our exposure triangle guide explains the underlying principles.
Studio Etiquette and Client Experience
Keep the space clean and comfortable. Have a mirror available for clients. Play low background music. Maintain comfortable temperature. Prepare your lighting before the client arrives — testing and adjusting while someone waits awkwardly destroys confidence and wastes session time.
From Home Studio to Professional Space
Many photographers start at home and move to dedicated space as their business grows. Studio rental in Australian capital cities typically ranges from $60–$180 AUD per hour, with half-day and full-day rates available. This is practical for photographers needing studio access occasionally without fixed overhead.
Start Your Studio Photography Journey
A studio photography course gives you control over the single most important variable in photography — light. Our Portrait Photography Course covers studio lighting, posing, and business skills comprehensively, and our photography course for beginners provides the foundational camera skills that all studio work builds upon. Explore our full range of courses to build your complete skill set.