Interview footage forms the backbone of documentary content, corporate communications, testimonials, and many other video formats. Professional interview production requires coordinating camera placement, lighting, audio recording, and subject direction simultaneously.
This guide teaches you to create polished interview footage suitable for professional applications.
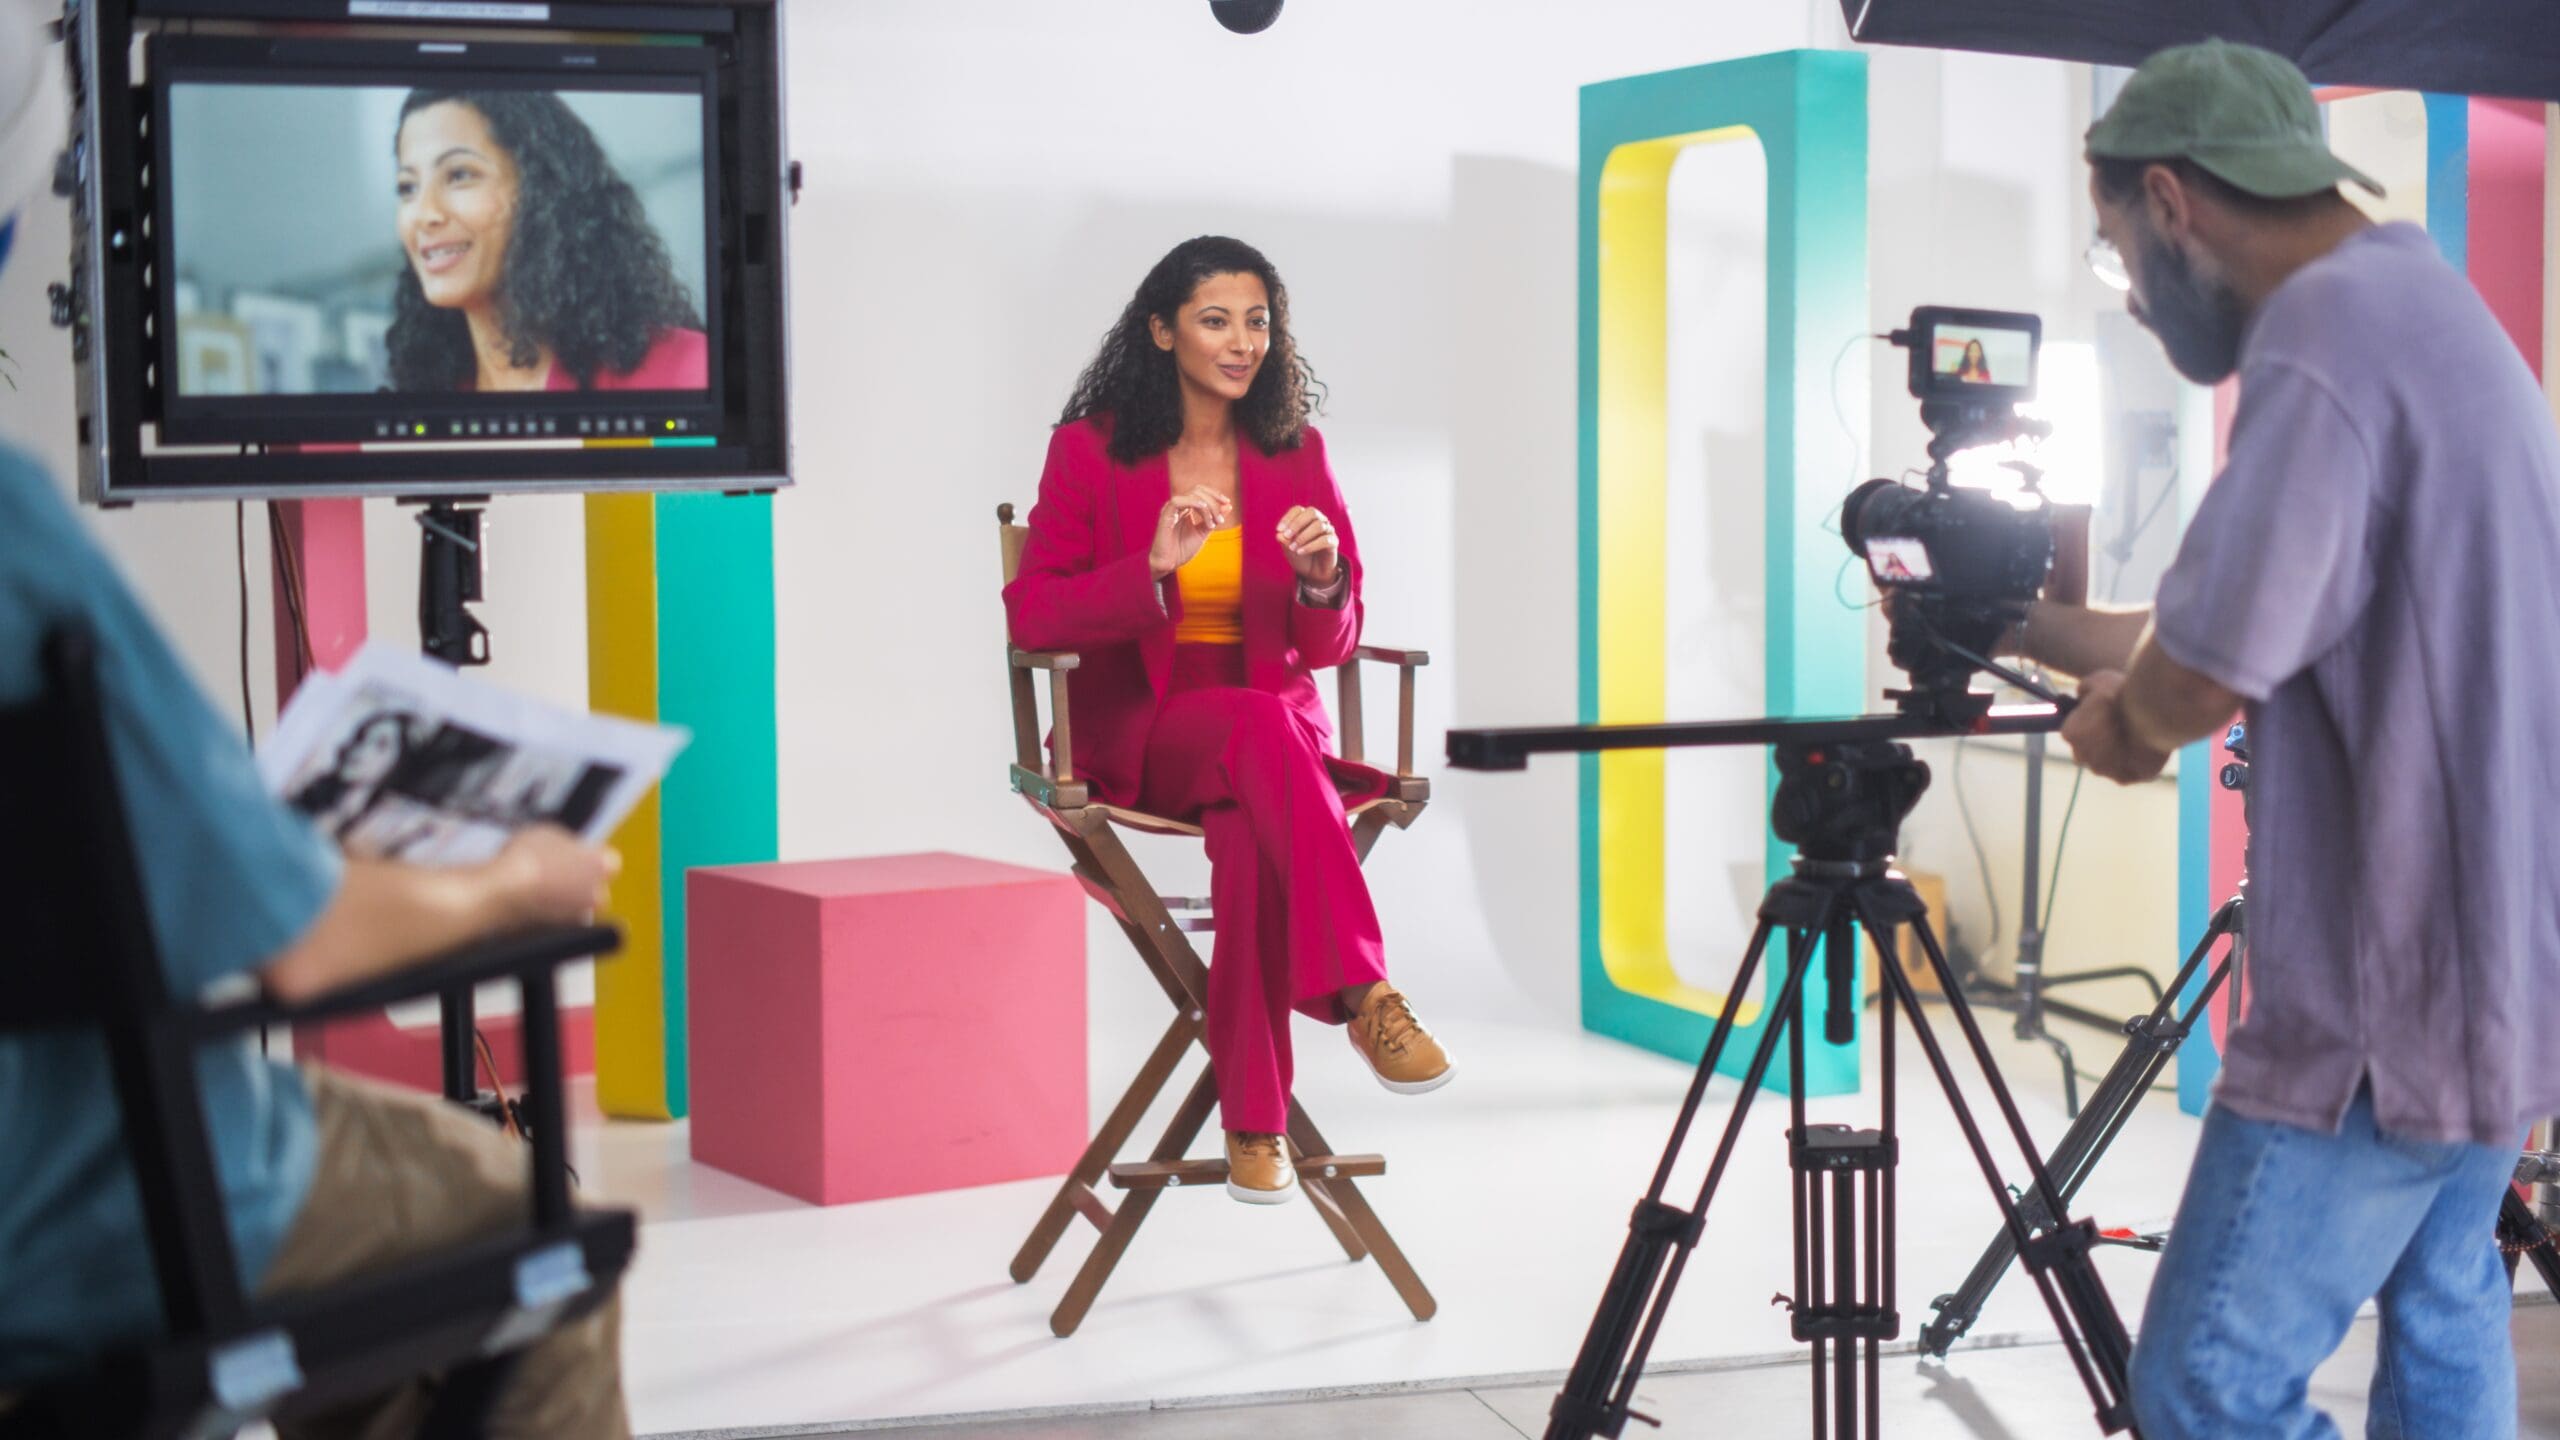
Camera Placement
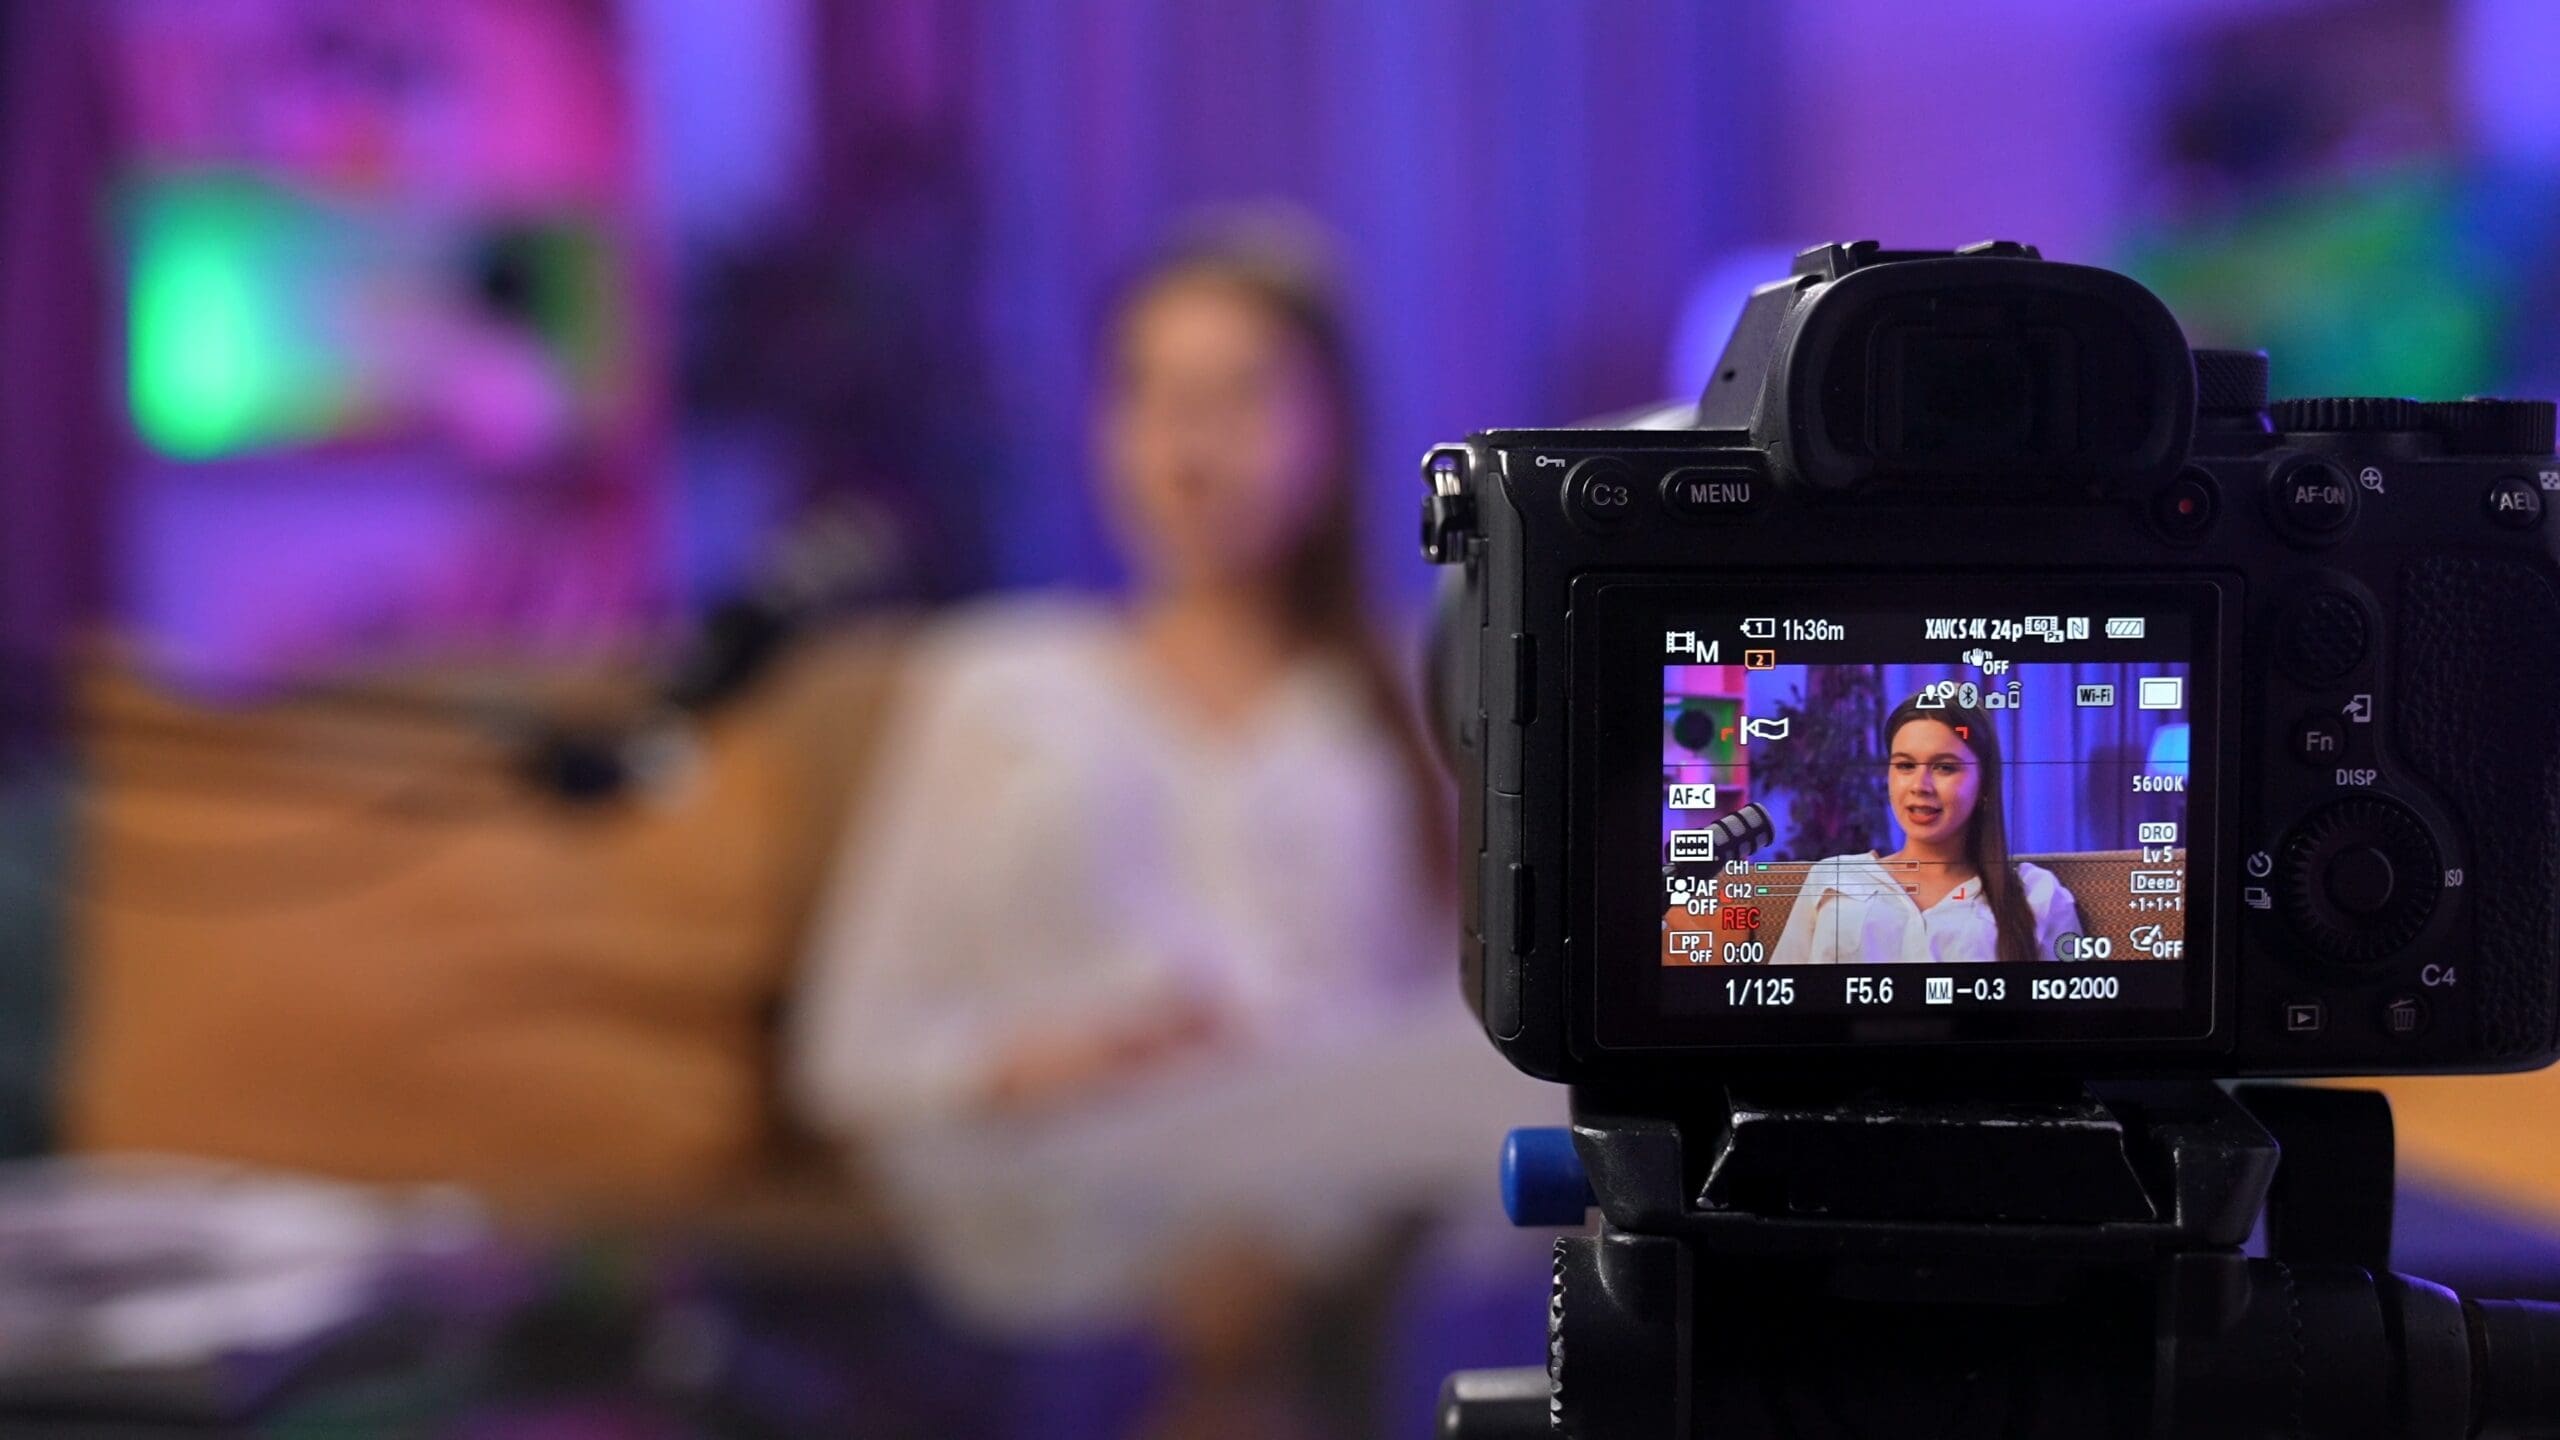
Eye-level camera positioning creates natural, relatable perspectives. Shooting slightly above eye level can appear authoritative, while below eye level appears diminishing. Match positioning to intended tone.
Angle subjects approximately 30-45 degrees from camera rather than straight-on. This creates dimension and visual interest compared to flat frontal framing.
Position the interviewer beside the camera so subjects look slightly off-camera while speaking. Direct-to-camera eye contact suits presentational content but feels confrontational for interviews.
Three-Point Lighting
Key Light
The key light provides primary illumination. Position it at roughly 45 degrees to the side and above eye level. This angle creates flattering dimension with shadows adding depth to faces.
Fill Light
Fill light reduces shadows from the key light. Position opposite the key at lower intensity. Higher fill creates flatter, more even lighting. Lower fill produces dramatic contrast.
Back Light
Back light (also called hair light or rim light) separates subjects from backgrounds. Position behind and above subjects, aimed at hair and shoulders. This subtle addition dramatically improves production value.
Audio Recording
Lavalier microphones clip to clothing near the mouth, capturing consistent voice audio regardless of head movement. Hide the microphone under clothing with the head exposed or position it visibly on lapels.
Shotgun microphones mounted on boom poles capture audio from above and outside the frame. This option works well when lavaliers would be visible or for subjects reluctant to wear microphones.
Record backup audio when possible. Camera audio serves as backup even when recording primarily to external devices.
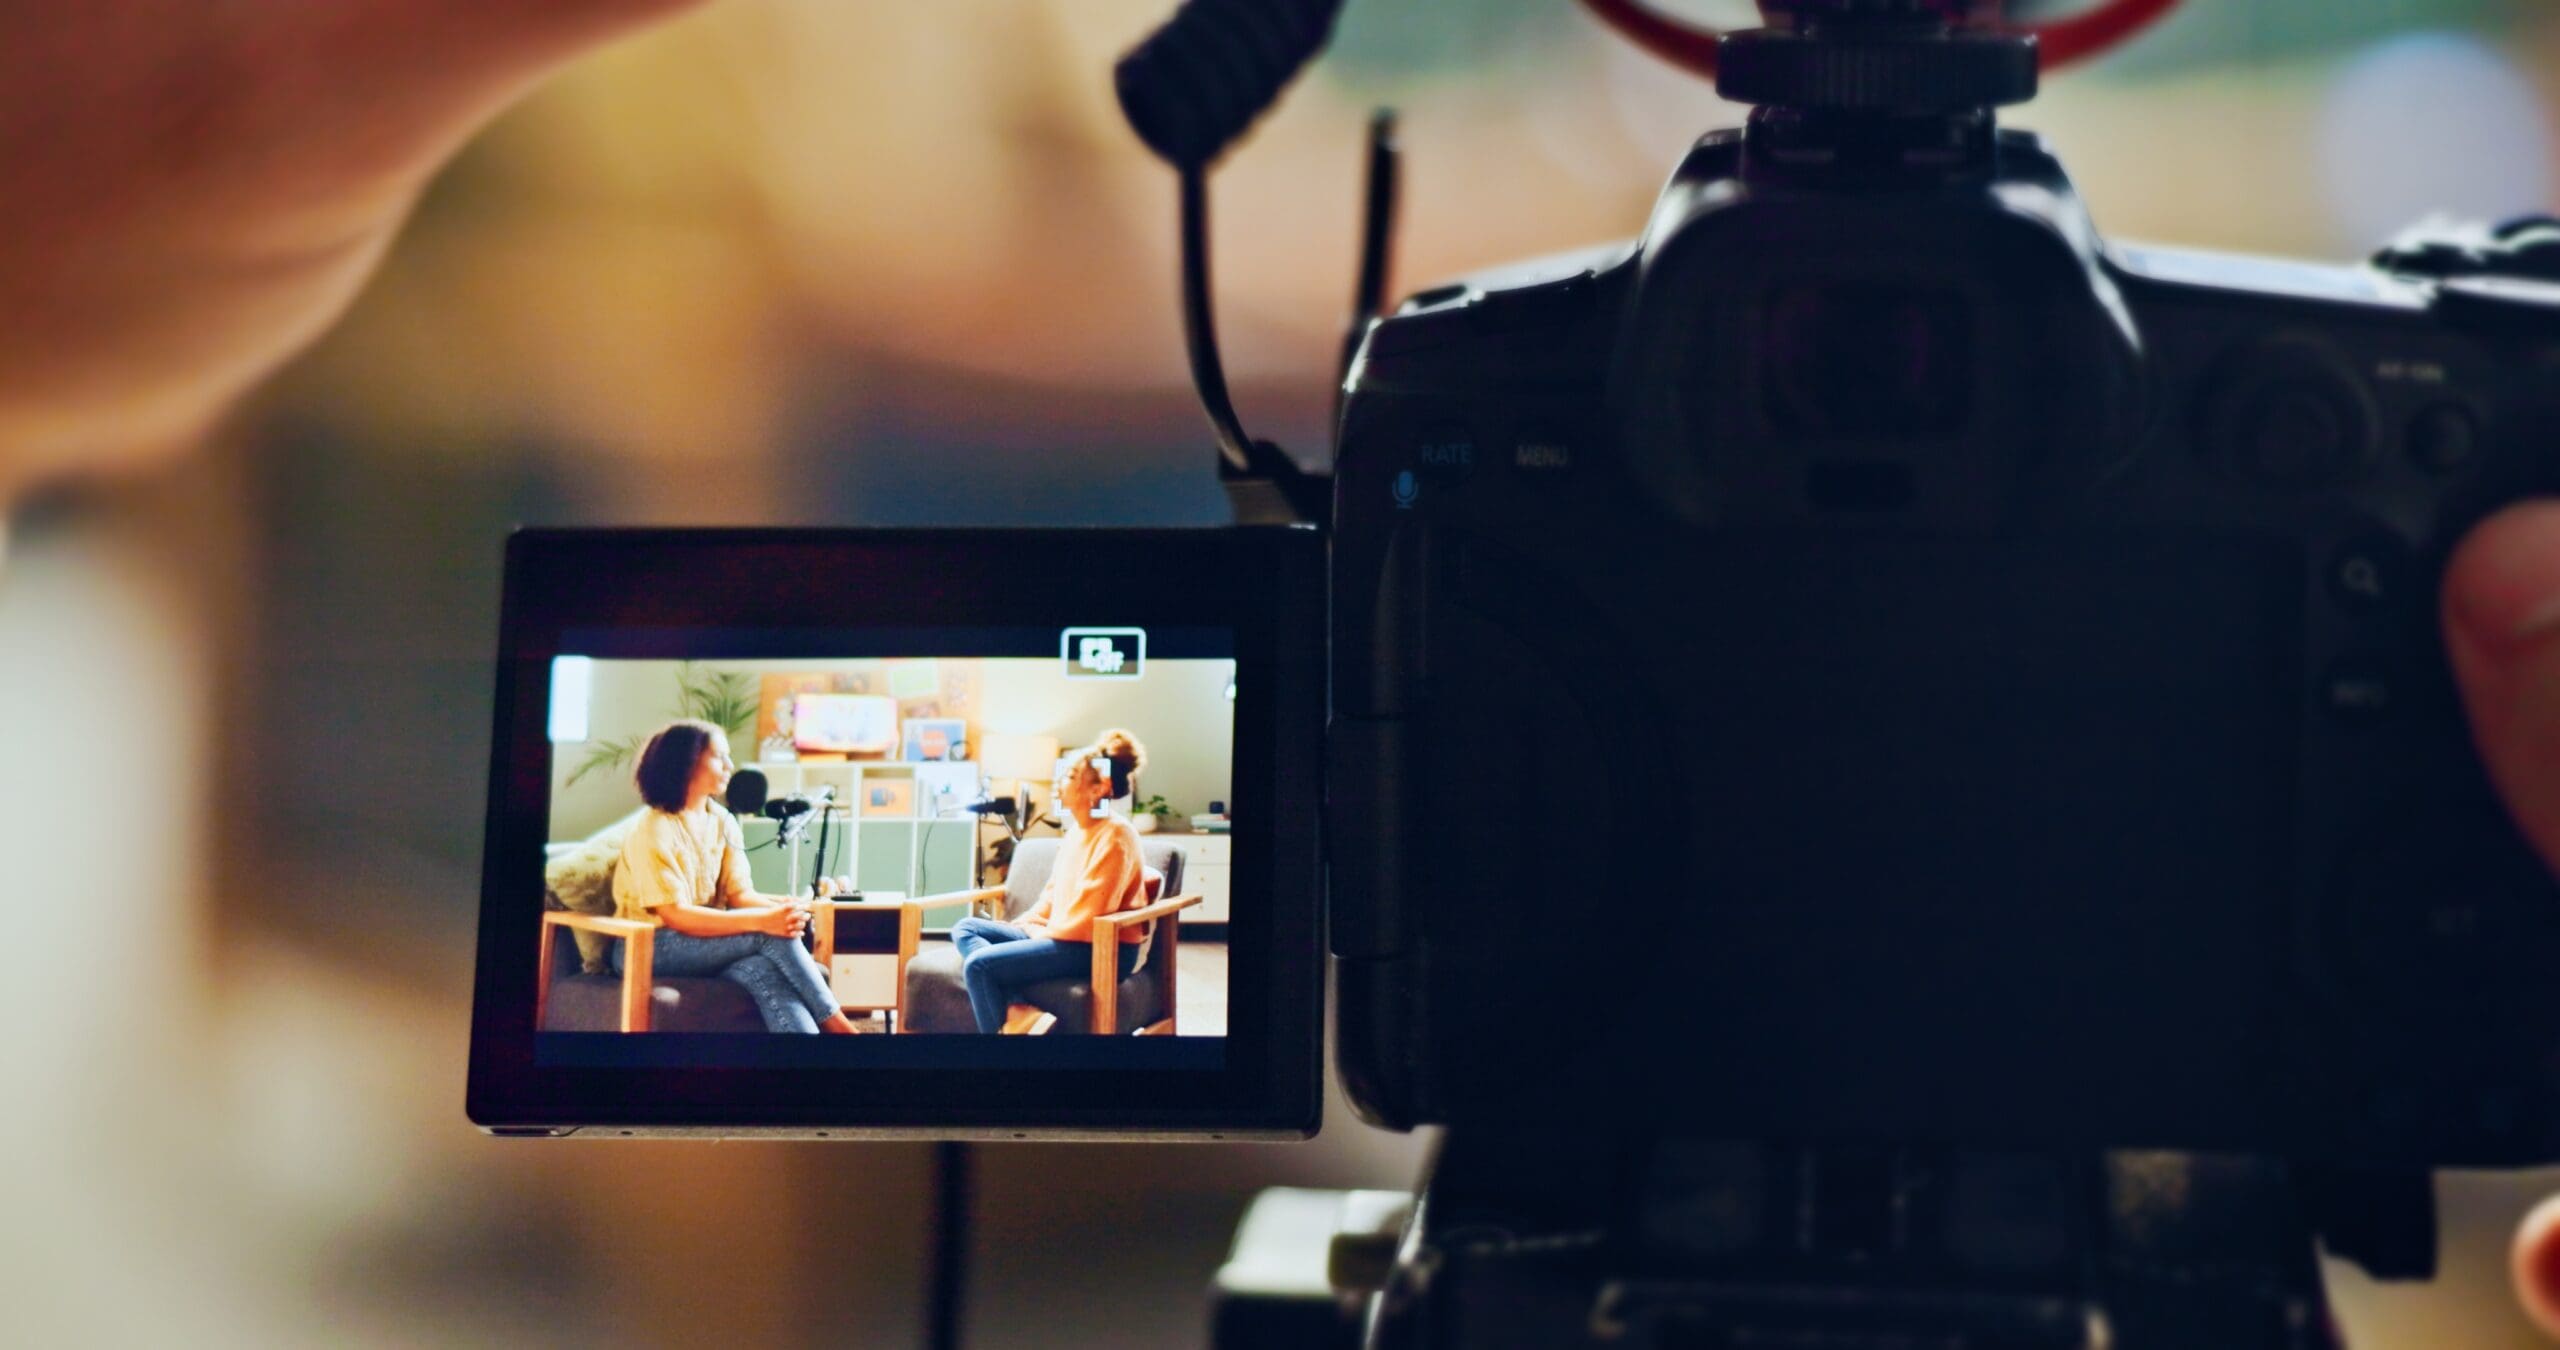
Background Selection
Backgrounds should complement without distracting. Depth creates visual interest. Shallow depth of field from wide apertures blurs backgrounds pleasingly.
Office environments suit corporate content. Relevant environments add context, for example interviewing a chef in their kitchen.
Avoid busy patterns, visible logos, and distracting movement in backgrounds.
Directing Interviewees
Pre-interview conversation relaxes subjects and establishes rapport. Explain the process to reduce anxiety about the unfamiliar situation.
Ask questions requiring full-sentence answers. Questions answerable with yes or no produce unusable responses. Request subjects incorporate questions into answers for standalone clips.
Allow pauses. Nervous subjects rush to fill silence. Comfortable pauses often precede the most thoughtful, genuine responses.
B-Roll Planning
B-roll footage covers interview cuts, illustrates topics, and adds visual variety. Plan b-roll needs before interview shoots to ensure coverage availability.
Shoot more b-roll than you expect to need. Options in editing provide flexibility impossible without footage.
Master interview and documentary techniques with the Certificate in Videography.
Explore courses at Australian Photography School.