Unboxing a new DSLR camera brings excitement quickly tempered by overwhelm. Buttons, dials, and menu options seem endless. The thick manual promises answers but reads like technical documentation. Many new camera owners never move beyond automatic mode, missing the creative control their equipment offers.
This guide demystifies DSLR operation, transforming confusion into confident understanding. Whether you’ve owned your camera for years without fully understanding it or just purchased your first DSLR, these fundamentals unlock your camera’s potential.
Camera Anatomy Explained
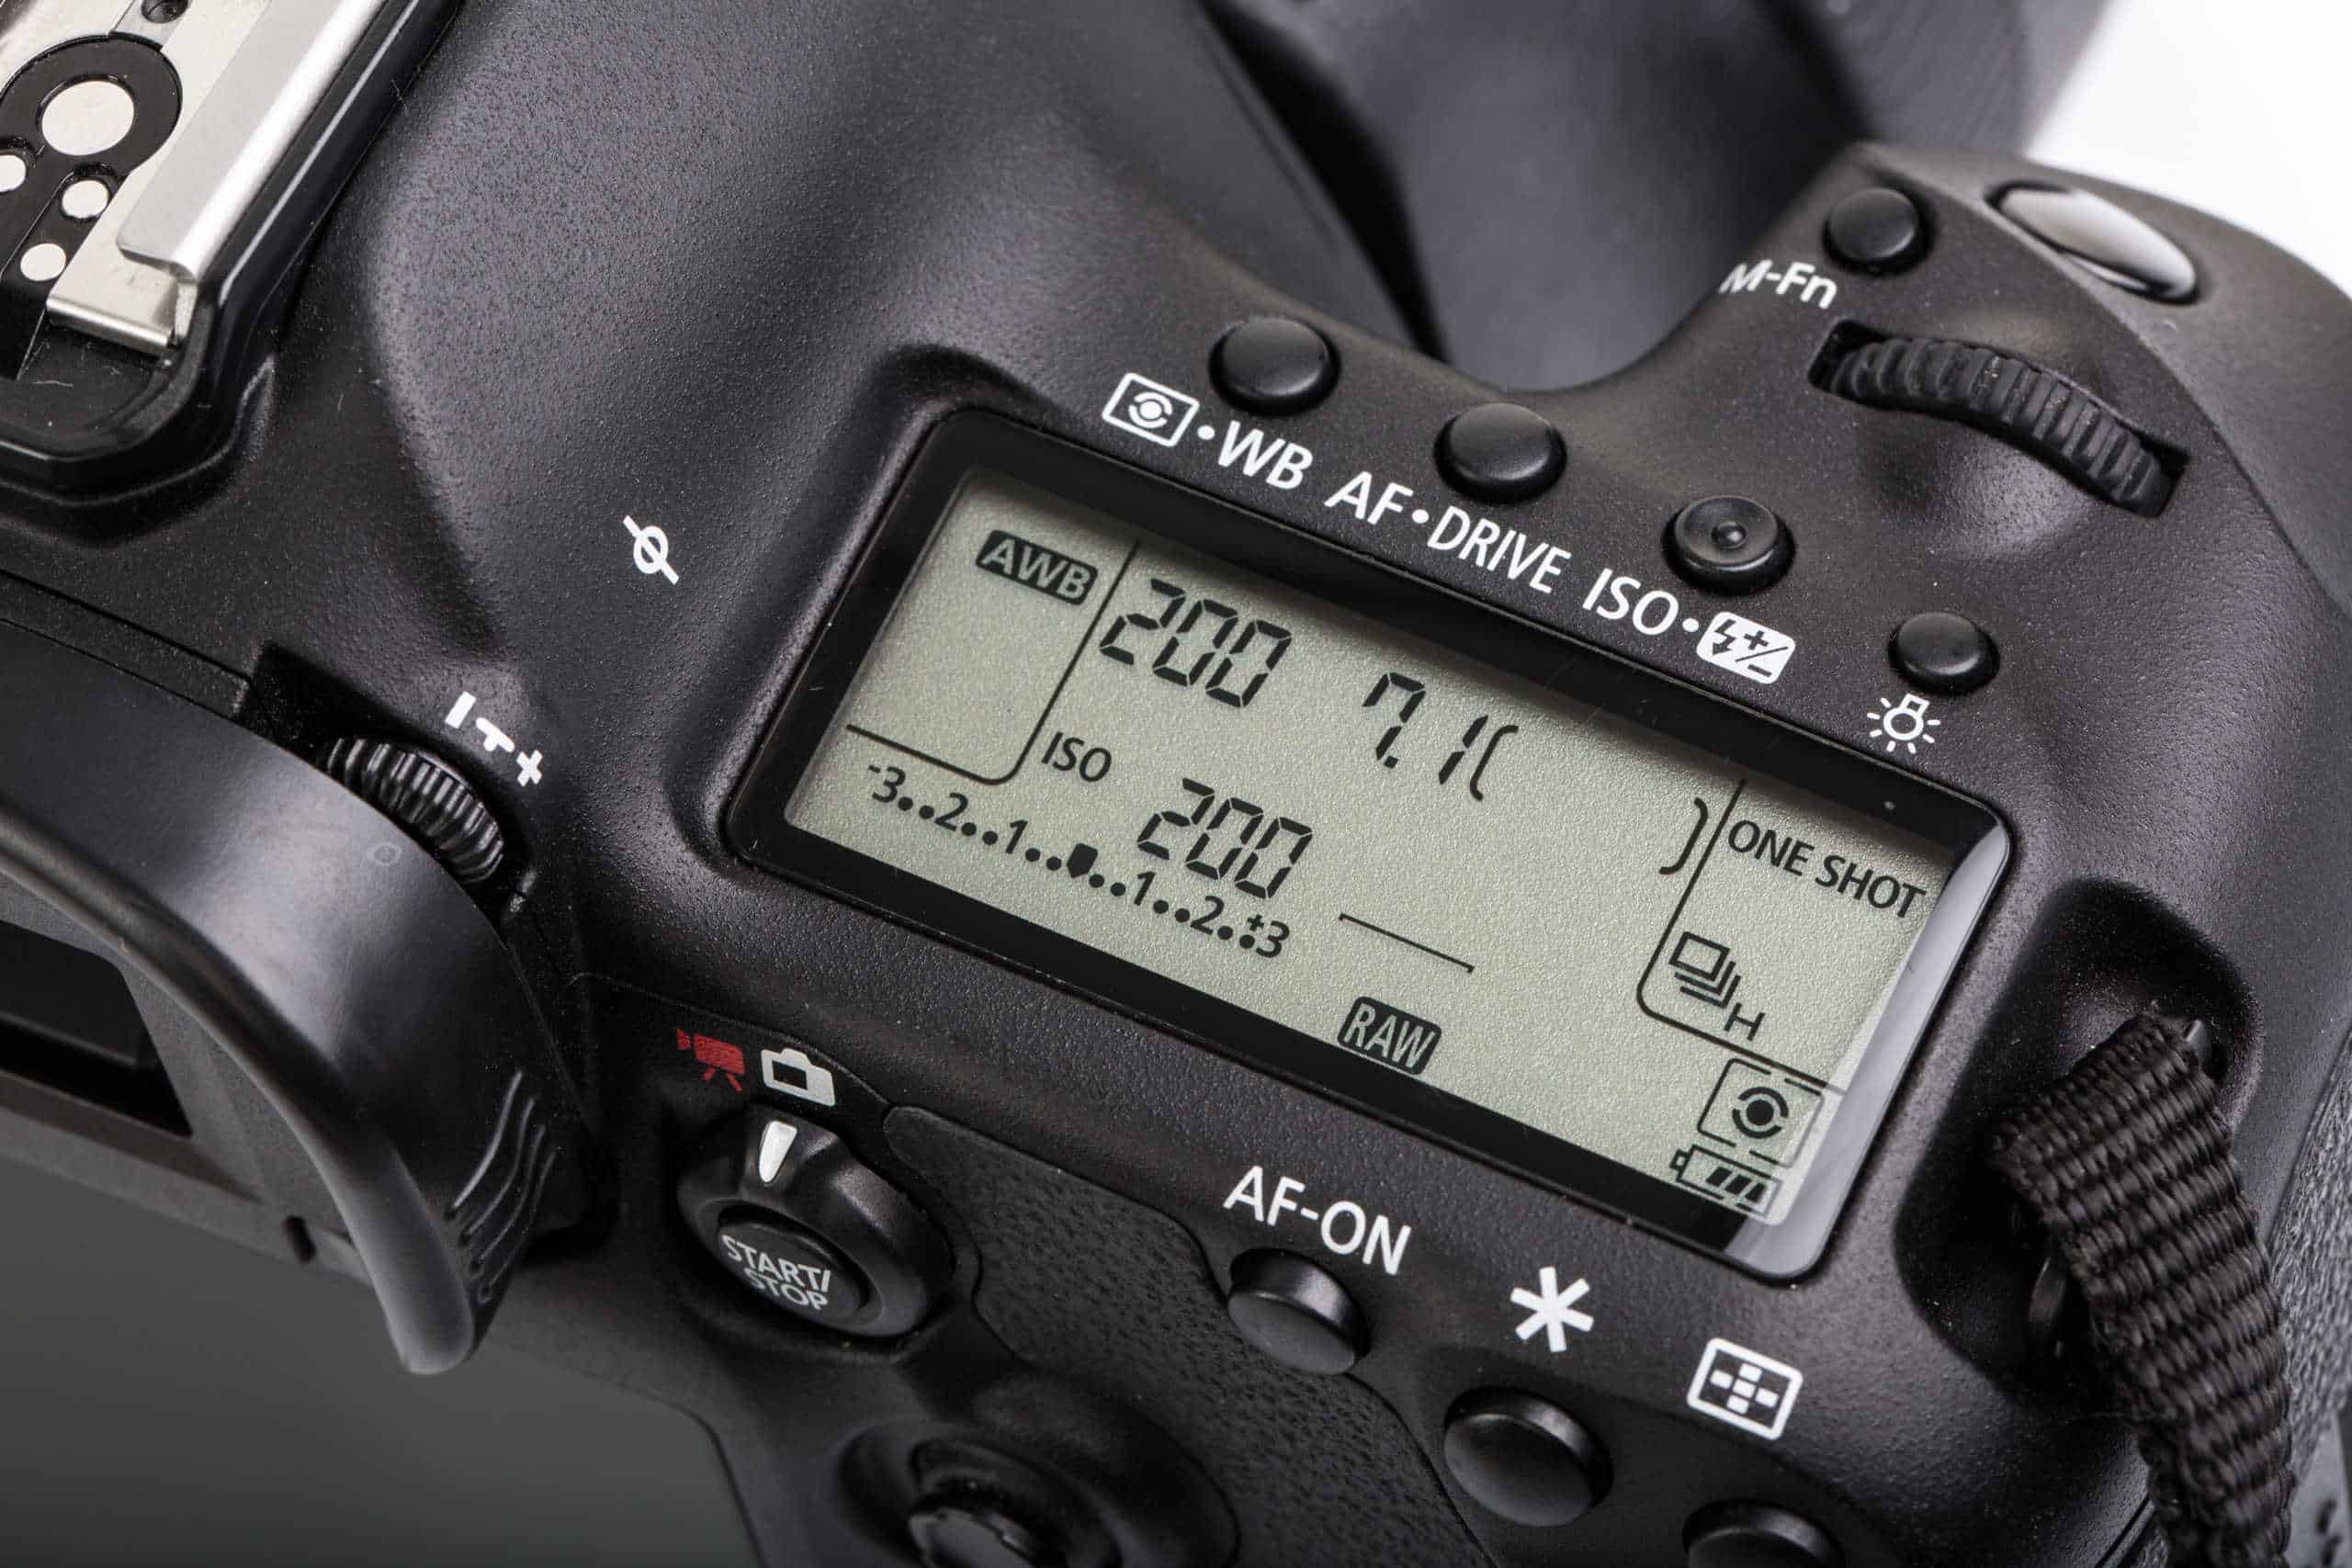
Understanding physical controls accelerates learning. The mode dial on top selects shooting modes from automatic through manual. The main dial (usually near the shutter button) adjusts settings like aperture or shutter speed depending on mode.
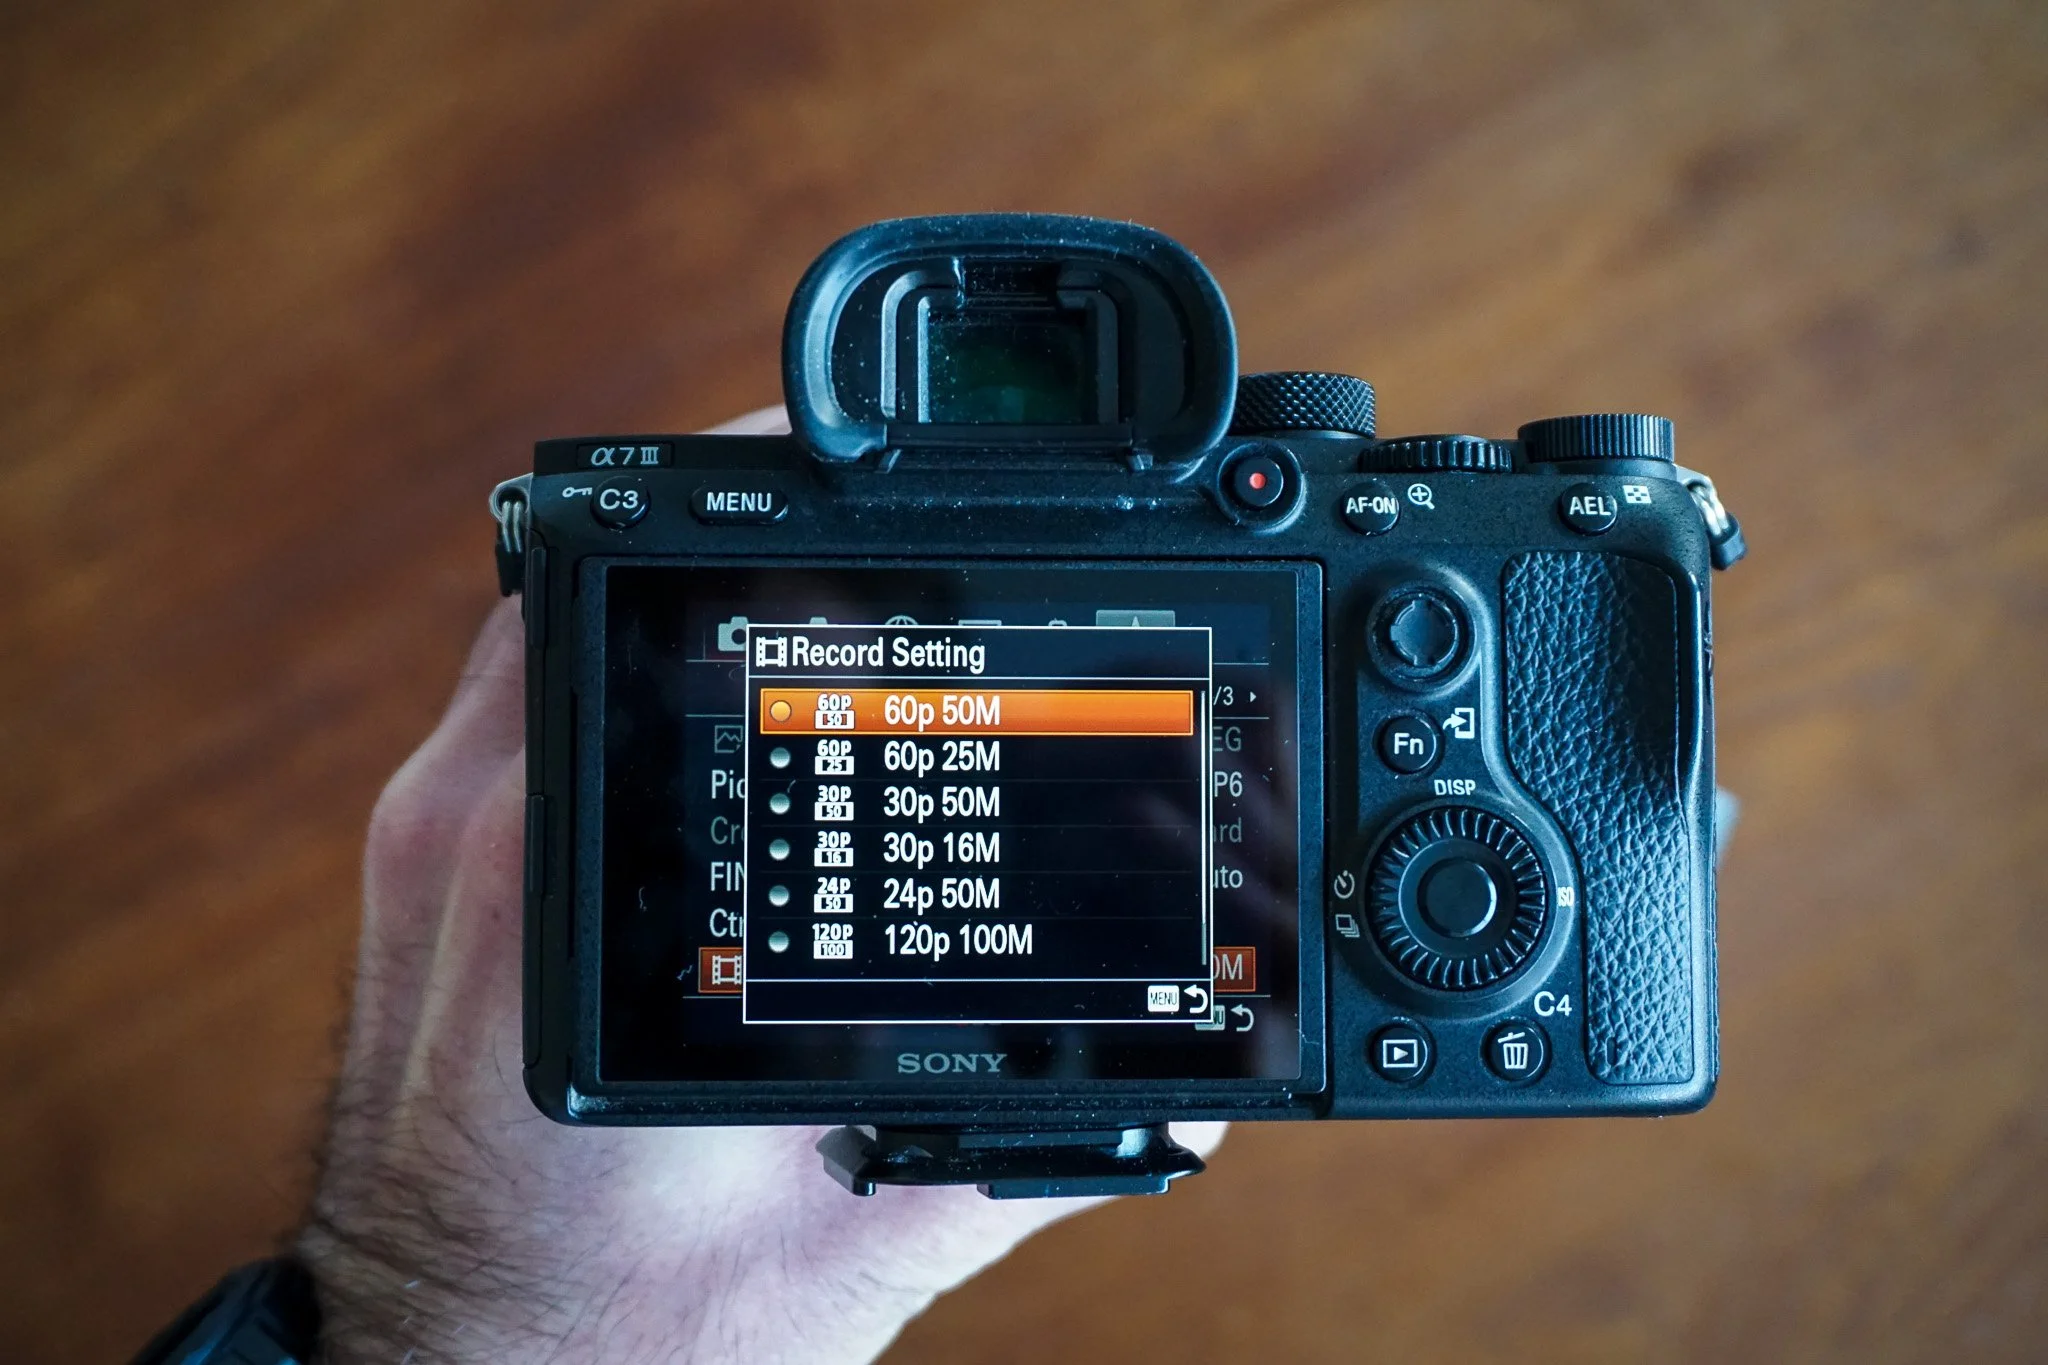
The viewfinder shows what your lens sees with exposure information displayed below. The rear LCD displays images for review and provides menu access. The lens mount connects interchangeable lenses. Memory card slots store your images.
Battery compartments typically sit at the camera bottom. Hot shoes on top accept external flash units. Various ports connect cables for data transfer, remote triggers, and external microphones.
The Mode Dial
Auto Mode
Fully automatic mode makes all exposure decisions for you. The camera selects aperture, shutter speed, ISO, and often focus point. This works reliably in typical conditions but removes creative control.
Program Mode (P)
Program mode automates exposure while allowing adjustments. You can shift the aperture/shutter speed combination the camera suggests while maintaining proper exposure.
Aperture Priority (A or Av)
You select the aperture while the camera determines appropriate shutter speed. This mode suits portraits where you control depth of field, letting the camera handle exposure.
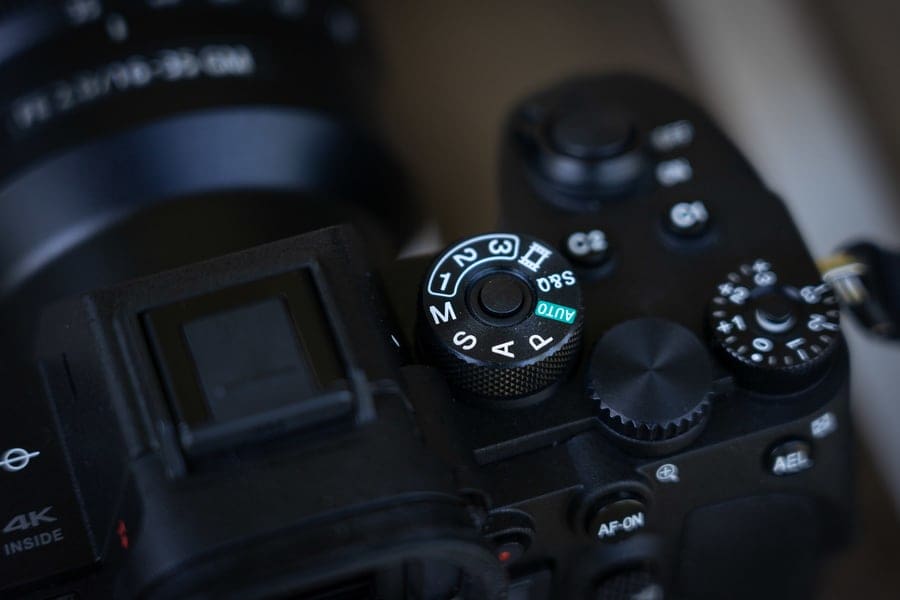
Shutter Priority (S or Tv)
You select shutter speed while the camera determines aperture. Use this for action photography where freezing or blurring motion matters more than depth of field.
Manual Mode (M)
Full manual control puts you in charge of aperture, shutter speed, and ISO. The camera’s meter suggests exposure but you make final decisions. This provides maximum creative control.
Essential Settings to Master
ISO controls sensor sensitivity. Lower values (100-400) produce cleaner images. Higher values (800+) allow shooting in dim light but introduce noise.
Aperture (f-stop) controls depth of field. Lower numbers (f/1.8-f/4) blur backgrounds. Higher numbers (f/8-f/16) keep more in focus.
Shutter speed controls motion rendering. Fast speeds (1/500+) freeze action. Slow speeds (1/30 and below) blur movement.
White balance corrects colour temperature. Auto works often but manual selection ensures accuracy in tricky lighting.
Moving from Auto to Manual
Transition gradually rather than jumping straight to manual. Start with aperture priority for portraits and general shooting. Move to shutter priority for action. Use manual when these modes limit your creative vision.
For structured guidance through this progression, the Certificate in Photography provides step-by-step instruction with tutor feedback.
Practice Exercises
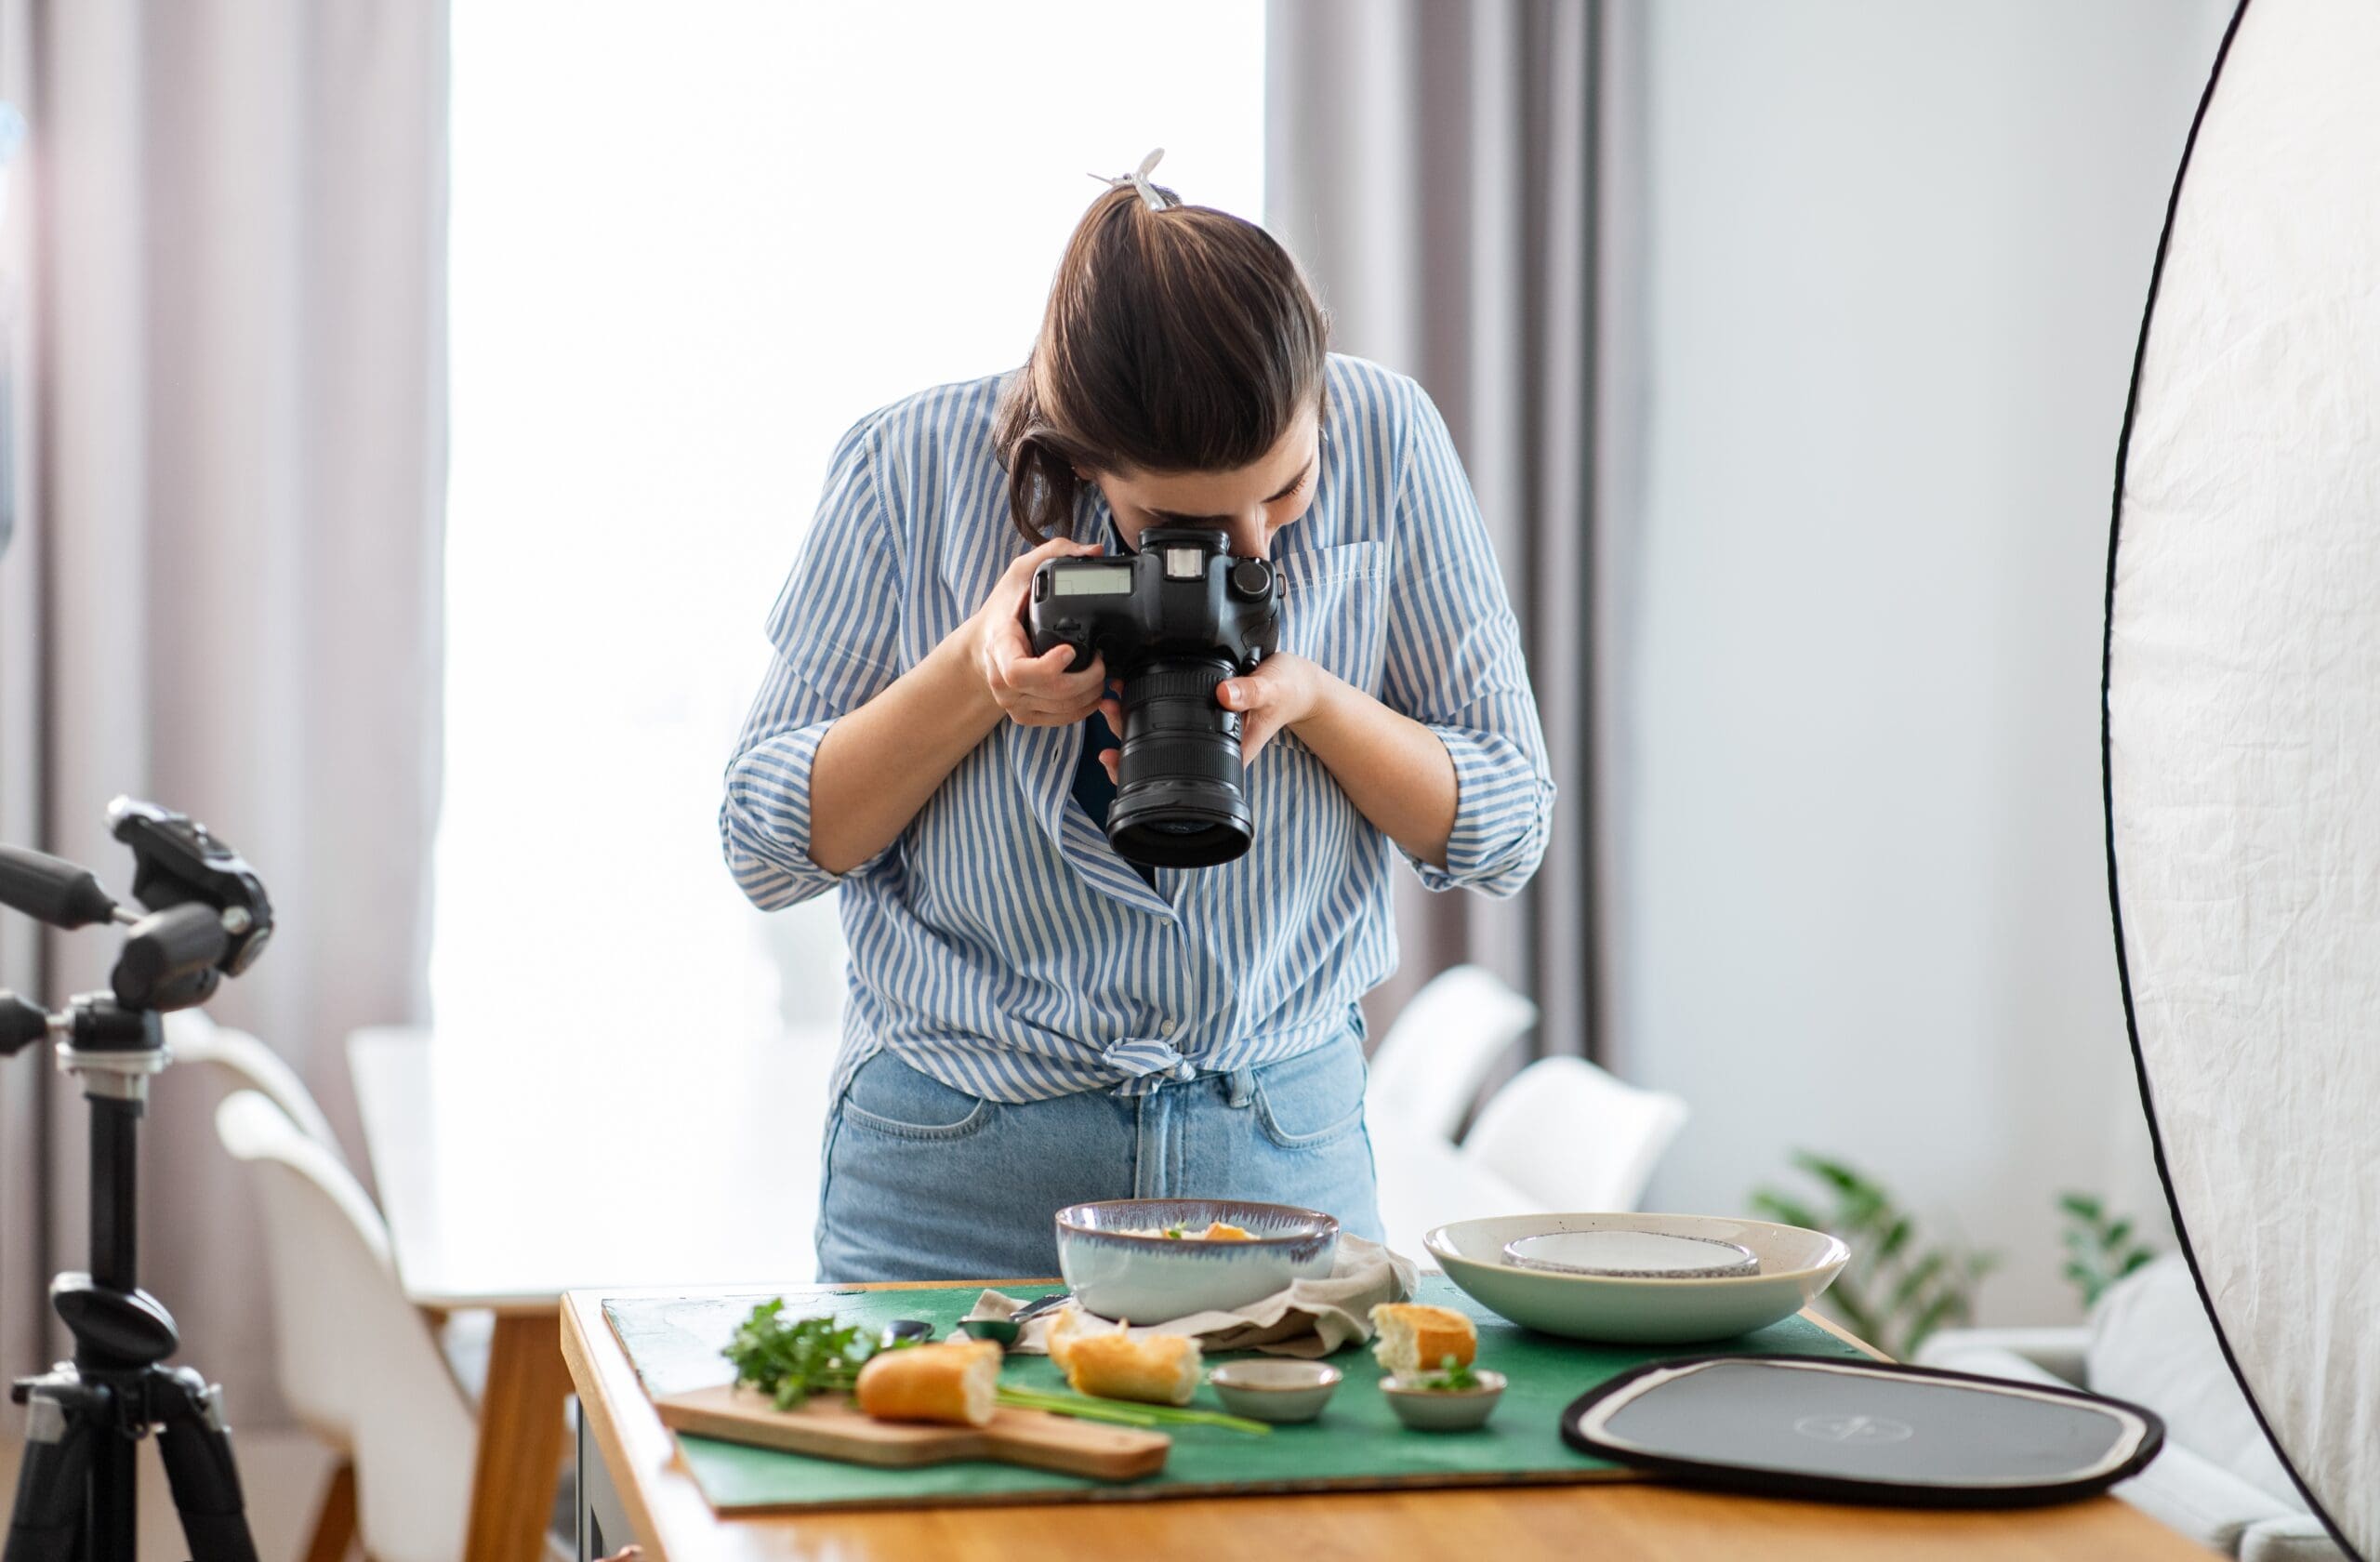
Indoor still life: Photograph objects on a table, experimenting with aperture to observe depth of field changes.
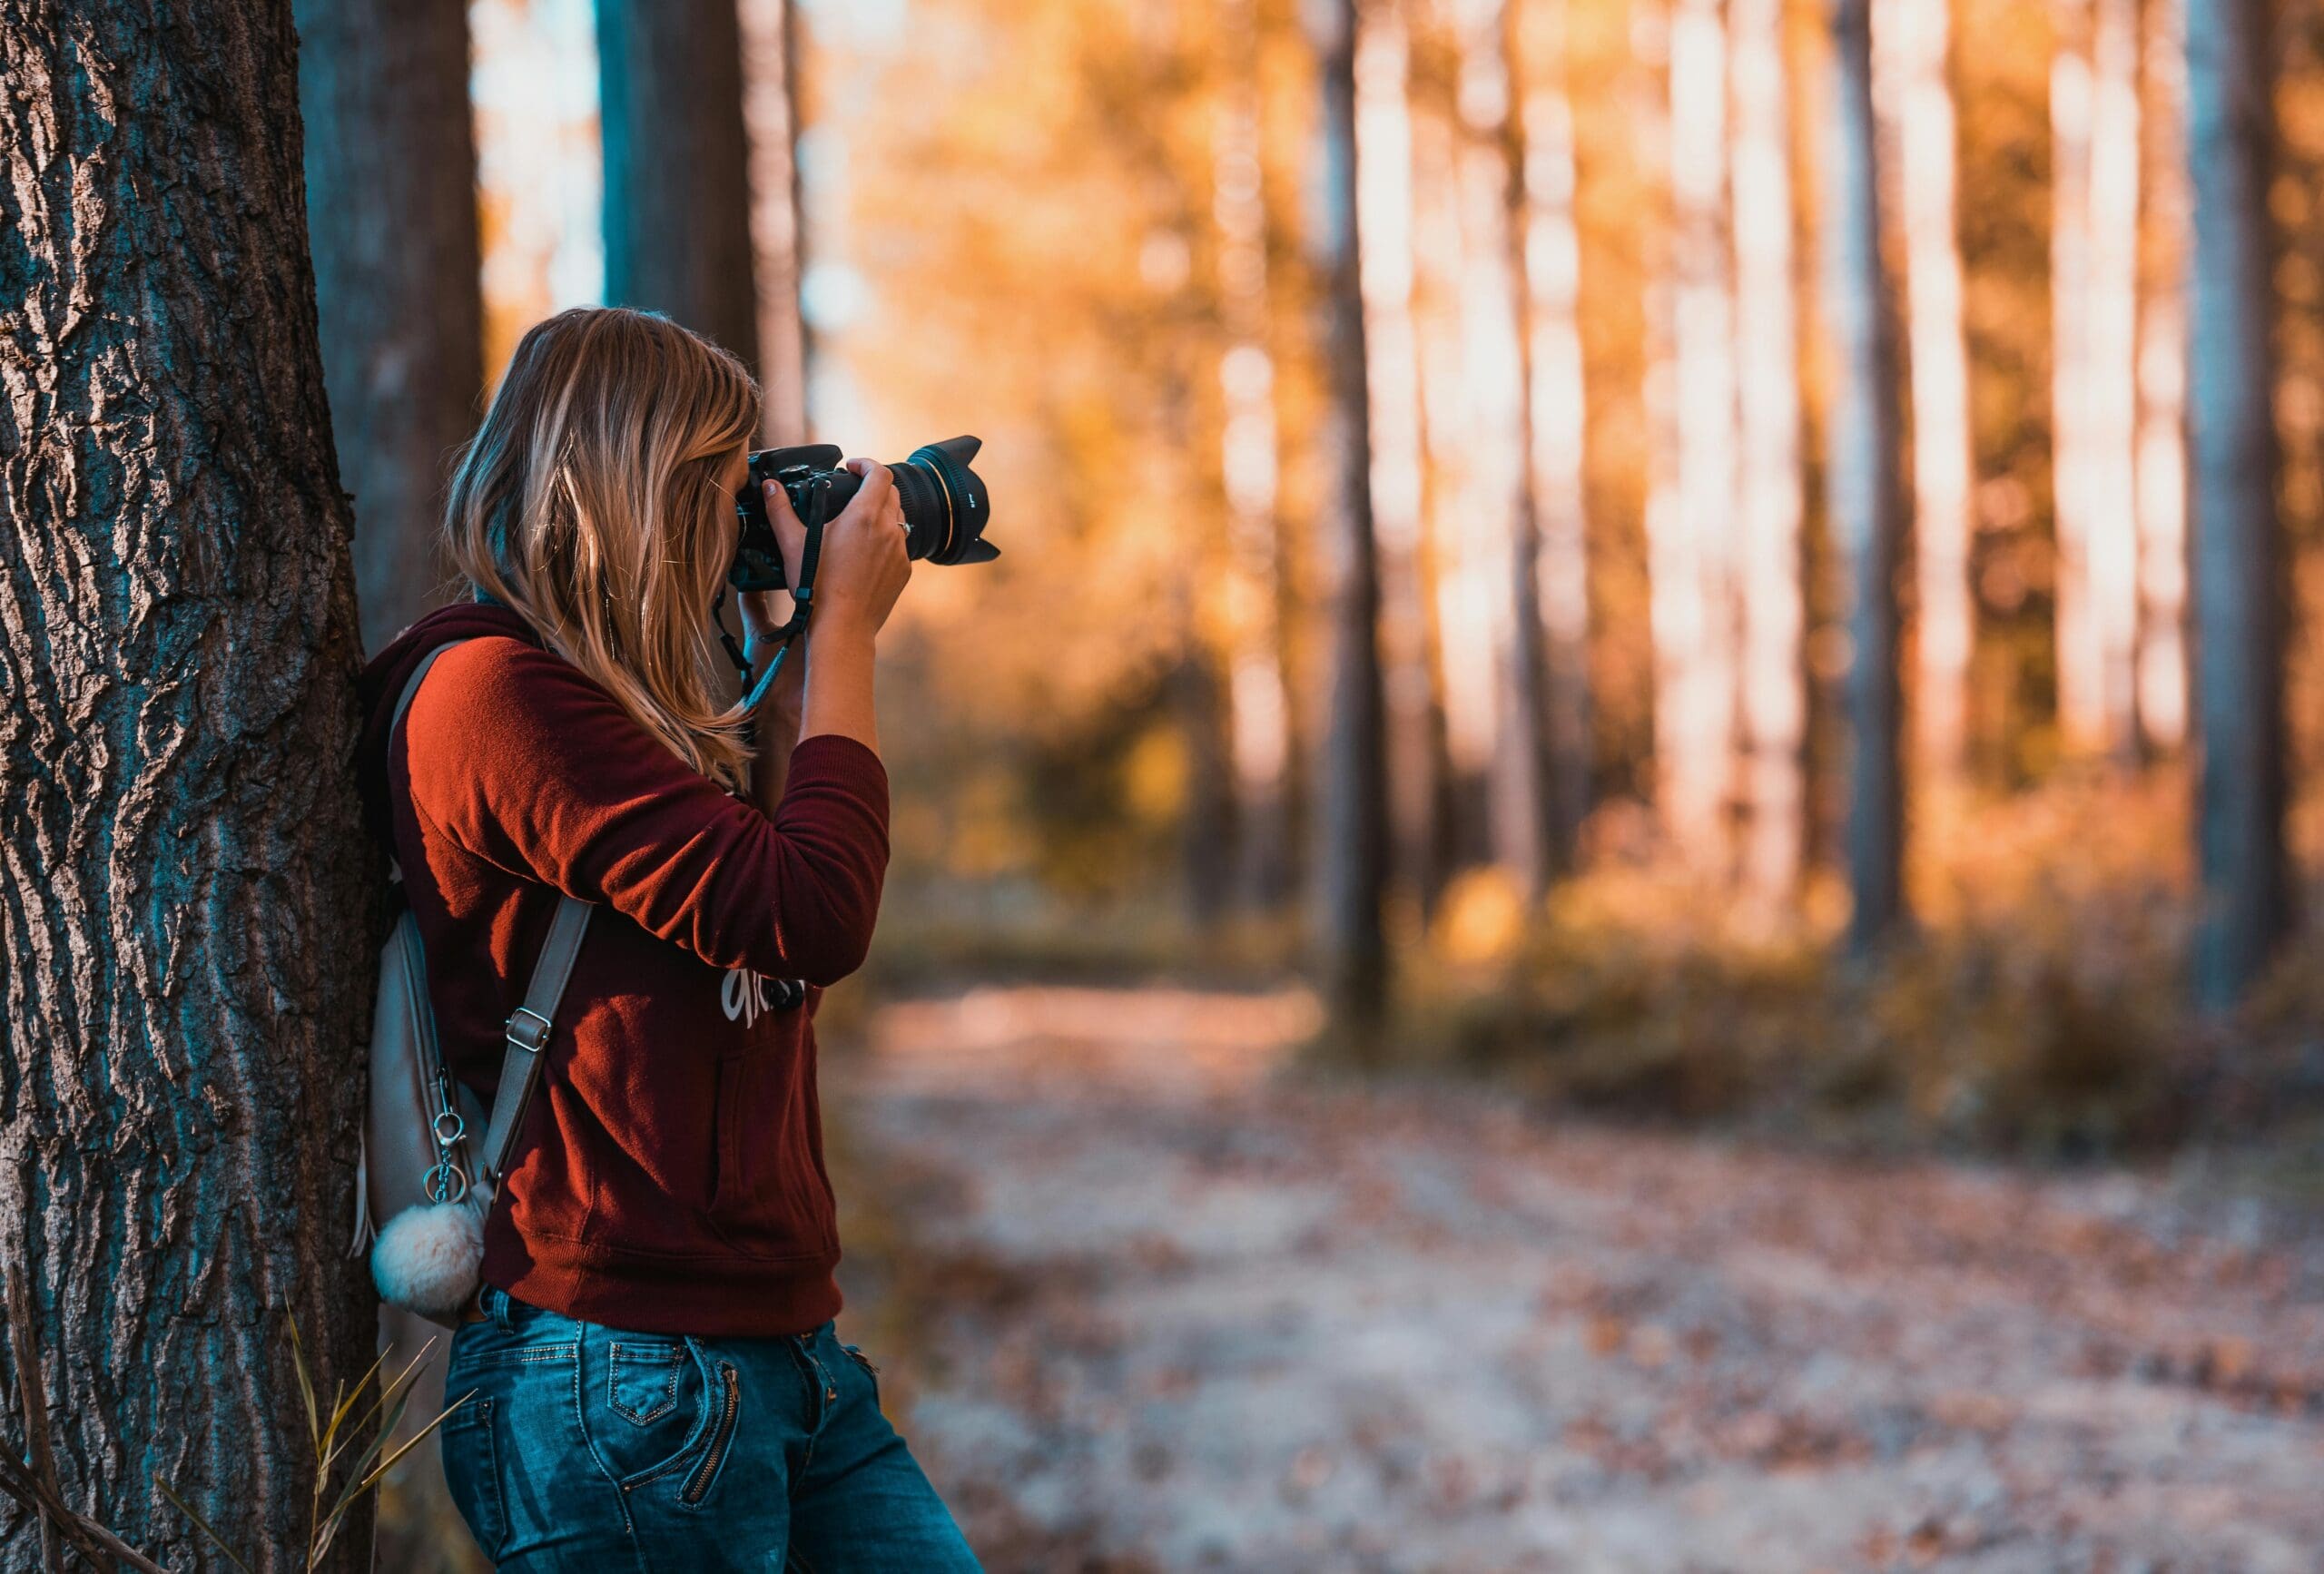
Outdoor portraits: Photograph a willing subject in open shade, using aperture priority to control background blur.
Moving subjects: Photograph pets, children, or traffic to practise shutter speed control.
Explore comprehensive camera training at Australian Photography School and develop confident camera control with expert guidance.