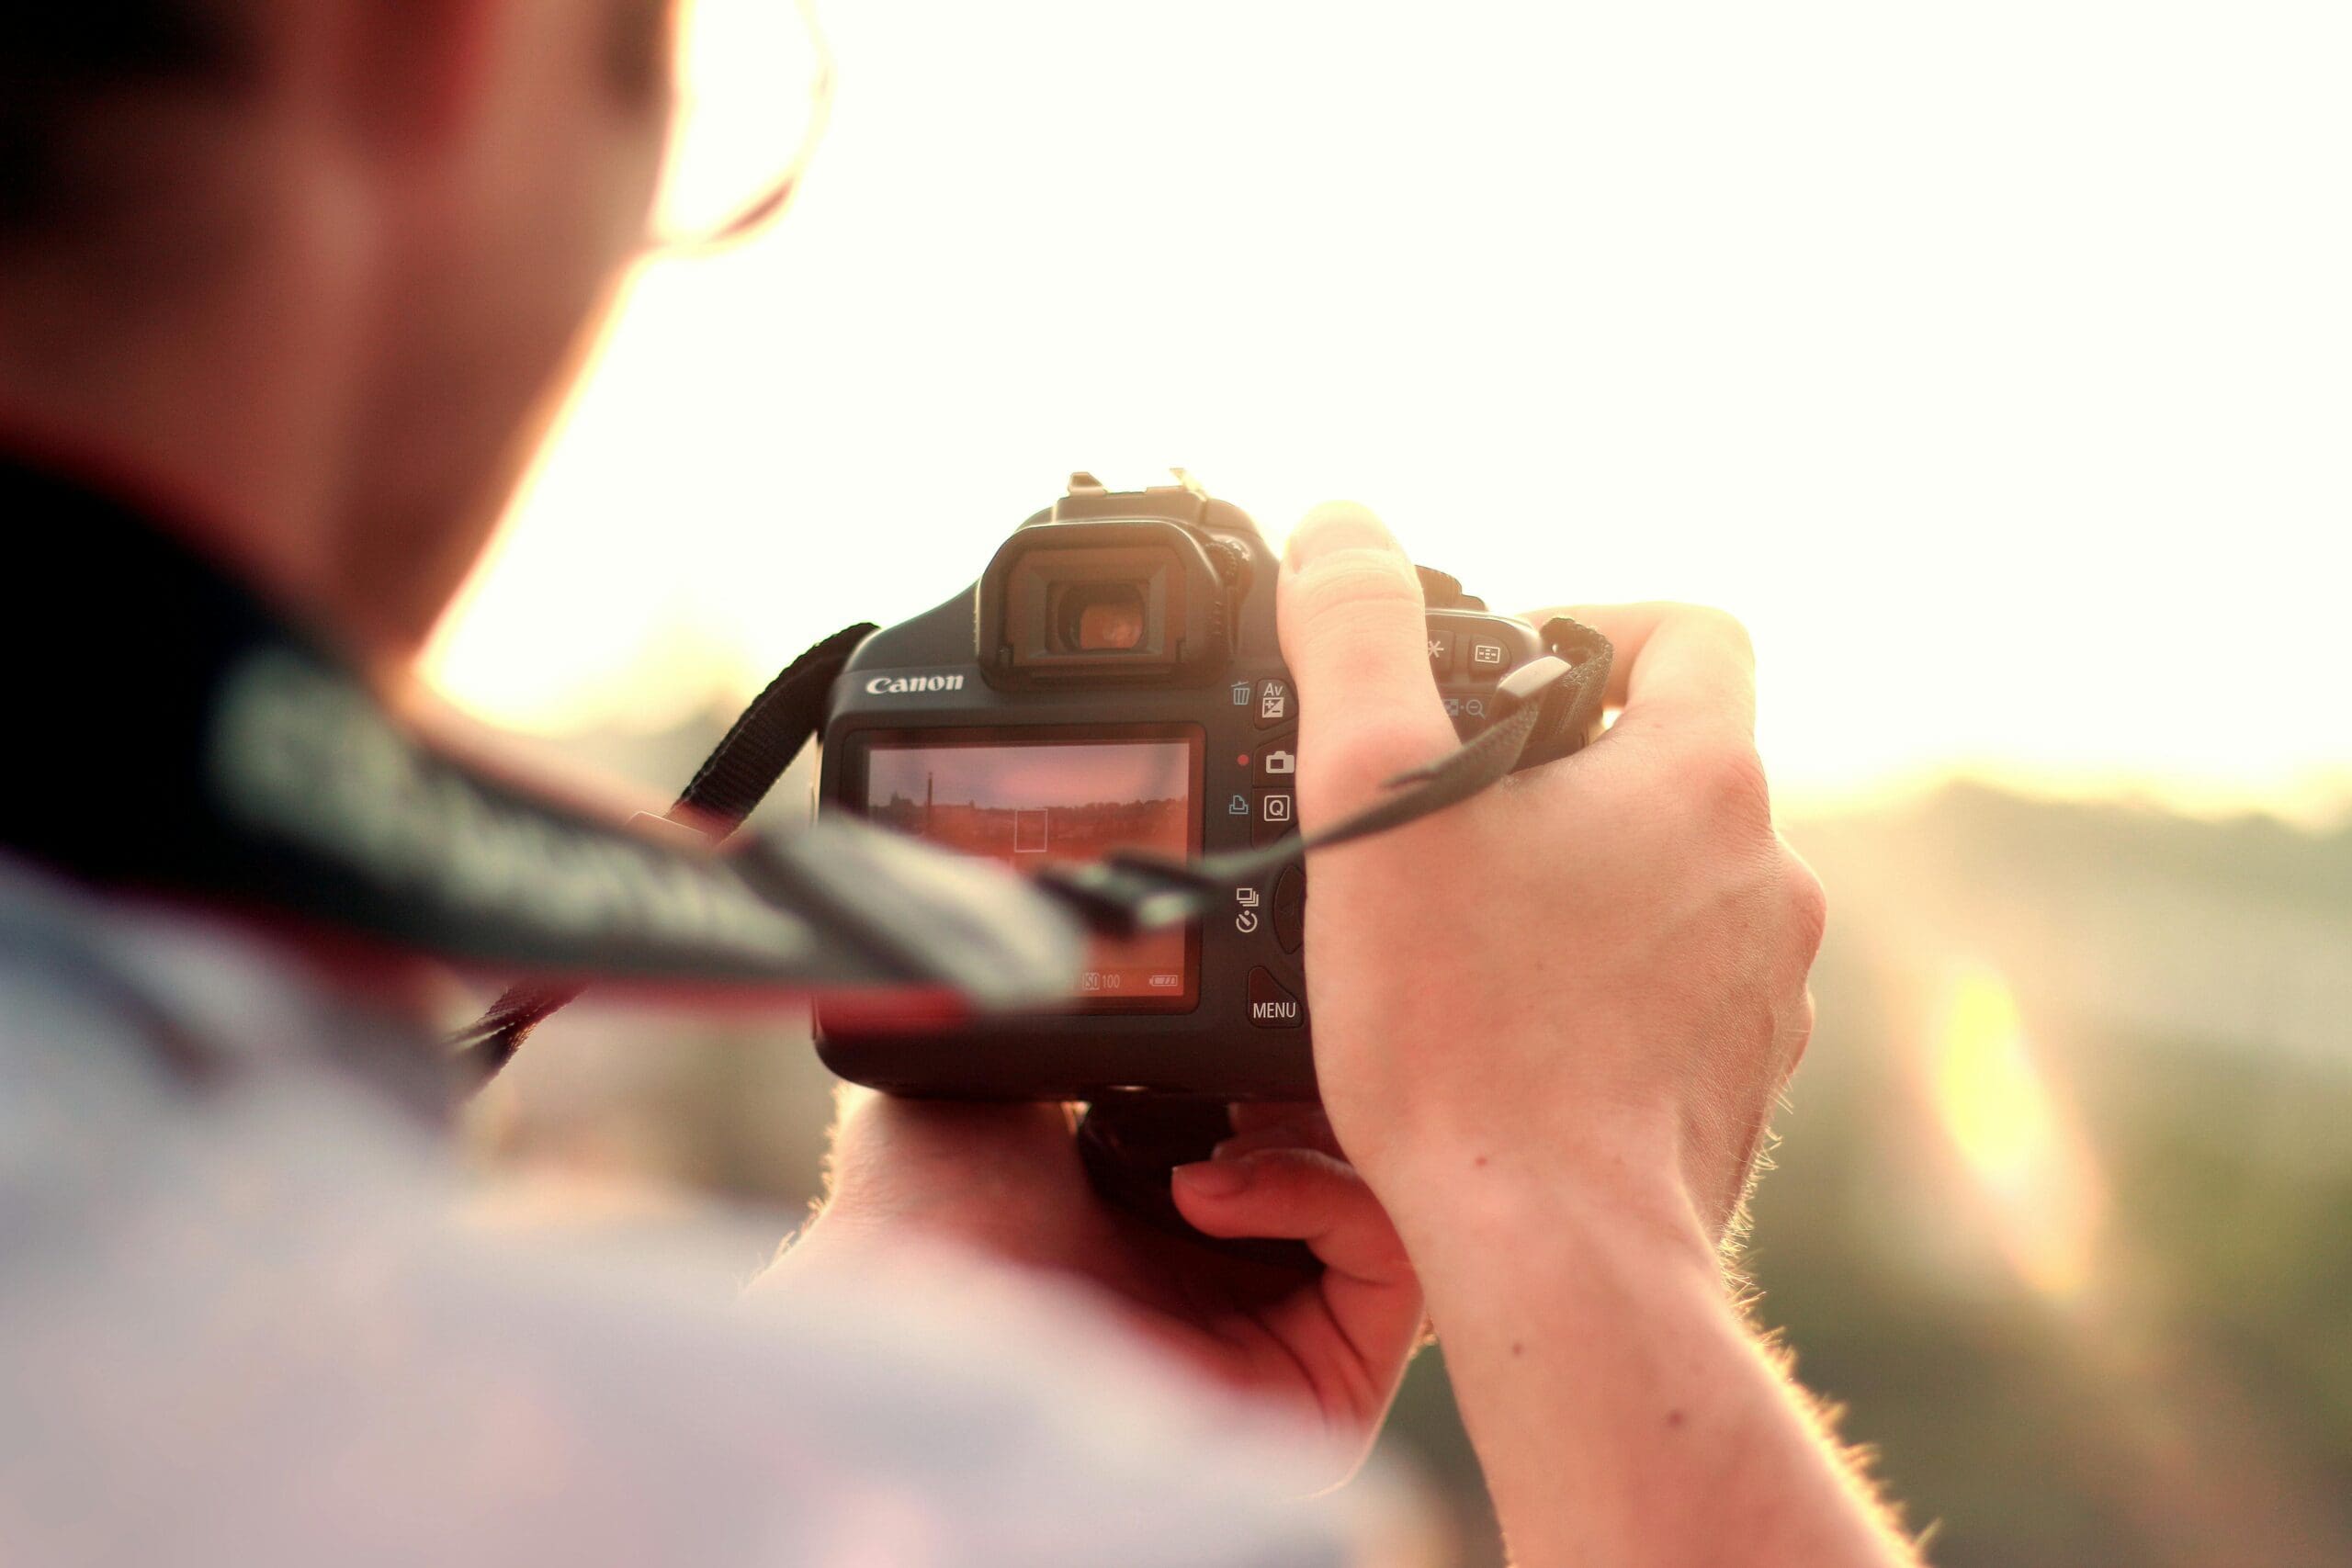
Every photograph requires light reaching your camera’s sensor in the right amount. Too little light produces dark, underexposed images. Too much creates bright, overexposed results. The exposure triangle describes the three controls determining how light affects your image: aperture, shutter speed, and ISO.
Understanding how these three elements interact unlocks creative control impossible in automatic mode. Each affects not only brightness but also aesthetic qualities like depth of field and motion rendering. Mastering the exposure triangle transforms technical photography from guesswork into intentional craft.
What Is the Exposure Triangle?
Imagine a triangle with aperture, shutter speed, and ISO at each point. Changing any one affects exposure, requiring adjustment of at least one other to maintain balanced brightness. This interconnection means multiple combinations achieve identical exposure with different creative effects.
For example, a portrait might use wide aperture (f/2.8) for background blur, fast shutter (1/200s) to freeze movement, and moderate ISO (400) for clean images. A landscape might use narrow aperture (f/11) for front-to-back sharpness, slow shutter (1/60s) acceptable on a tripod, and low ISO (100) for maximum quality.
Aperture: Controlling Light and Depth
Aperture is the adjustable opening in your lens controlling how much light passes through. Measured in f-stops (f/1.4, f/2.8, f/5.6, etc.), smaller numbers represent larger openings admitting more light.
Beyond brightness, aperture controls depth of field, the range of distance appearing sharp in your image. Wide apertures (f/1.8-f/2.8) create shallow depth of field, isolating subjects against blurred backgrounds. Narrow apertures (f/8-f/16) produce deep focus where everything appears sharp.
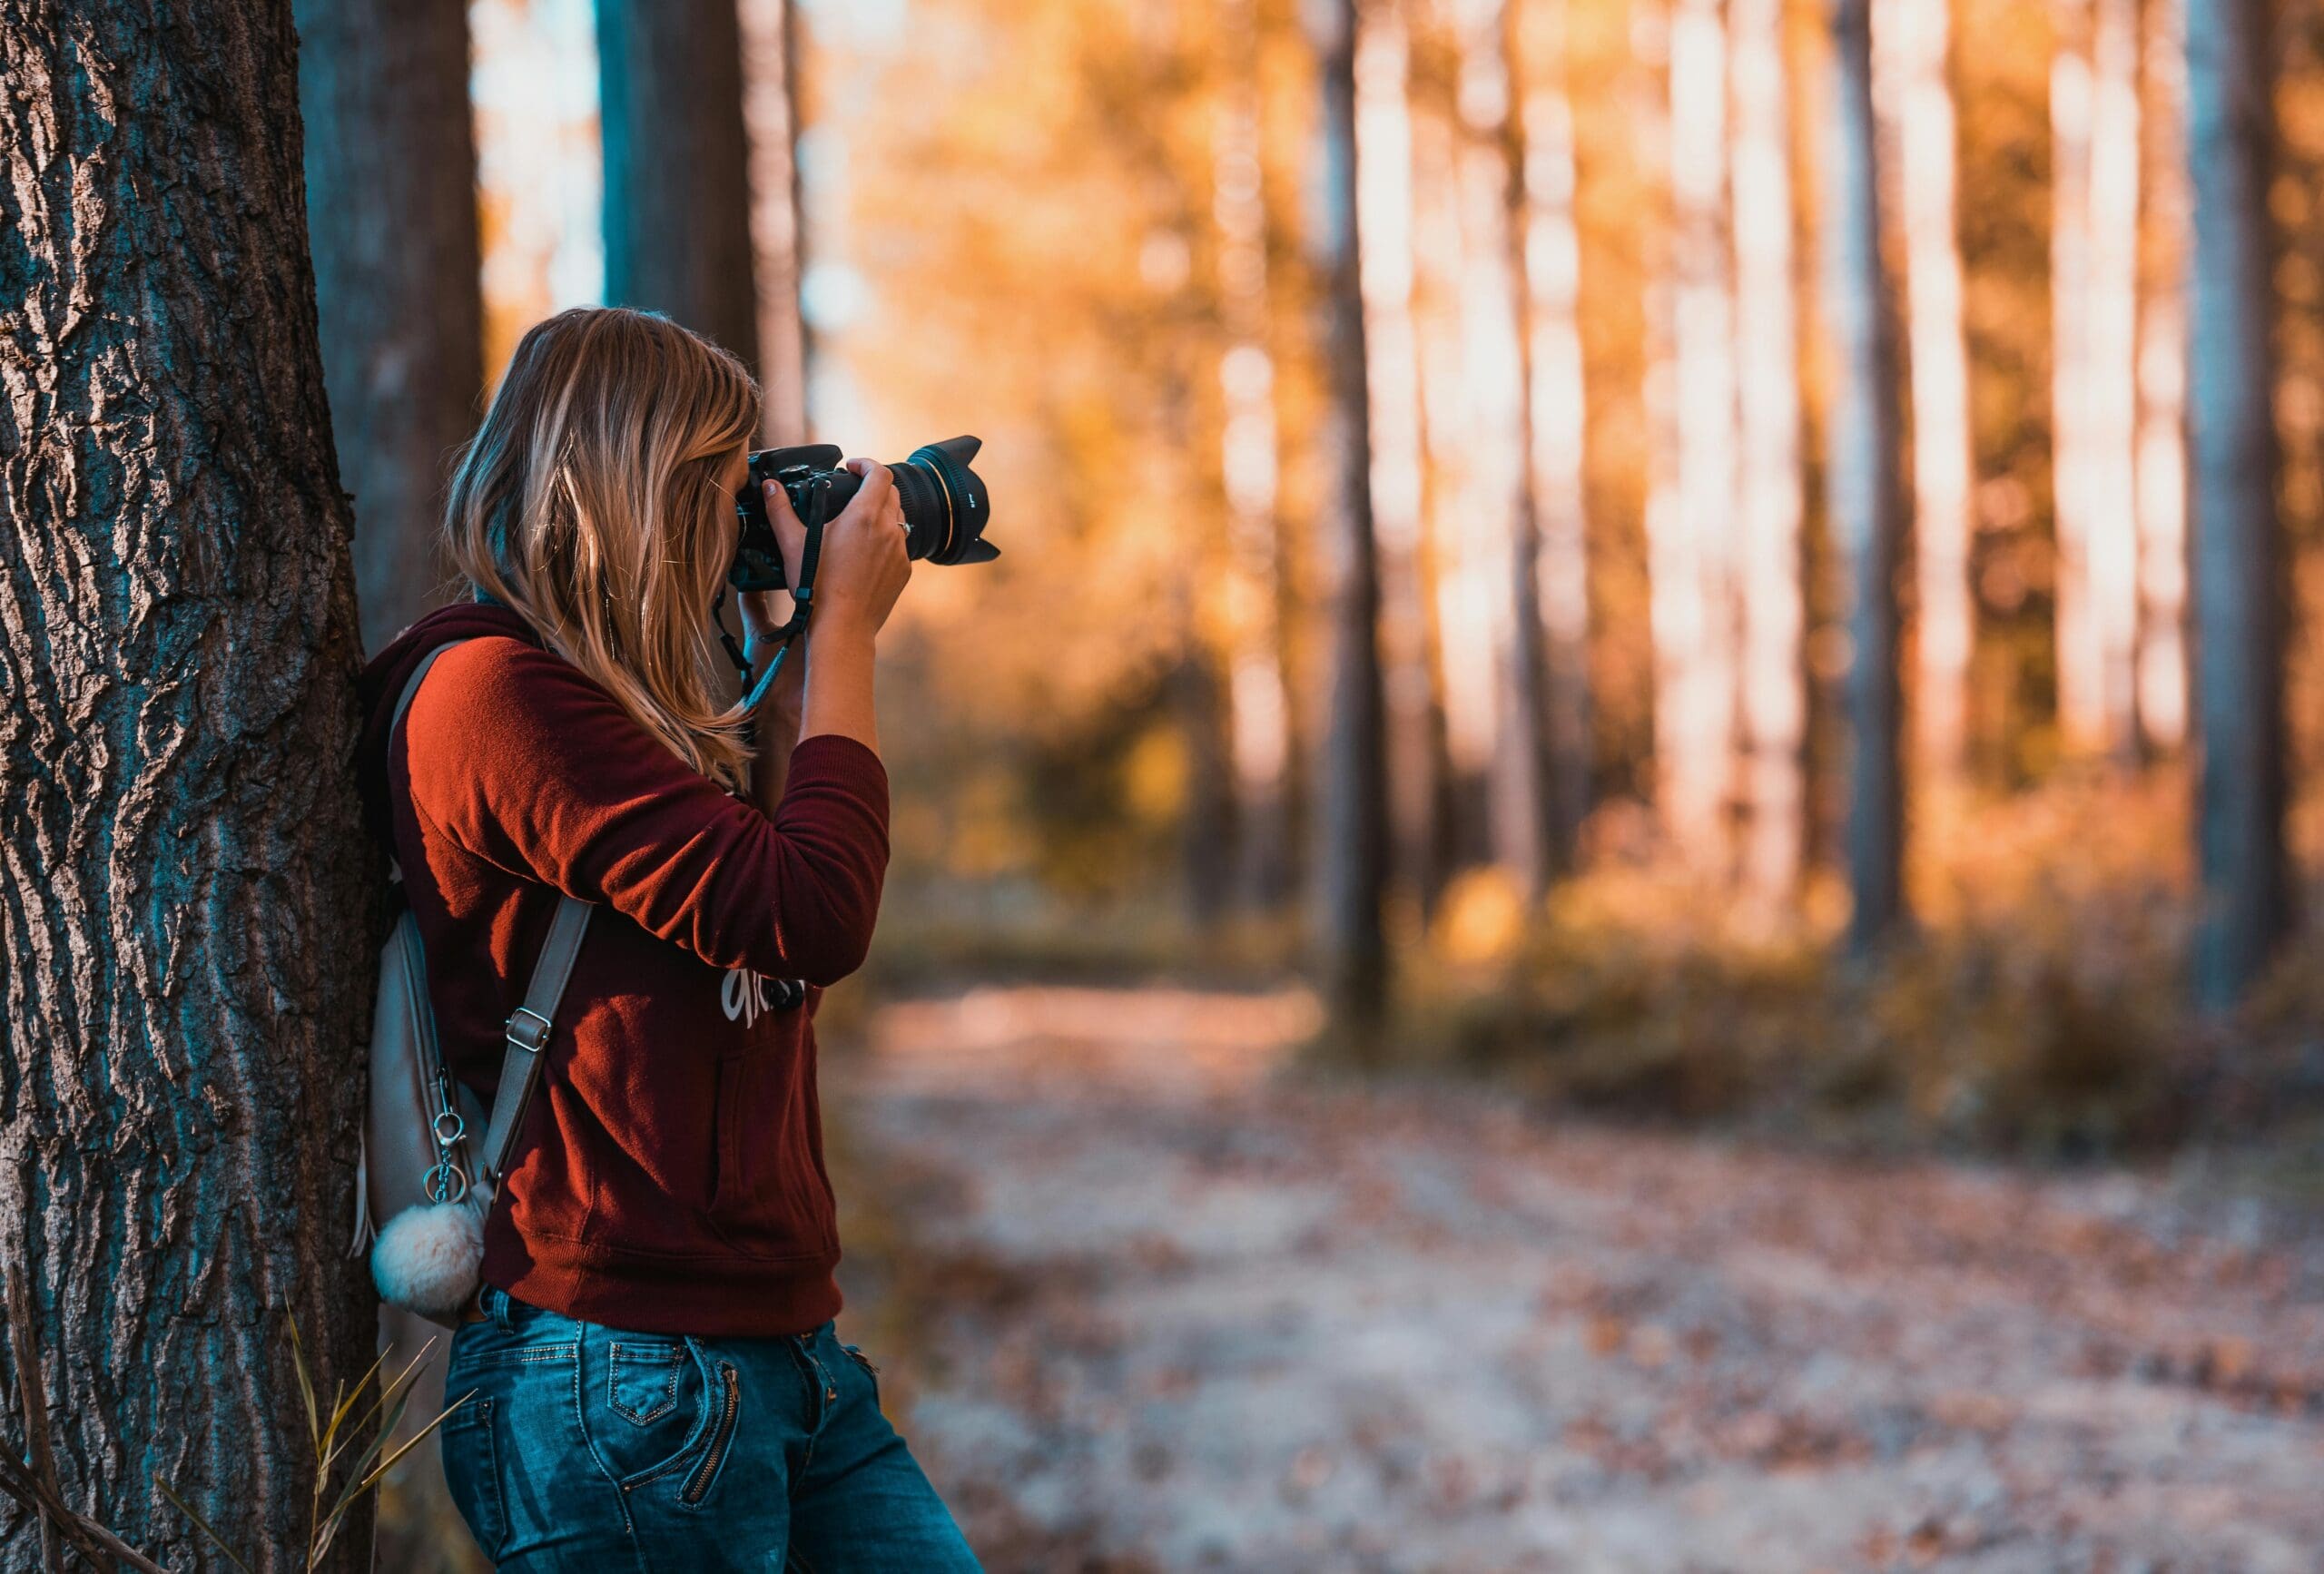
Portrait photographers typically prefer wide apertures for flattering background separation. Landscape photographers choose narrow apertures for comprehensive sharpness. Street photographers often select middle apertures balancing subject isolation with environmental context.

Shutter Speed: Freezing and Blurring Motion
Shutter speed determines how long light exposes your sensor. Measured in fractions of seconds (1/1000, 1/250, 1/60) or full seconds for long exposures. Faster speeds admit less light but freeze motion. Slower speeds admit more light but blur movement.
Sports and wildlife photographers need fast shutter speeds (1/500s and above) to freeze action crisply. Creative photographers sometimes use slow shutters intentionally, blurring waterfalls into silky streams or light trails into colourful streaks.
Handheld shooting requires shutter speeds fast enough to prevent camera shake. A general rule suggests matching your shutter speed denominator to your lens focal length, so 1/100s minimum for a 100mm lens.
ISO: Sensitivity and Image Quality
ISO controls your sensor’s light sensitivity. Lower values (100-400) produce cleaner images with minimal noise. Higher values (800-6400+) amplify available light but introduce grain and reduce dynamic range.
Modern cameras handle high ISO remarkably well compared to film-era expectations. What was unusable grain at ISO 1600 on film produces acceptable results at ISO 6400 or higher on current sensors.
Use the lowest ISO your situation allows. Increase only when needed to achieve appropriate shutter speed or desired aperture. In bright conditions, ISO 100-400 works well. Indoor and evening situations may require ISO 800-3200. Night photography might push into ISO 6400 and beyond.
How They Work Together
Every exposure decision involves tradeoffs. Opening your aperture for shallower depth of field increases light, requiring faster shutter speed or lower ISO to compensate. Raising ISO to enable faster shutter speed in dim conditions introduces noise.
Structured training like the Certificate in Photography develops intuition for these tradeoffs through guided practice and expert feedback.
Practice Scenarios
Bright sunny day: Use ISO 100, aperture based on desired depth of field, shutter speed to balance exposure.
Indoor event: Increase ISO to 1600-3200, open aperture wide, use fastest shutter speed that maintains exposure.
Sunset landscape: Low ISO for quality, narrow aperture for sharpness, tripod-mounted for slow shutter if needed.
Master the exposure triangle with professional guidance at Australian Photography School.