Picking up a camera for the first time and facing a dial full of unfamiliar modes and buttons can feel overwhelming. Aperture, shutter speed, ISO, white balance, metering modes — the technical vocabulary of photography is dense, and it is easy to feel paralysed by the sheer number of settings available. A photography course for beginners cuts through this complexity by teaching you exactly what each setting does, how they work together, and when to use each one. This guide mirrors what you will learn in a structured course and gives you a foundation to start shooting with confidence.
Why Camera Settings Matter
Every photograph is the result of light reaching your camera’s sensor. The three settings that control how much light reaches the sensor — aperture, shutter speed, and ISO — form what photographers call the exposure triangle. Mastering these three settings is the single most important technical skill in photography, and it is the first thing a photography course for beginners teaches.
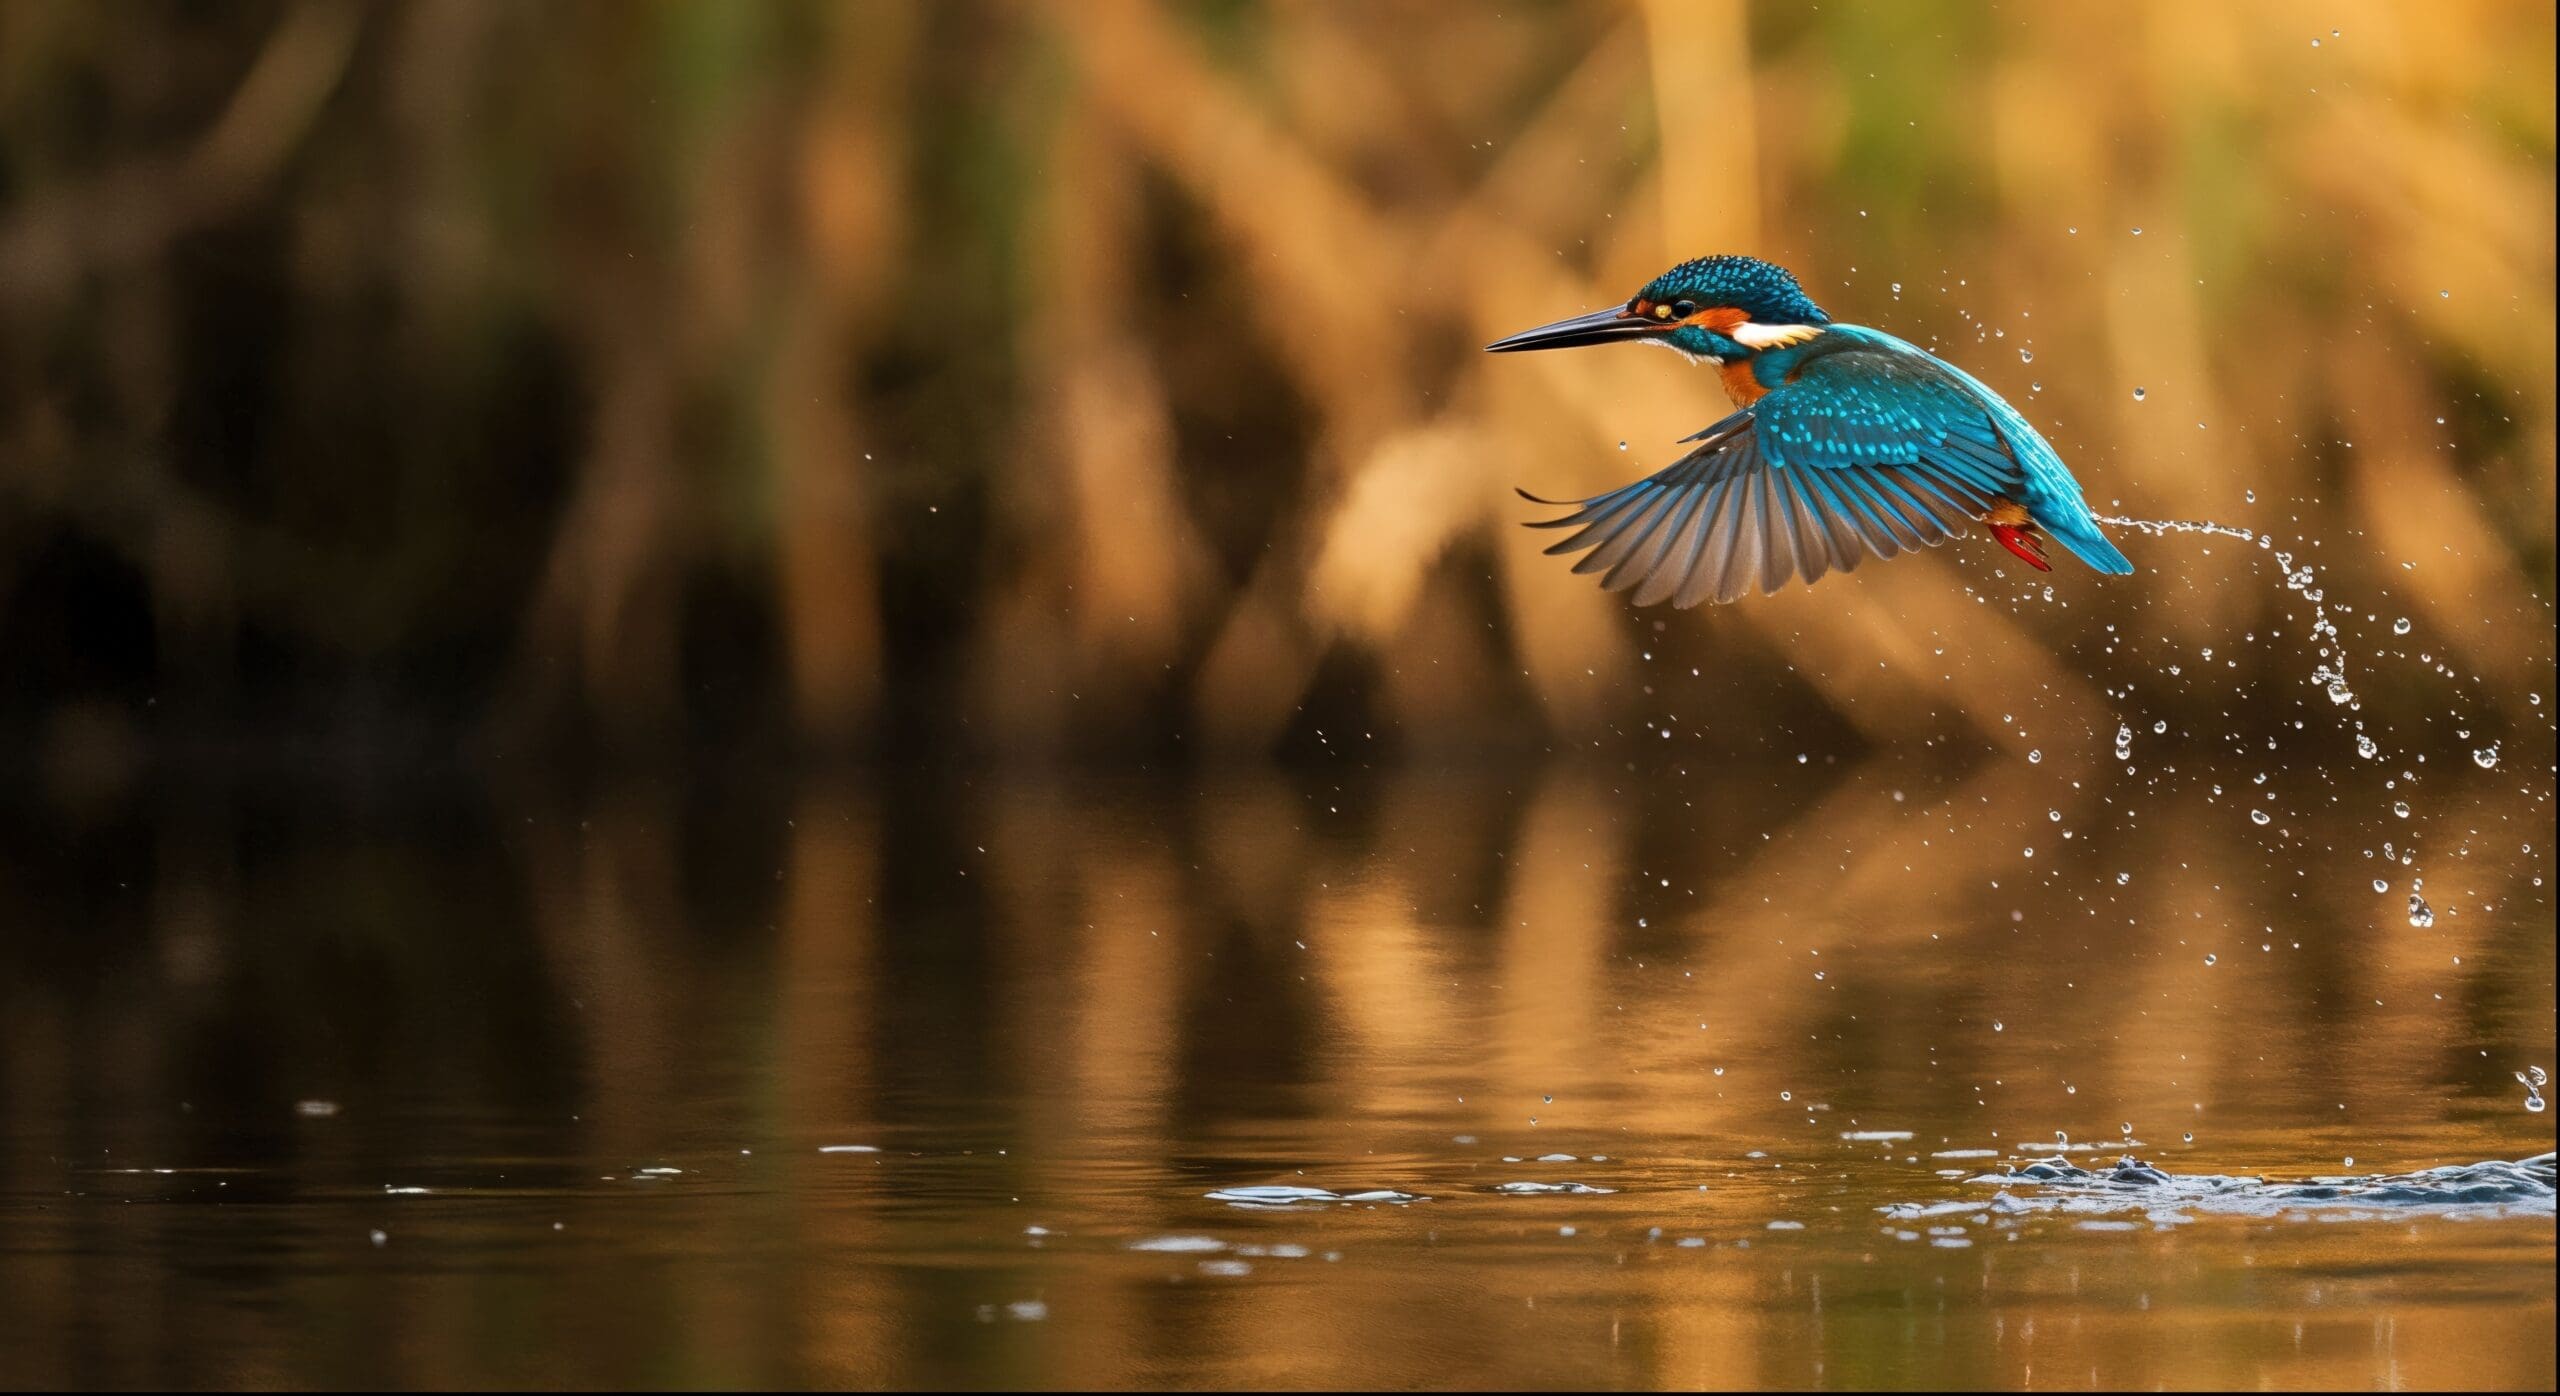
Automatic mode on your camera makes these decisions for you, and it does a reasonable job in straightforward lighting conditions. But auto mode cannot read your creative intent. It does not know whether you want a blurry background behind a portrait subject, a frozen action shot of a bird in flight, or a silky smooth waterfall. To achieve these specific creative results, you need to understand manual control — and that understanding transforms you from someone who takes snapshots into someone who makes photographs.
Aperture: Controlling Depth of Field
Aperture refers to the adjustable opening inside your lens that controls how much light passes through to the sensor. It is measured in f-stops — f/1.8, f/4, f/8, f/16, and so on. The relationship between f-stop numbers and the size of the opening is counterintuitive at first: a smaller f-stop number means a larger opening, which means more light and a shallower depth of field.
Depth of field is the range of distance in your image that appears in sharp focus. At f/1.8, that range is very narrow — your subject’s eyes might be sharp while their ears are already soft. This is the look that makes portrait photography so appealing, with the subject separated from a creamy, blurred background. At f/16, nearly everything from foreground to background is in sharp focus, which is ideal for landscape photography where you want detail throughout the entire scene.
A photography course for beginners teaches you to choose your aperture based on the story you want your image to tell. Portraits typically call for wide apertures between f/1.4 and f/2.8. Group photos work well around f/4 to f/5.6 to keep everyone in focus. Landscapes and architecture benefit from f/8 to f/16, where lens sharpness is typically at its peak.
Shutter Speed: Freezing and Blurring Motion
Shutter speed is the length of time your camera’s sensor is exposed to light. It is measured in fractions of a second — 1/1000, 1/500, 1/250, 1/60 — or in full seconds for long exposures. Faster shutter speeds freeze motion, while slower shutter speeds introduce motion blur.
For everyday photography, a general guideline is to keep your shutter speed at least as fast as the reciprocal of your focal length. If you are shooting with a 50mm lens, keep your shutter speed at 1/50 or faster to avoid camera shake. With a 200mm telephoto, you want at least 1/200.
Action and sports photography demand very fast shutter speeds — 1/1000 or higher — to freeze a moving subject with tack-sharp clarity. Conversely, creative techniques like long exposure use very slow shutter speeds to blur moving water, capture light trails from passing cars, or create ghostly motion effects in crowded spaces. Understanding when and how to use each end of the shutter speed spectrum is a core module in any photography course for beginners.
A common mistake among beginners is shooting at too slow a shutter speed in low light, resulting in blurry images caused by hand movement. A course teaches you how to recognise this issue and compensate by adjusting your aperture and ISO rather than simply accepting a blurry shot.
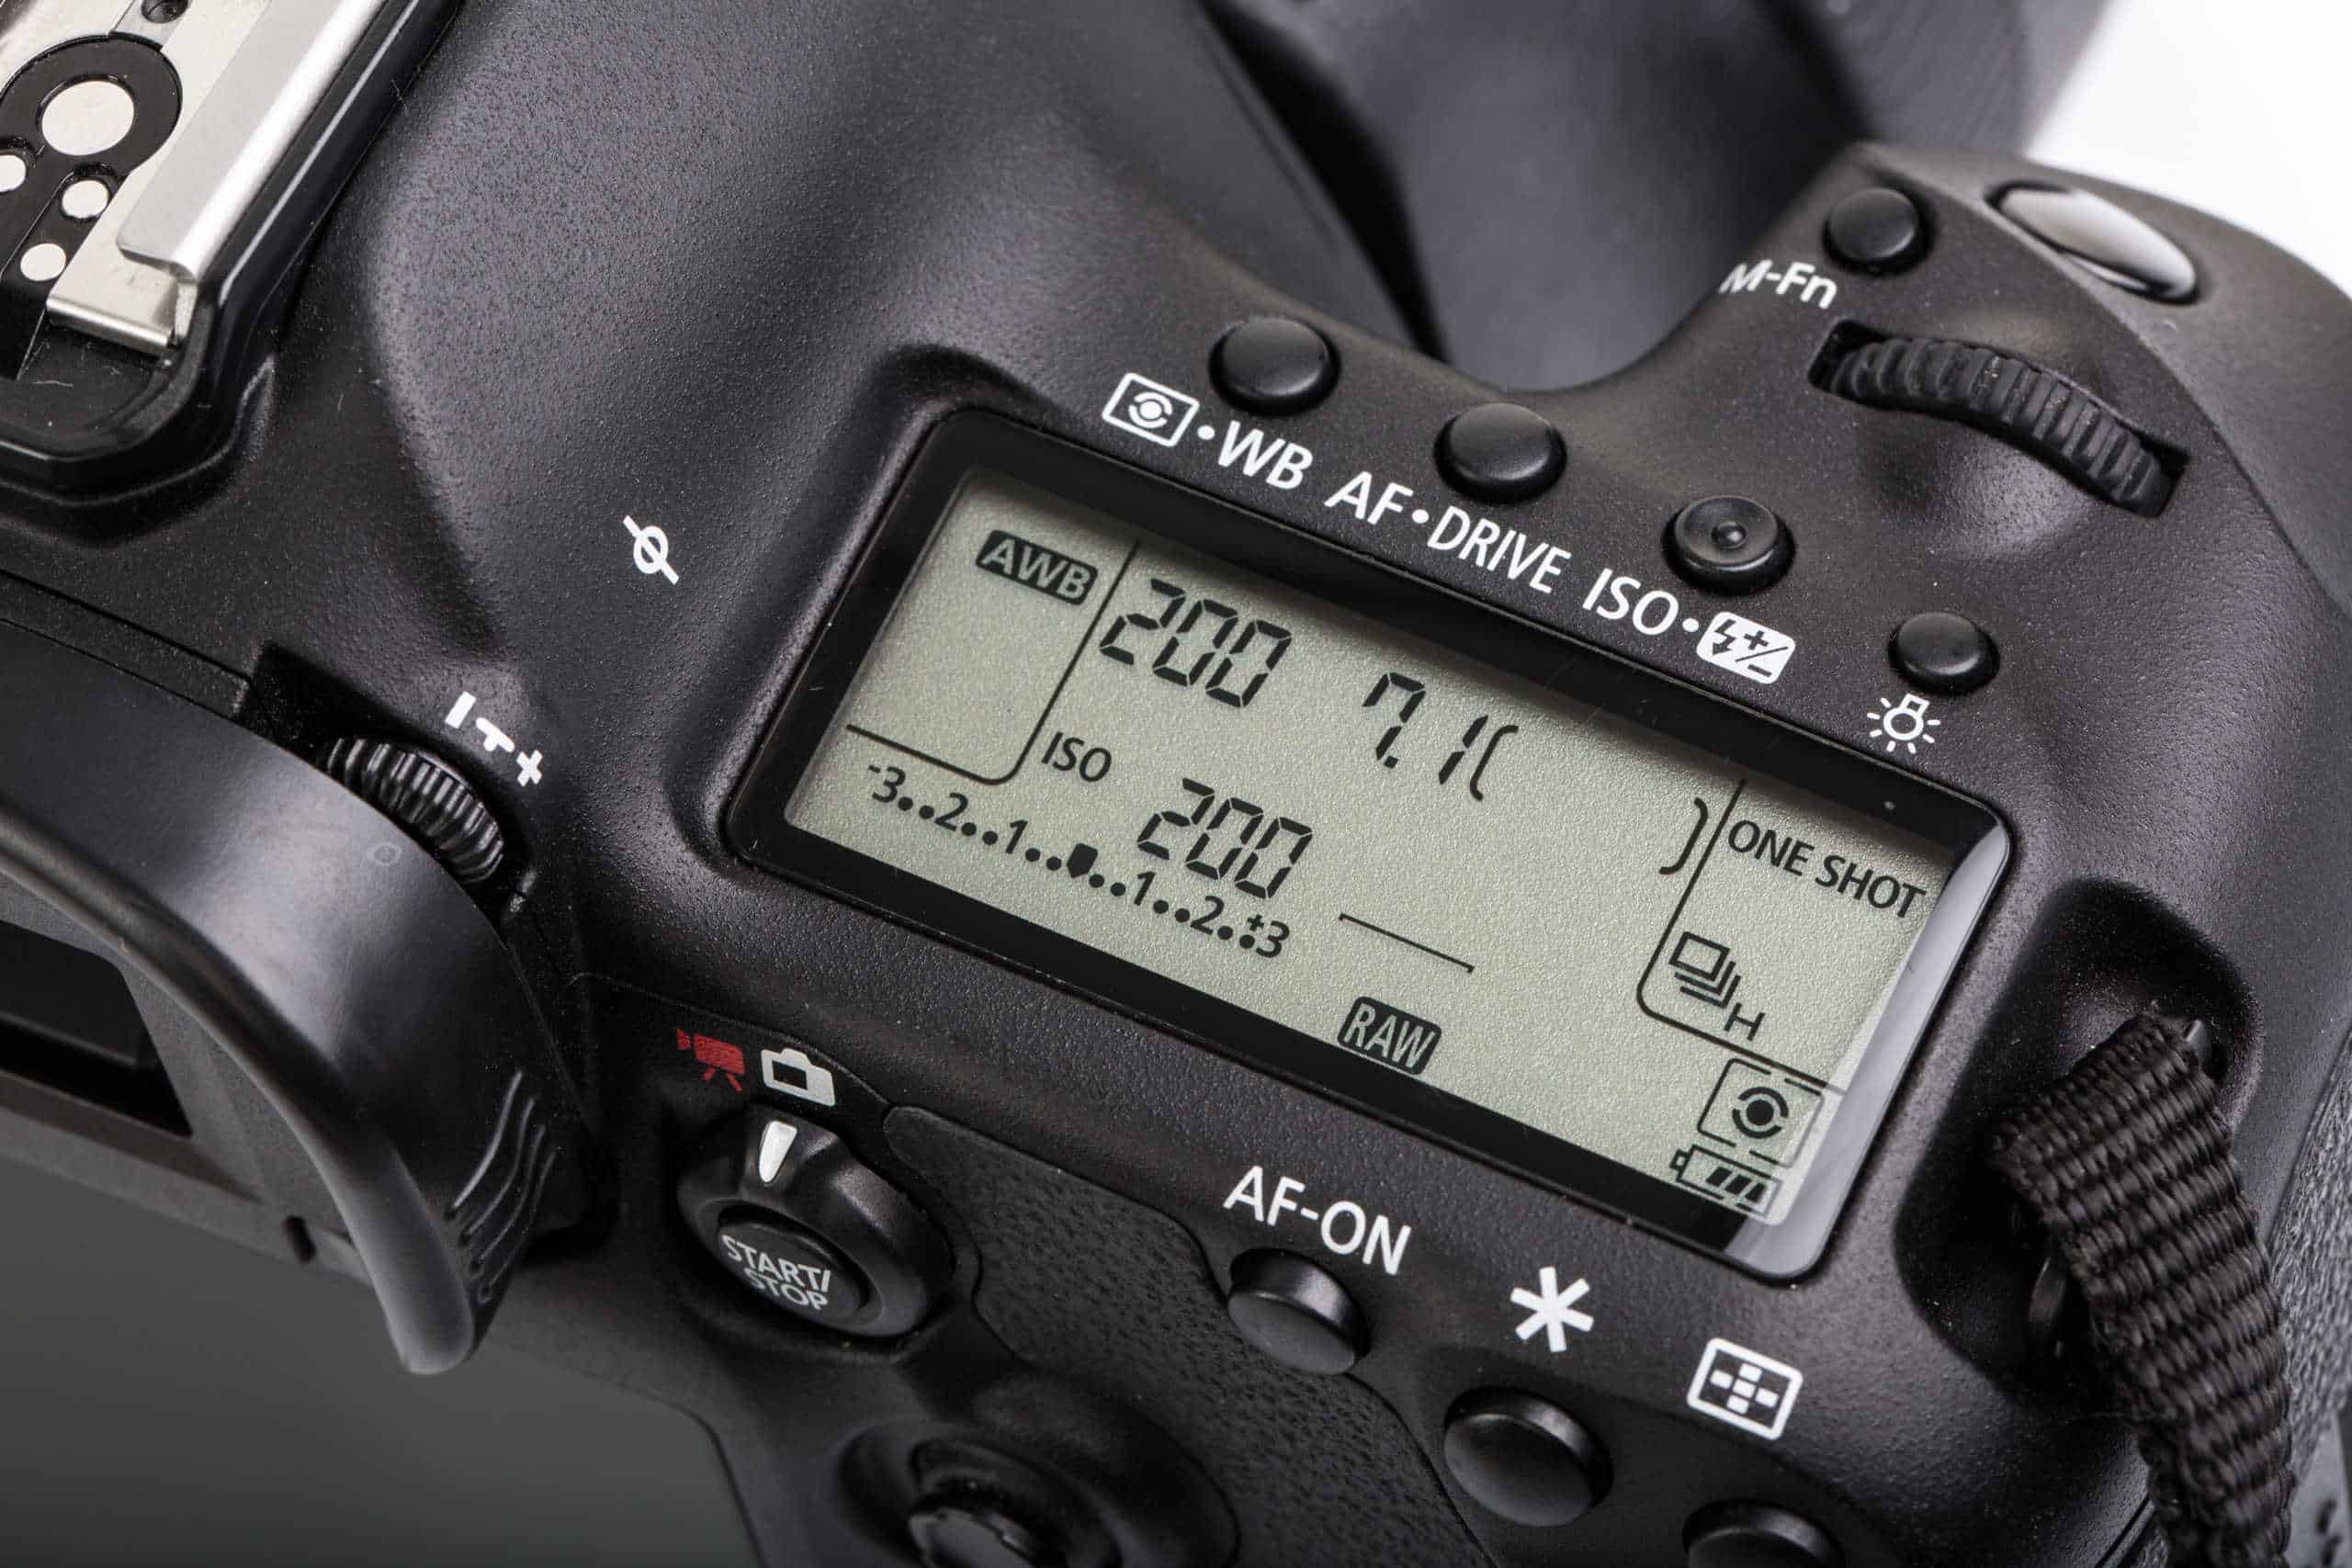
ISO: Managing Sensor Sensitivity
ISO controls your camera sensor’s sensitivity to light. A lower ISO — 100 or 200 — produces the cleanest image with the least noise or grain. A higher ISO — 1600, 3200, 6400 — amplifies the sensor’s sensitivity, allowing you to shoot in darker conditions, but at the cost of introducing visible noise into your images.
Modern cameras handle high ISO remarkably well compared to models from even five years ago. Many current mirrorless cameras produce very usable images at ISO 3200 and beyond. However, understanding the trade-off between brightness and noise is essential for making informed decisions in every shooting scenario.
A photography course for beginners teaches you to start with the lowest ISO possible and increase it only when you have already maximised your aperture and reached the minimum acceptable shutter speed. This discipline ensures you are always producing the cleanest possible image given the available light. For an in-depth technical explanation of how ISO works at the sensor level, Cambridge in Colour’s photography tutorials provide excellent supplementary reading.
The Exposure Triangle: Making All Three Work Together
The real power of understanding aperture, shutter speed, and ISO comes when you learn to balance all three simultaneously. A photography course for beginners spends significant time on this because it is the foundation of every creative and technical decision you will make as a photographer.
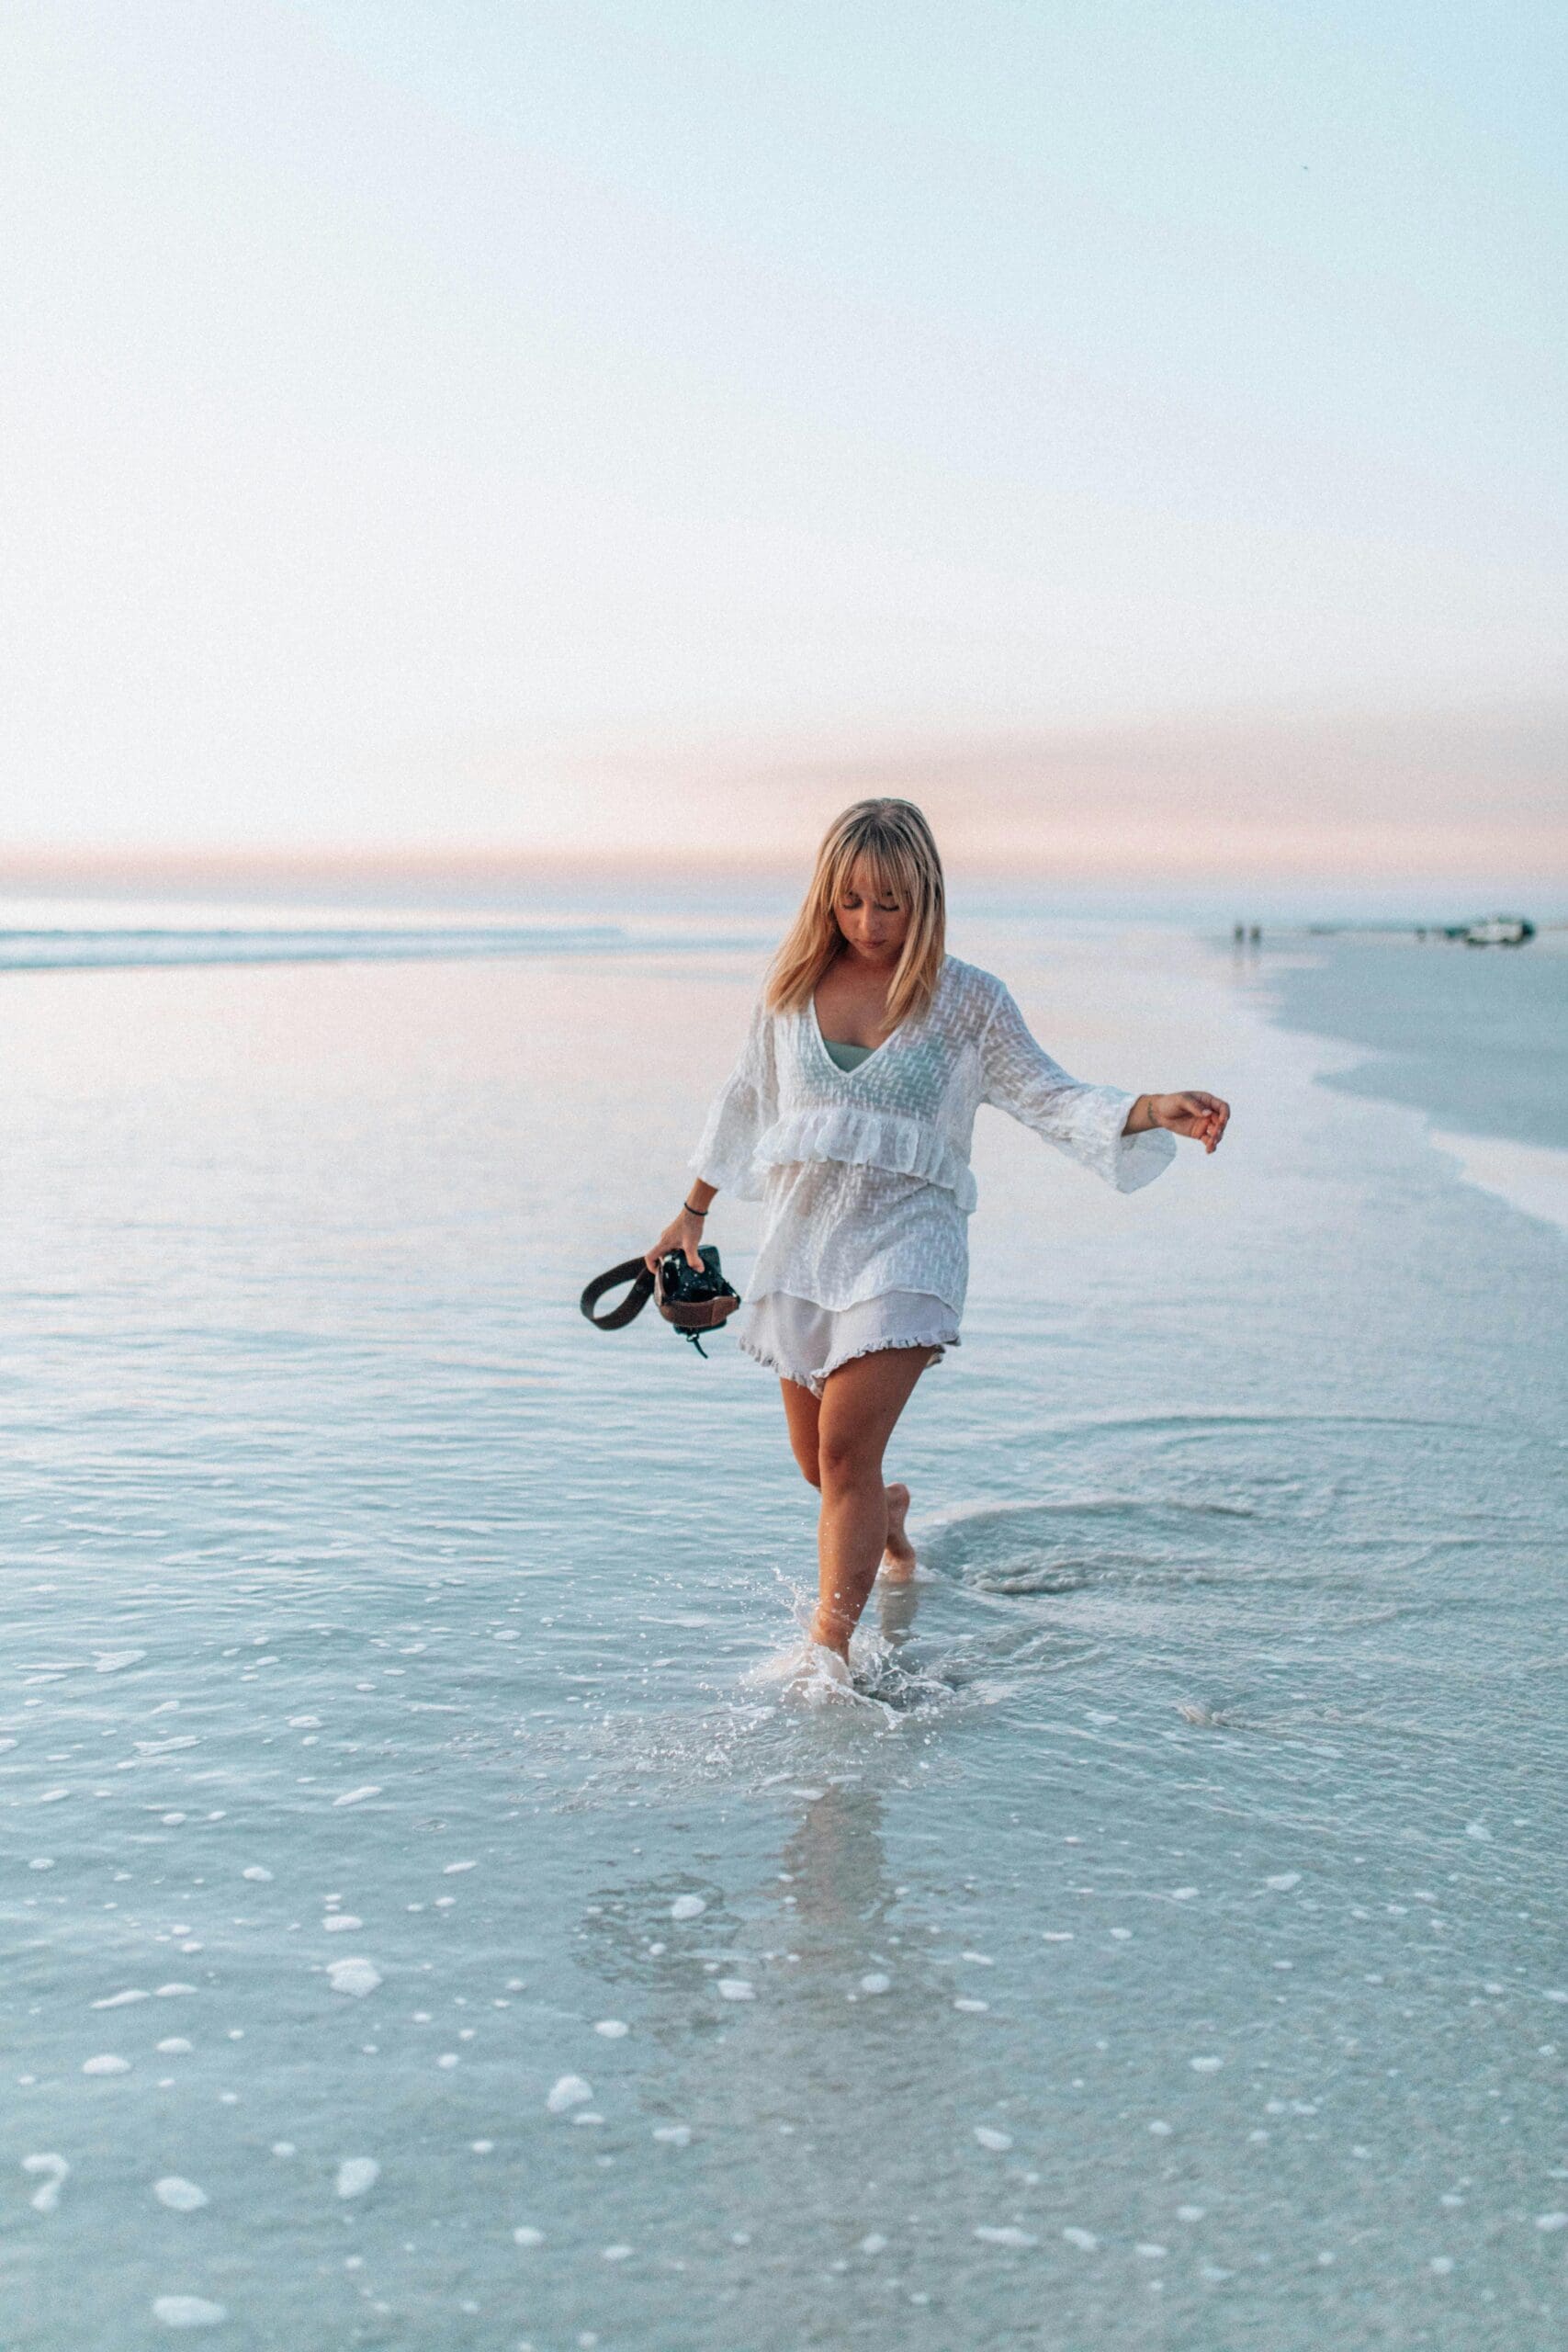
Consider a portrait shoot at golden hour. You want a shallow depth of field for that beautiful background blur, so you set your aperture to f/2.0. The light is warm and abundant, so you set your ISO to 100 for maximum image quality. Your camera’s light meter then tells you that the correct shutter speed for proper exposure is 1/500 — more than fast enough for a stationary subject. Every setting supports the others, and the result is a beautifully exposed portrait with creamy bokeh and zero noise.
Now consider an indoor event with limited lighting. You need f/4 to keep a small group in focus, but the venue is dim. You increase your ISO to 1600 and find that you can shoot at 1/125 — still fast enough to avoid motion blur. If the venue is darker still, you might push ISO to 3200 and accept a slightly noisier image in exchange for sharp focus. These rapid calculations become intuitive with practice, and a structured course accelerates that learning process through guided exercises and tutor feedback.
White Balance: Getting Colour Right
Beyond the exposure triangle, white balance is another setting that beginners often overlook. White balance tells your camera what colour temperature the light source is, ensuring that whites appear truly white rather than tinted orange or blue.
Different light sources have different colour temperatures. Daylight is around 5500 Kelvin, tungsten bulbs are around 3200K, and overcast skies push toward 7000K. Your camera’s auto white balance does a reasonable job in most situations, but it can be fooled by mixed lighting or strong colour casts.
A photography course for beginners teaches you how to set white balance manually using presets — daylight, cloudy, shade, tungsten, fluorescent — or by dialling in a specific Kelvin value. Shooting in RAW format gives you the flexibility to adjust white balance in post-production without any loss of quality, which is one of many reasons a course will encourage you to shoot RAW from the very beginning. Adobe’s guide to understanding white balance provides a useful visual reference.
Metering Modes: How Your Camera Reads Light
Your camera’s metering system measures the brightness of the scene and recommends exposure settings. Understanding the different metering modes helps you get accurate exposures in a variety of lighting conditions.
Evaluative or matrix metering analyses the entire frame and calculates an average exposure. This mode works well for evenly lit scenes but can be fooled by high-contrast situations. Centre-weighted metering prioritises the centre of the frame, which is useful for portraits where your subject is the focal point. Spot metering reads light from a very small area — typically around your active focus point — and is ideal for situations with extreme contrast, such as a backlit subject.
A photography course for beginners introduces all three modes and teaches you when to switch between them. Spot metering, for example, is invaluable when shooting a subject against a bright sky — without it, your camera would expose for the sky and render your subject as a silhouette. Understanding metering gives you predictable, repeatable results rather than hoping auto mode gets it right.
Focus Modes: Ensuring Sharpness Where It Matters
Autofocus modes determine how your camera locks onto your subject. Single-shot autofocus (AF-S) locks focus when you half-press the shutter and holds it — ideal for stationary subjects like portraits, still life, and landscapes. Continuous autofocus (AF-C) constantly adjusts focus as your subject moves, making it essential for sports, wildlife, and any scenario where your subject is in motion.
Eye-detection autofocus, available on most modern mirrorless cameras, automatically identifies and tracks your subject’s eye. This technology has revolutionised portrait and people photography, and a portrait photography course builds extensively on this capability.
Understanding focus points — the selectable areas where your camera can focus within the frame — and learning to move your active focus point rather than always using centre-focus-and-recompose gives you more precision and consistency. A photography course for beginners walks you through these systems step by step.
Putting It All Together: Your First Practical Exercises
Theory only becomes useful when applied through practice. A photography course for beginners structures assignments around real-world scenarios that force you to make deliberate setting choices.
A typical early assignment might ask you to photograph the same subject at three different apertures and compare the depth of field in each image. Another might have you capture motion — freezing a runner at 1/2000 and blurring a waterfall at one second — to experience the creative impact of shutter speed firsthand. These guided exercises, combined with personalised feedback from an experienced tutor, build competence and confidence far faster than experimentation alone.
The key takeaway is that camera settings are not obstacles to overcome — they are creative tools waiting to be used. Every setting you adjust changes the look and feel of your image, and learning to control those settings with intention is what separates a photographer from someone who simply owns a camera.
Start Your Photography Journey Today
If you are ready to move beyond auto mode and start creating images with purpose and control, a structured course is the fastest path forward. Explore the Photography Course for Beginners at Australian Photography School and learn aperture, shutter speed, ISO, white balance, focus modes, and composition from experienced tutors who provide personalised feedback on every assignment. With a professional camera included in your enrolment, flexible online study, and payment plans from just $35 per week, there has never been a better time to start. Get in touch with our team today and take the first step toward making photographs you are proud of.