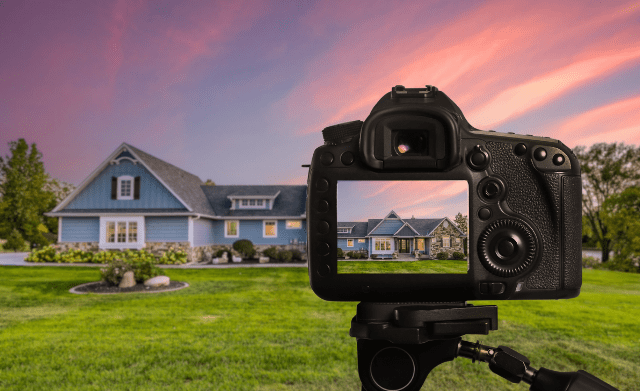
Light is the single most important element in photography — the word itself comes from the Greek words for light and drawing. Understanding how to see, evaluate, and use natural light is the skill that most dramatically improves a beginner’s photographs. You do not need expensive studio equipment or artificial lighting to create stunning images. You need to understand how sunlight behaves at different times of day, in different weather conditions, and in different environments. A photography course for beginners teaches you to see light as a creative tool and to use it intentionally in every image you make.
Why Natural Light Matters
Natural light is free, abundant, and endlessly varied. It changes hour by hour, season by season, and location by location. The warm, directional light of early morning looks nothing like the flat, even light of an overcast afternoon, and both look nothing like the dramatic, high-contrast light of midday sun. Each quality of light creates a different mood, a different feeling, and a different set of photographic opportunities.
Many of the world’s most celebrated photographs were made entirely with natural light. Portrait photographers, landscape artists, street photographers, and documentary storytellers all rely primarily on the sun and its interactions with the atmosphere, clouds, buildings, and reflective surfaces. A photography course for beginners puts natural light at the centre of your education because mastering it gives you the ability to create professional-quality images anywhere, at any time, with any camera.
The Quality of Light: Hard Versus Soft
Before you can use light effectively, you need to understand its qualities. Light can be hard or soft, and this distinction fundamentally changes how your subjects look in a photograph.
Hard light comes from a small, intense source — the midday sun on a clear day is the most common example. It creates strong, well-defined shadows with sharp edges. Hard light is dramatic and contrasty, but it can be unflattering for portraits because it emphasises skin texture, creates deep shadows under eyes and noses, and produces high-contrast images that can be difficult to expose correctly.
Soft light comes from a large, diffused source — an overcast sky, open shade, or light filtered through a translucent material. Soft light wraps around subjects, minimises shadows, and creates even, flattering illumination. It is ideal for portraits, product photography, and any situation where you want detail visible across the entire image without harsh contrast.
A photography course for beginners teaches you to identify the quality of light in any environment and to position your subject accordingly. Sometimes that means moving a few metres into shade. Sometimes it means waiting for a cloud to pass in front of the sun. The ability to evaluate light quickly and adapt is a foundational skill.
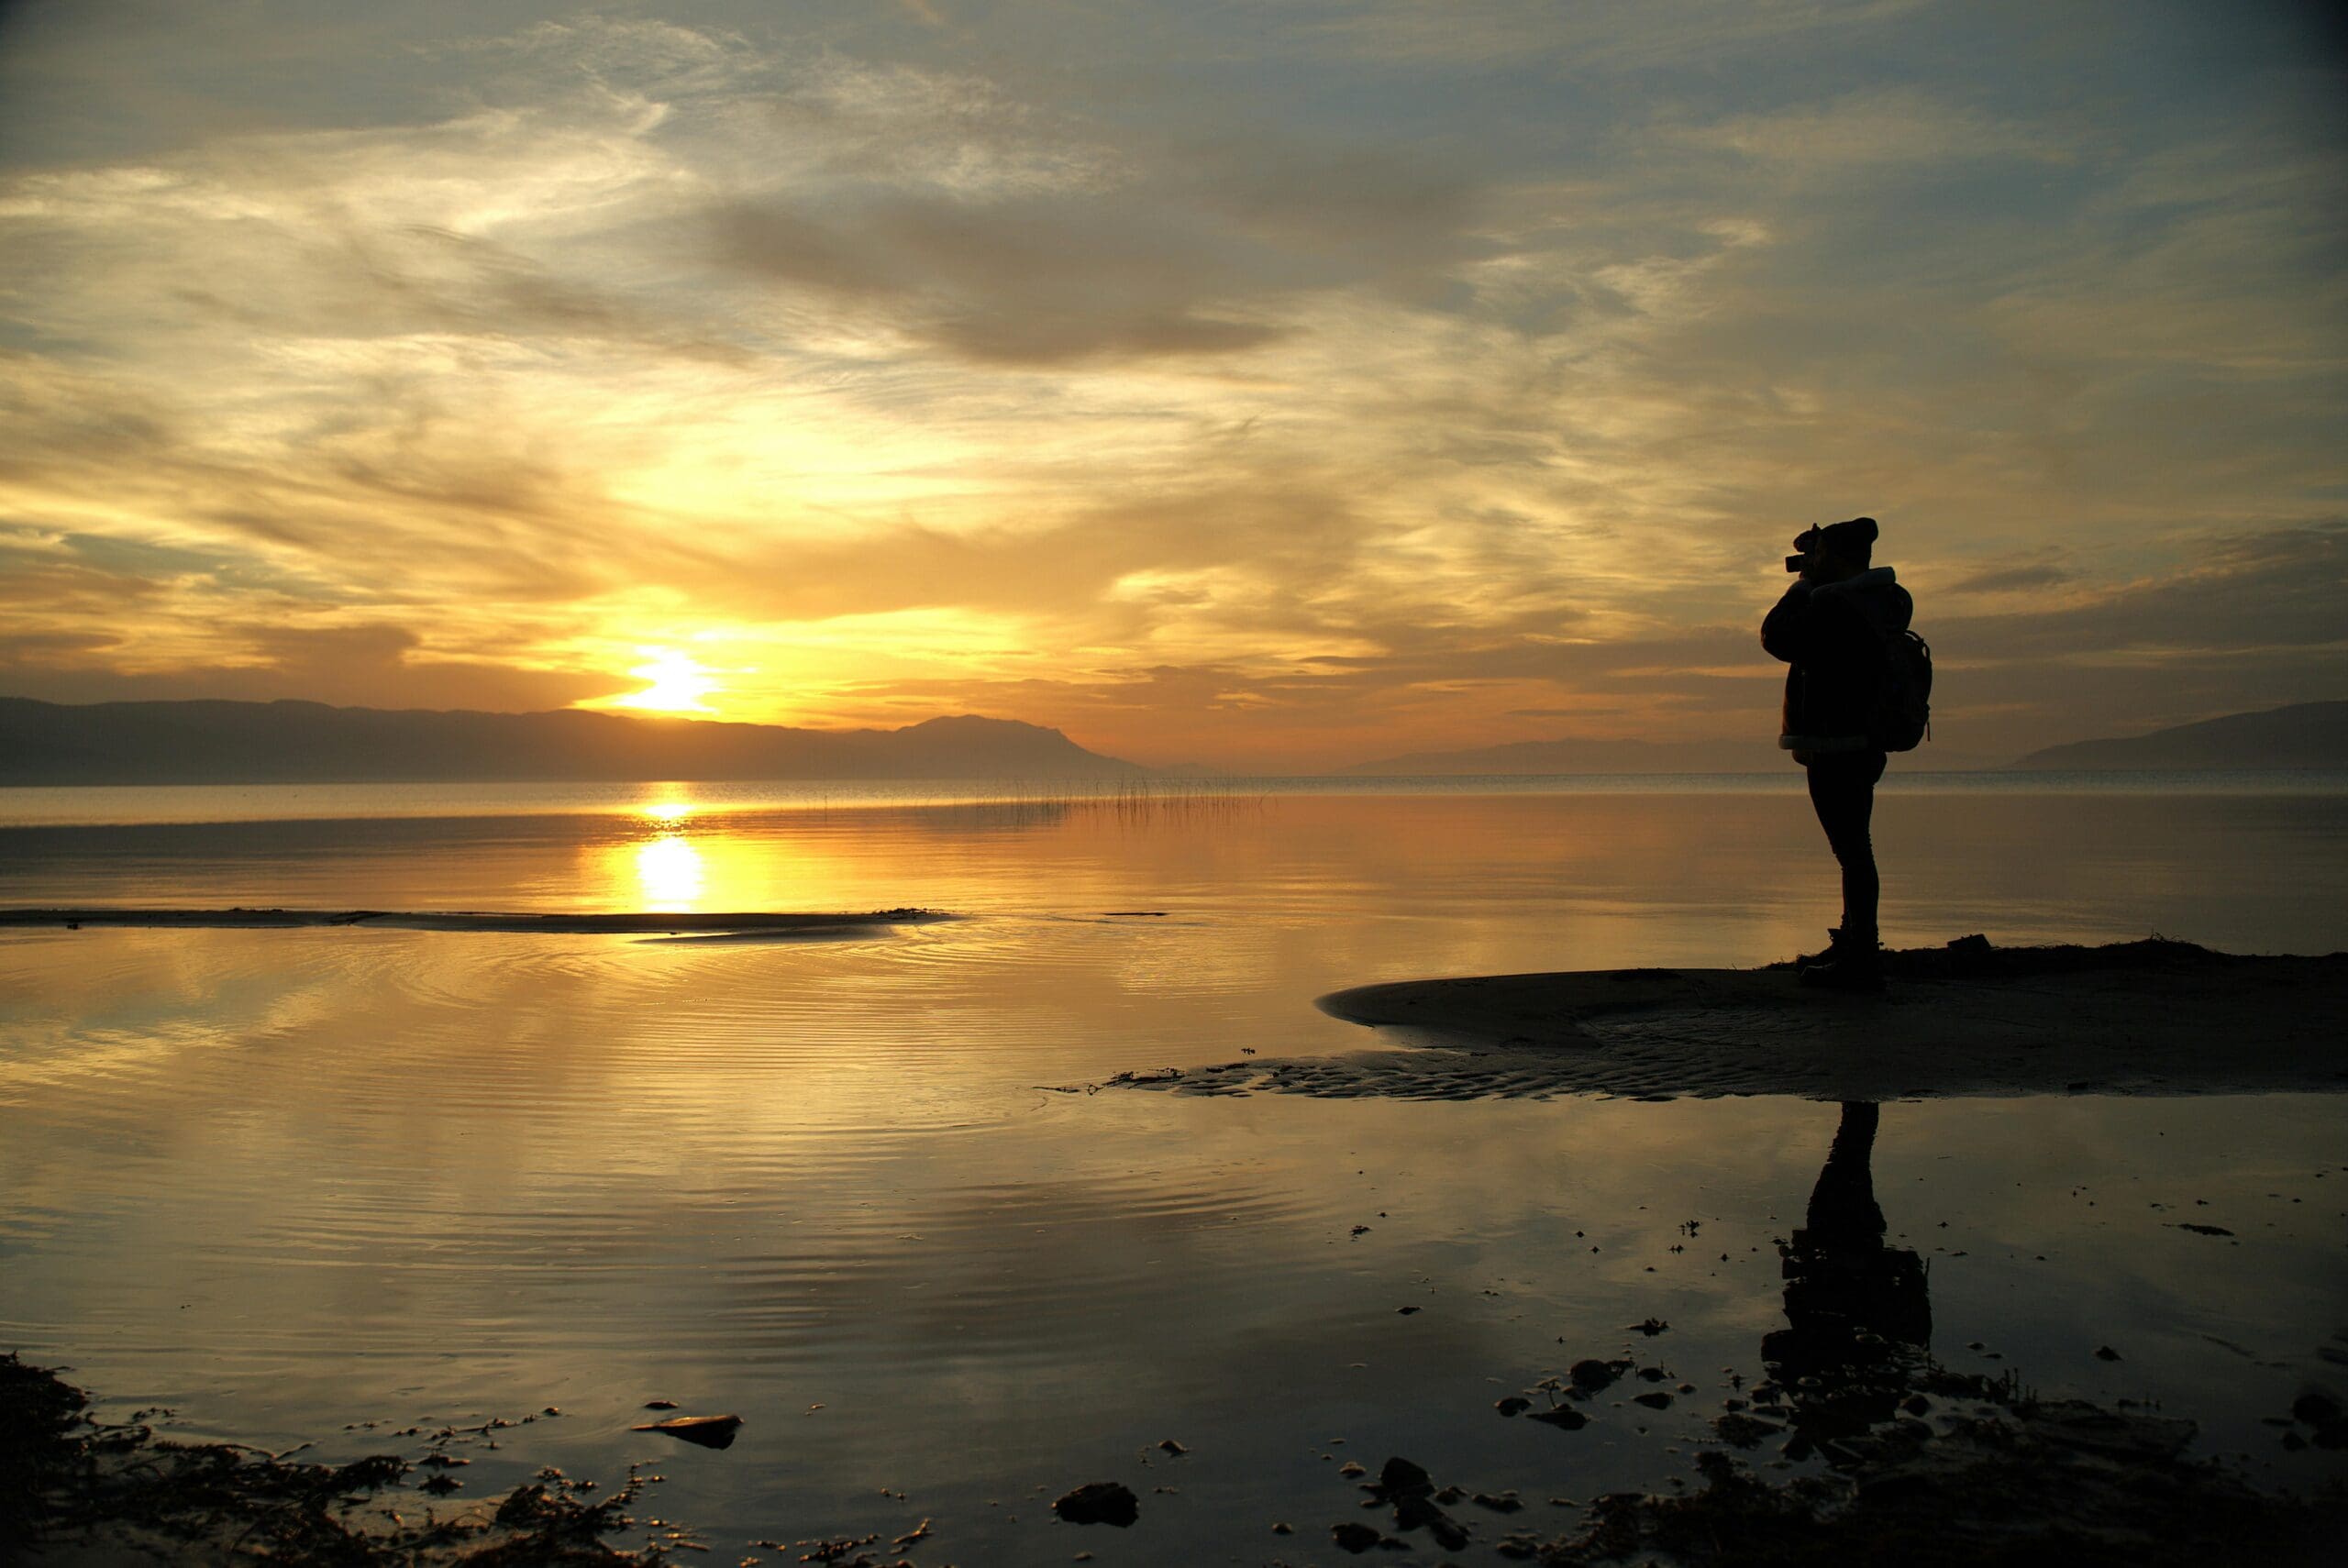
Golden Hour: The Photographer’s Favourite Light
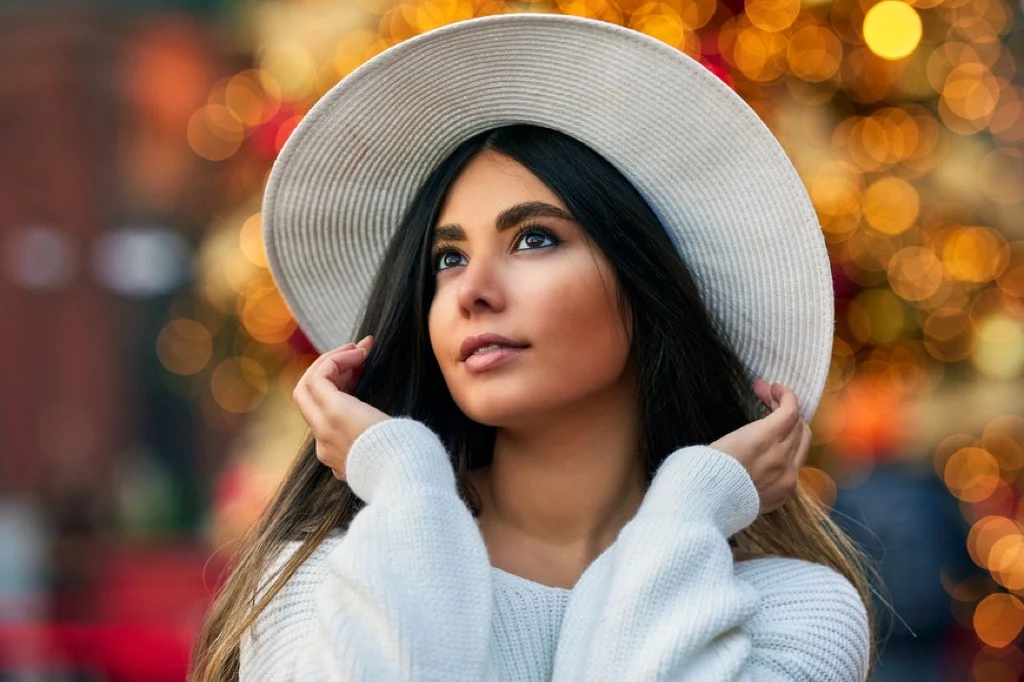
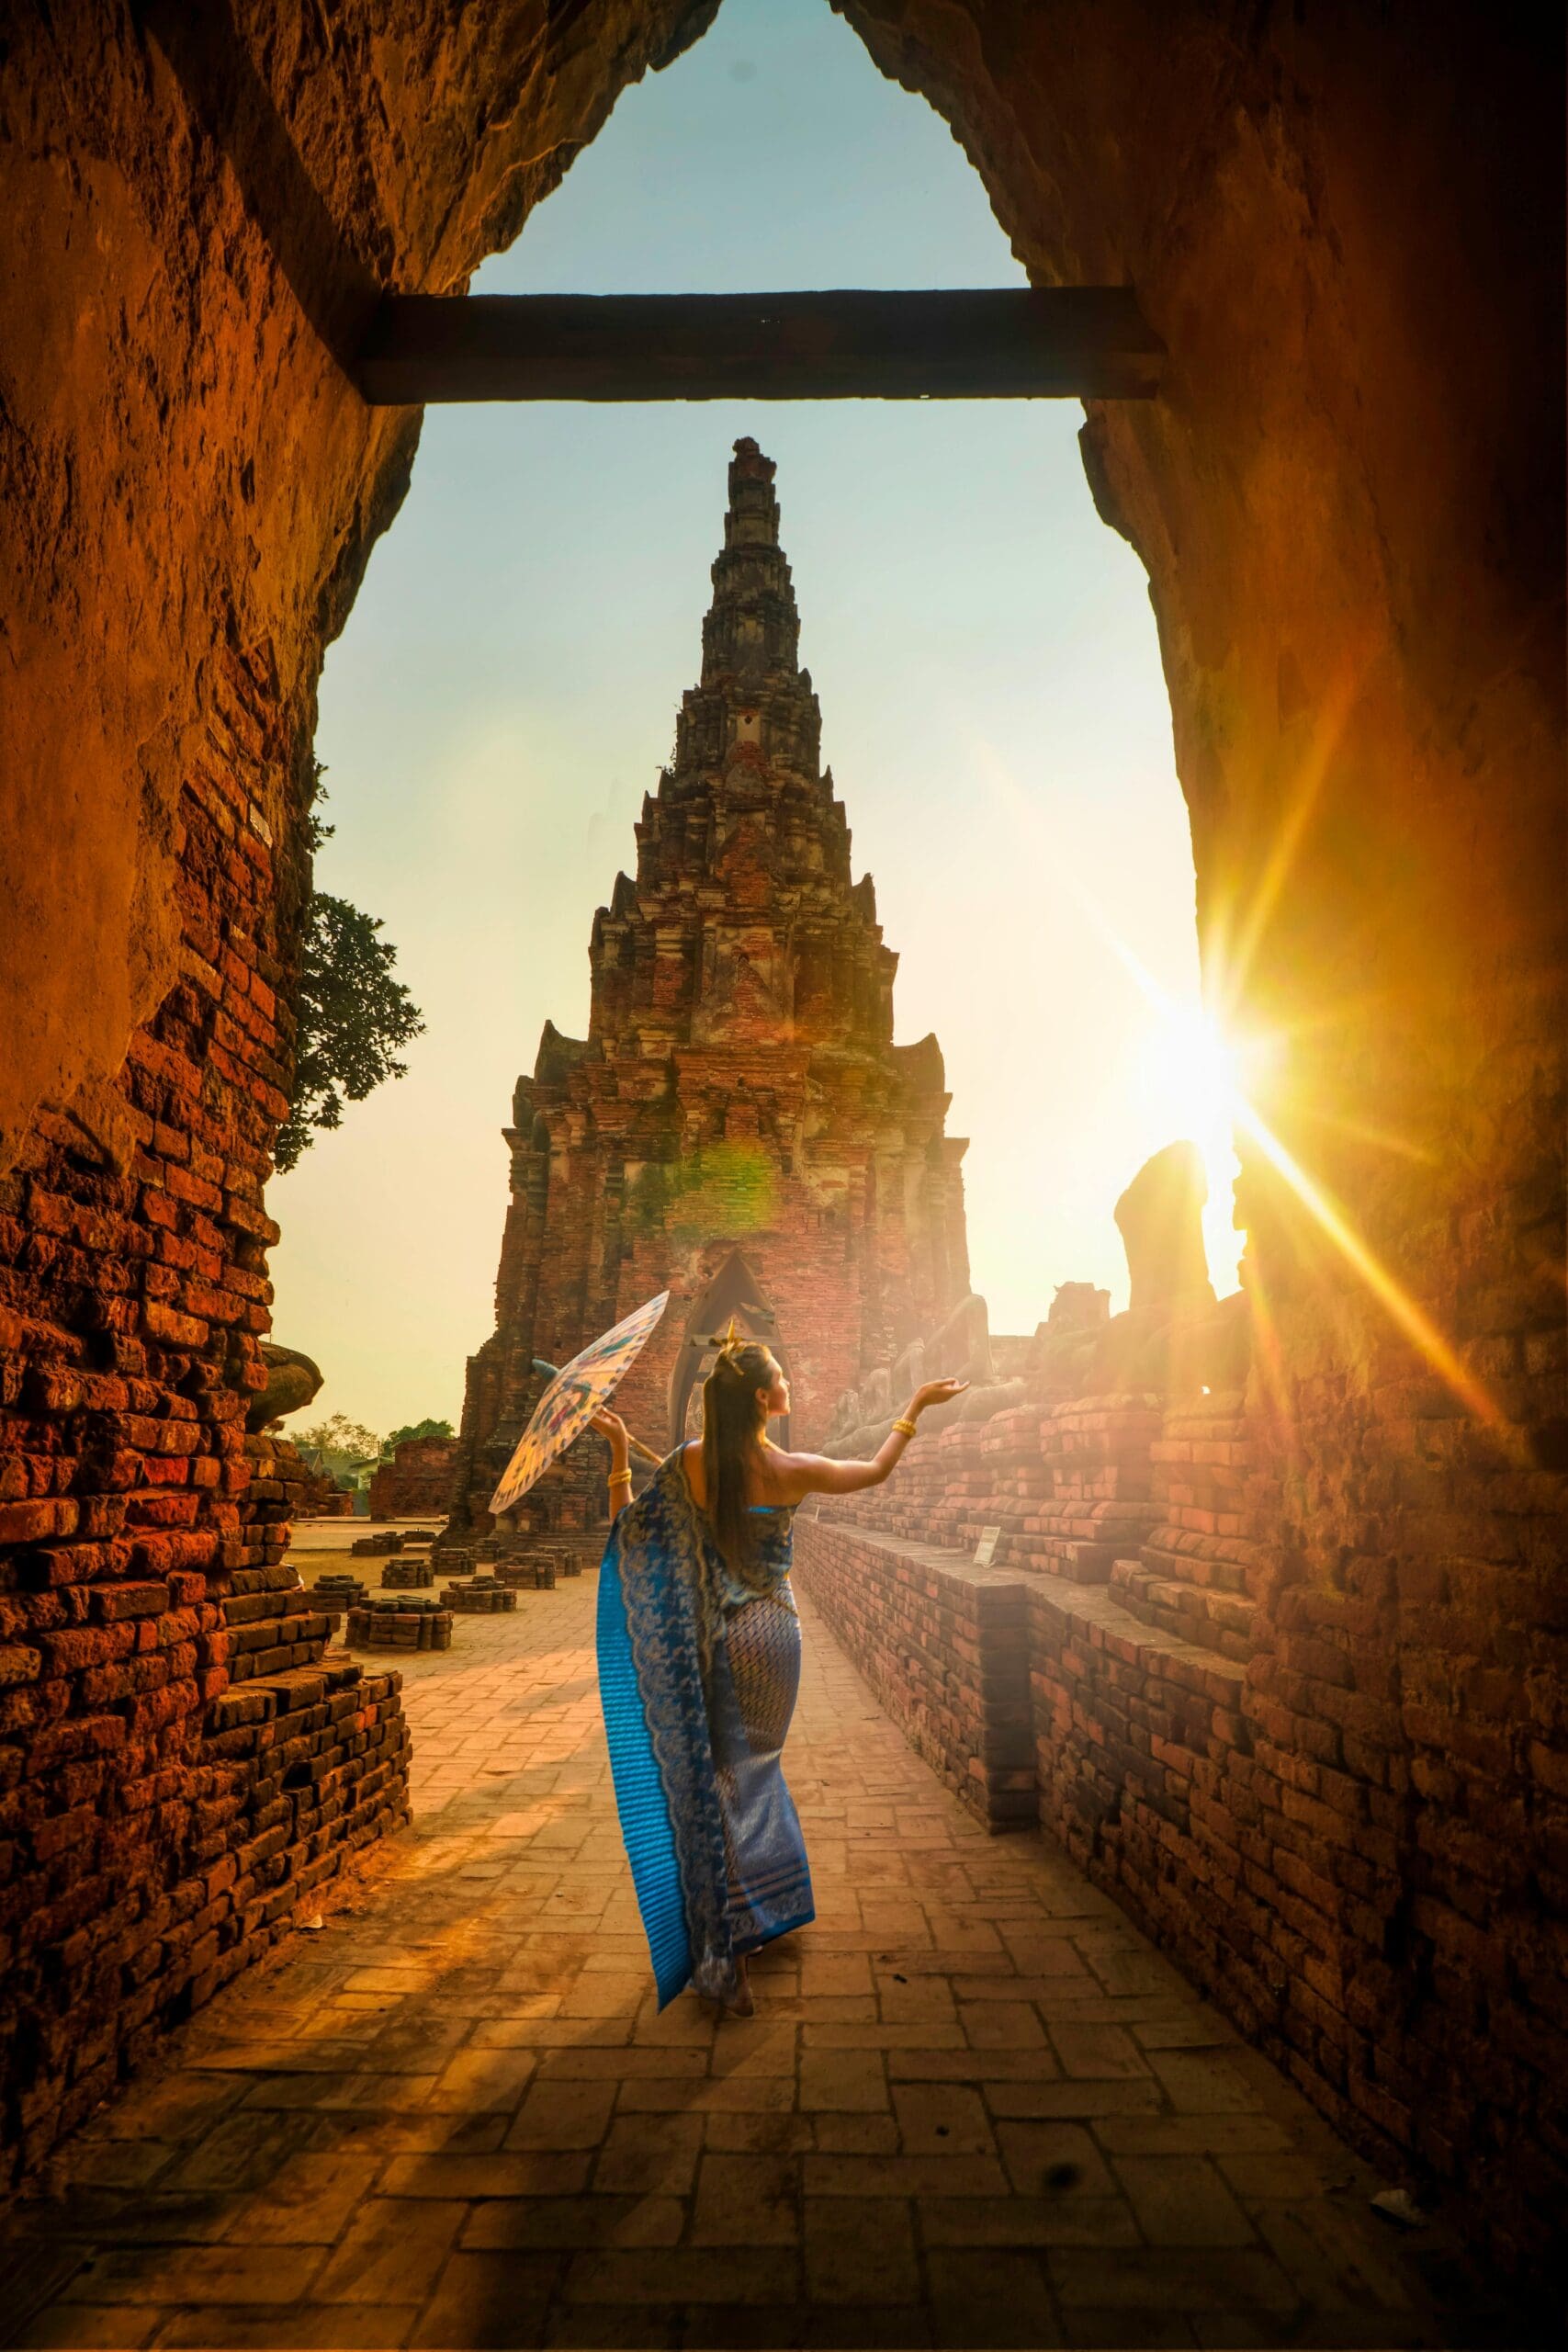
Golden hour — the period roughly 30 to 60 minutes after sunrise and before sunset — produces the most universally flattering natural light available. The sun sits low on the horizon, and its light travels through more atmosphere, which scatters blue wavelengths and allows warm reds, oranges, and yellows to dominate. The resulting light is warm, directional, and soft enough to avoid harsh shadows while providing beautiful modelling on faces and landscapes.
For portrait photography, golden hour creates a natural glow on skin, warm highlights in hair (often called a rim light or halo effect), and long, interesting shadows on the ground. For landscape photography, golden hour transforms ordinary scenes into extraordinary ones — fields glow, water shimmers, and buildings are bathed in warm tones.
Australia’s geographic diversity means golden hour looks different depending on where you shoot. The warm tones of golden hour over red desert sand in the Outback create a completely different palette than golden light over the blue-green waters of the Great Barrier Reef or the eucalyptus forests of the Blue Mountains. A photography course for beginners encourages you to explore golden hour in your local environment and develop an understanding of how the light behaves in the places you photograph most often.
Planning your shoots around golden hour requires knowing exactly when sunrise and sunset occur at your location. Apps like PhotoPills and The Photographer’s Ephemeris calculate golden hour timing, sun position, and light direction for any location and date. The Photographer’s Ephemeris is widely used by Australian landscape photographers.
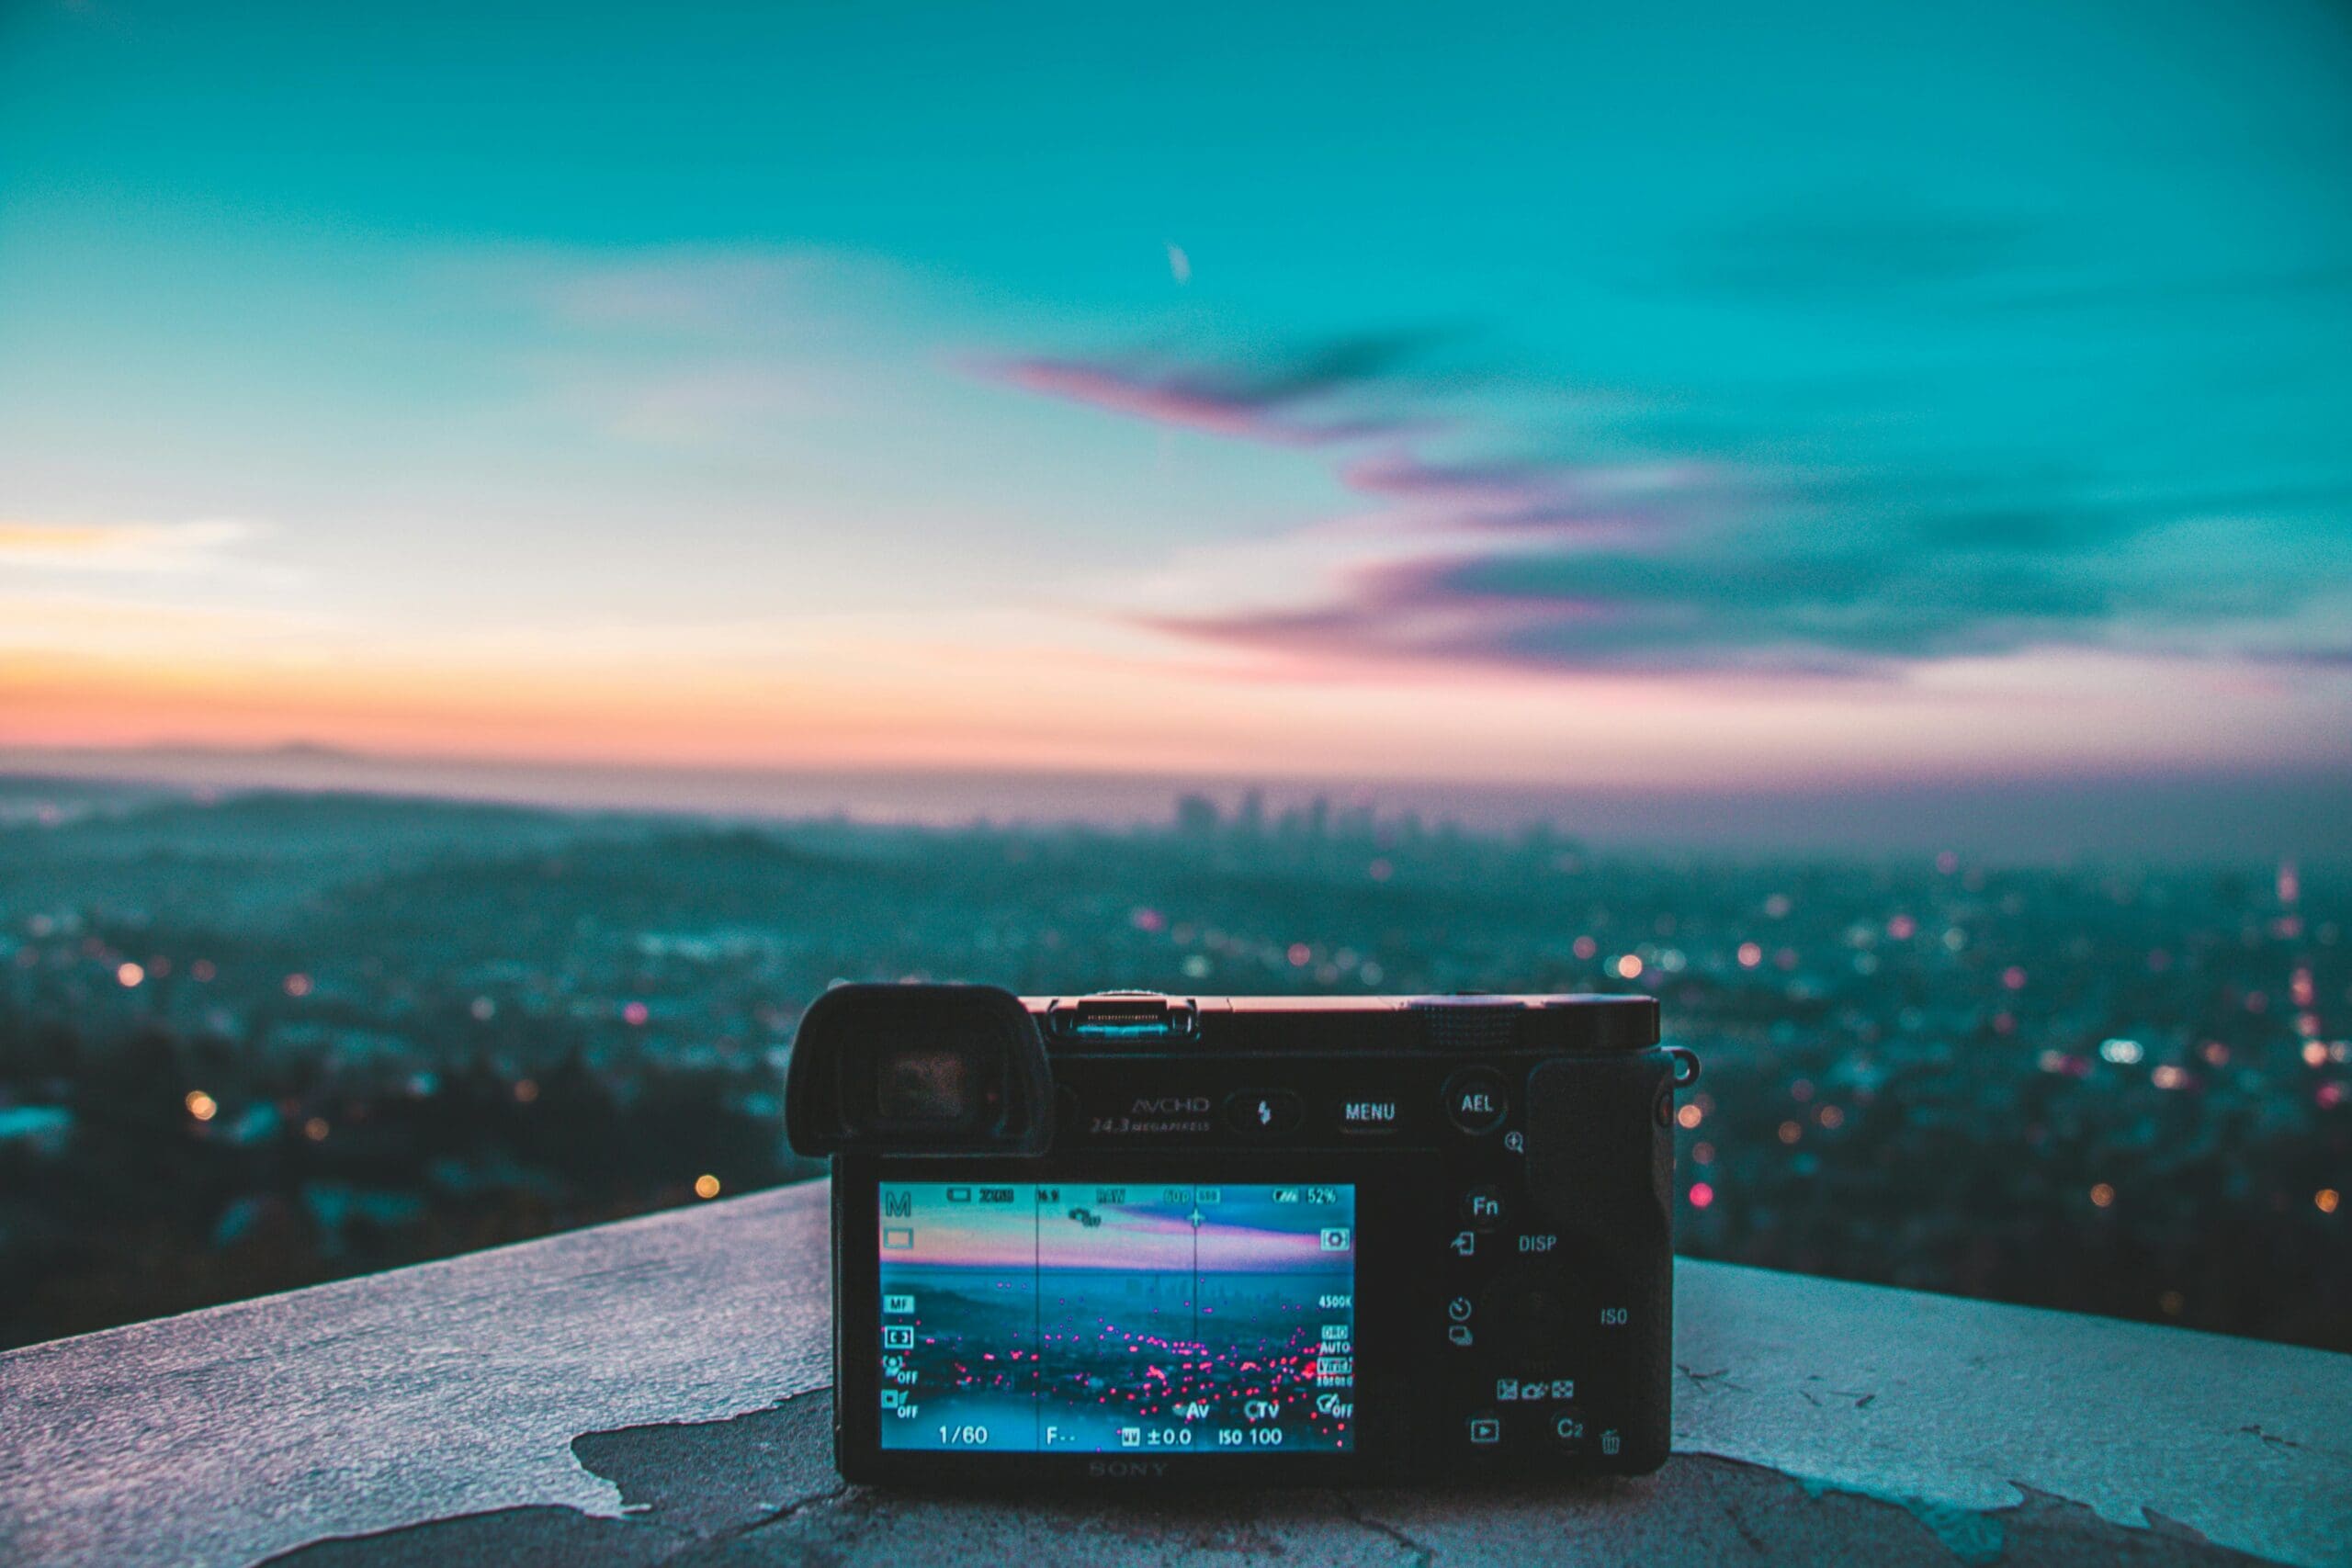
Blue Hour and Twilight
Blue hour — the period of twilight before sunrise and after sunset when the sky takes on a deep blue tone — offers a different but equally compelling quality of light. The ambient light level is low, requiring longer exposures or higher ISOs, but the colour palette is cool, ethereal, and distinctly atmospheric.
Blue hour is particularly effective for cityscapes, where artificial lights from buildings and streets contrast beautifully against the blue sky. It is also ideal for creating moody, contemplative landscape images and for photographing illuminated landmarks. A photography course for beginners introduces blue hour as part of your understanding of the full daily light cycle, encouraging you to extend your shooting sessions beyond the obvious golden hour window.
Overcast Light: The Giant Softbox
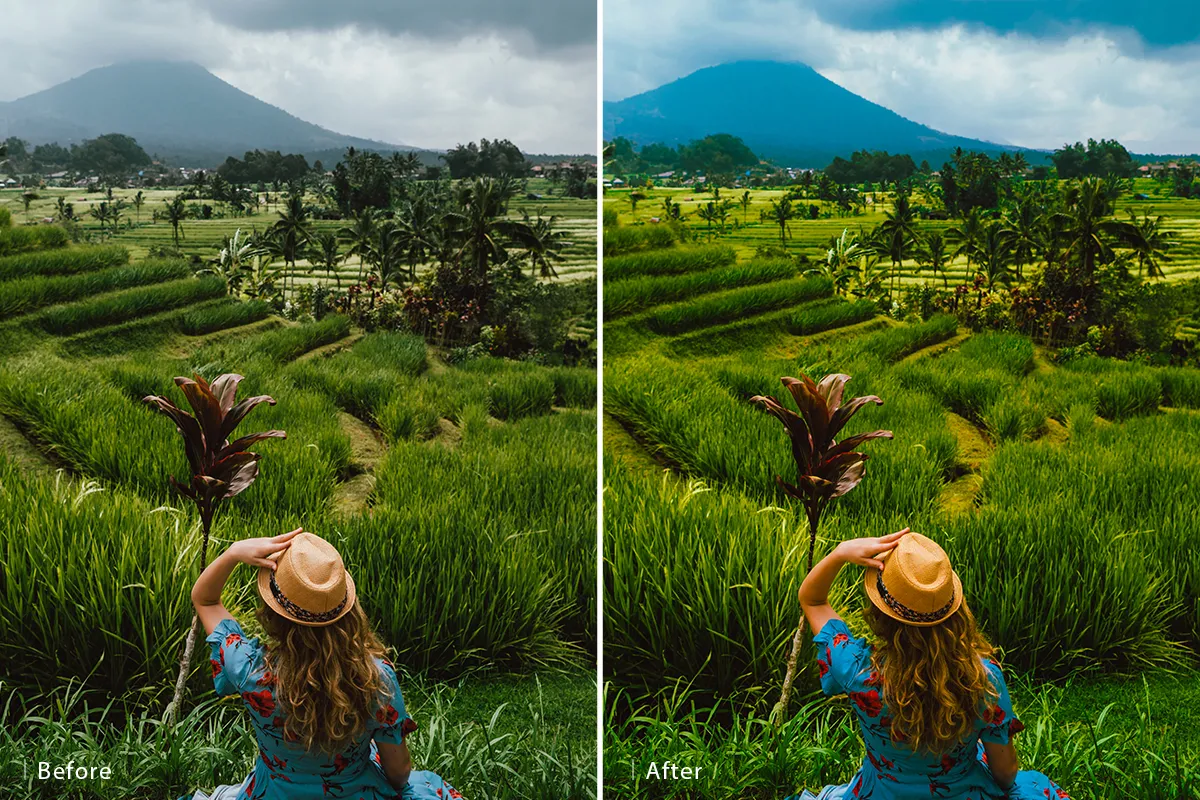
Many beginners assume that overcast days are bad for photography, but experienced photographers know that cloud cover is essentially a giant diffuser that creates beautifully soft, even light across entire scenes. Overcast light eliminates harsh shadows, reduces contrast, and produces saturated, rich colours — particularly greens, which is why rainforest and garden photography often looks best under overcast skies.
For portrait photography, overcast light is exceptionally flattering. You can photograph subjects anywhere outdoors without worrying about squinting, harsh nose shadows, or uneven exposure. The even illumination makes metering simple and post-production straightforward.
The challenge with overcast light is that it can feel flat and directionless. A photography course for beginners teaches you how to compensate by creating interest through composition, colour, and subject matter rather than relying on dramatic light to carry the image. This is an important lesson — compelling photographs are possible in any light condition when you understand how to work with what is available.
Window Light: Indoor Natural Light Photography
Window light is one of the most versatile and beautiful light sources available, and understanding how to use it effectively is essential for indoor photography. A window acts as a large, directional light source that produces soft, flattering illumination with gentle shadows.
The quality of window light depends on several factors: the size of the window (larger windows produce softer light), the direction the window faces (north-facing windows in Australia provide consistent, cool indirect light throughout the day), and whether the light is direct or diffused by curtains or clouds.
For portraits, positioning your subject at a 45-degree angle to the window creates classic Rembrandt lighting — one side of the face is illuminated, the other falls into gentle shadow, and a small triangle of light appears on the shadowed cheek. This lighting pattern has been used by painters and photographers for centuries because it is both flattering and dramatic.
For still life and product photography, window light provides a clean, professional look without any equipment. Place your subject on a table near a window, use a white card or piece of foam board on the opposite side to bounce light back into the shadows, and you have a simple but effective lighting setup. Adobe’s lighting tutorials expand on these window light techniques with visual examples.

Direction of Light: Front, Side, and Back
The direction from which light hits your subject changes the mood, depth, and drama of your photograph. A photography course for beginners teaches you to think about light direction as a creative decision.
Front light — where the sun is behind you and illuminating the front of your subject — produces even, well-lit images with minimal shadows. It is safe and reliable but can feel flat because it reduces the sense of three-dimensionality.
Side light — where the sun hits your subject from the left or right — creates shadows that reveal texture, depth, and form. It is more dramatic than front light and is the preferred direction for most portrait, landscape, and architectural photography. The interplay of light and shadow gives images a three-dimensional quality that flat front light cannot achieve.
Back light — where the sun is behind your subject — creates silhouettes, rim light, and a sense of atmosphere. It is the most challenging direction to work with because your camera’s metering can be fooled by the bright background, but it produces some of the most dramatic and emotionally evocative images. Learning to expose correctly for backlit subjects — using exposure compensation or spot metering — is a practical skill taught in every photography course for beginners.
Practising Your Light Skills
The best way to develop your understanding of natural light is to photograph the same subject at different times of day and in different weather conditions. Choose a location you can easily revisit — a park, a building, even a corner of your garden — and photograph it at sunrise, midday, golden hour, blue hour, on a sunny day, and on an overcast day. Comparing the results side by side will teach you more about light than any textbook.
A photography course for beginners structures these exercises with specific learning objectives and provides tutor feedback that helps you understand not just what you captured, but why it works or how it could be improved. This feedback loop accelerates your learning dramatically.
Capture Beautiful Light Every Day
Natural light is endlessly available and endlessly variable. Learning to see it, evaluate it, and use it creatively is the skill that will most improve your photography, regardless of what genre you pursue. Explore the Photography Course for Beginners at Australian Photography School and learn how to master natural light, camera settings, composition, and editing in one comprehensive program. With a professional camera included, flexible online study, and expert tutors guiding you from your first photograph onward, there has never been a more accessible way to start your photography journey. Reach out to our team and enrol today.