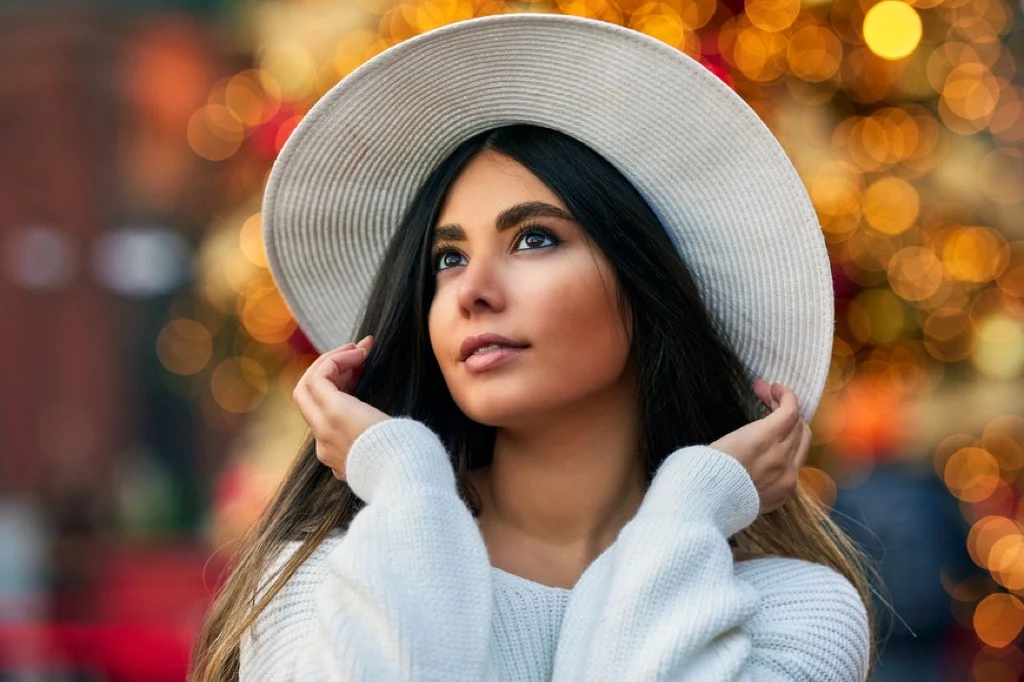
Retouching is the final creative step that transforms a good portrait into a polished, professional image. It is where you refine skin tones, enhance eyes, correct minor distractions, and apply the colour grading that defines your visual style. Done well, retouching is invisible — the viewer sees a beautiful portrait without any awareness that adjustments were made. Done poorly, it creates an artificial, plastic look that undermines the authenticity of the image. A portrait photography course teaches you the professional retouching techniques that achieve the former and avoid the latter.
The Philosophy of Modern Portrait Retouching
Before diving into tools and techniques, a portrait photography course establishes the right approach to retouching. The goal is enhancement, not transformation. You want your subjects to look like their best selves — well-rested, well-lit, and presented in the most flattering way — while retaining everything that makes them recognisably and authentically themselves.
This means you remove temporary imperfections (a blemish that appeared the morning of the shoot, a stray hair, a clothing wrinkle) but you retain permanent features that are part of a person’s identity (freckles, moles, scars, laugh lines). The distinction between temporary and permanent is a useful framework that keeps your retouching tasteful and respectful.
The conversation around retouching ethics continues to evolve, particularly regarding body modification and skin smoothing. Most professional portrait photographers today aim for a natural look that enhances rather than alters, and clients increasingly prefer this approach. A portrait photography course addresses these considerations alongside technical instruction.
Lightroom Retouching: Global and Local Adjustments
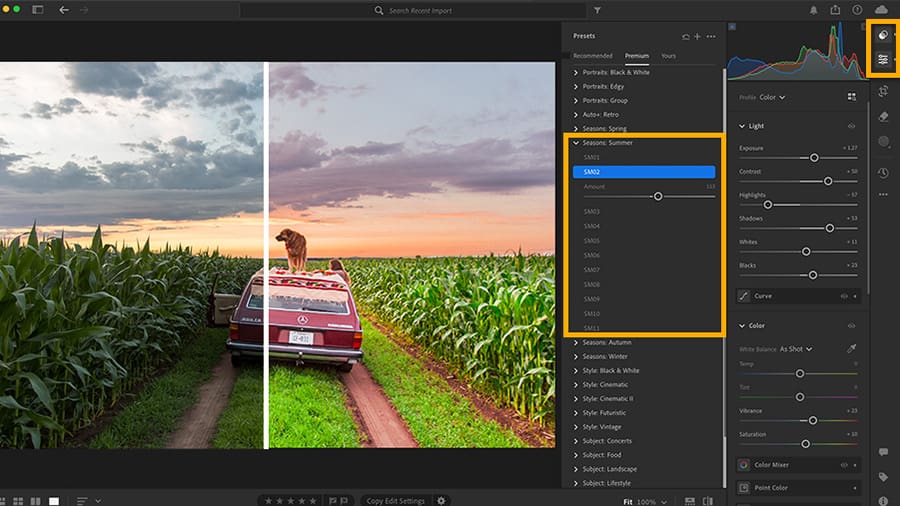
Adobe Lightroom is where most portrait retouching begins. It handles global adjustments — changes that affect the entire image — as well as targeted local adjustments that affect specific areas.
Start with exposure and white balance. Ensure the image is correctly exposed and the skin tones are neutral and accurate. Skin that is too warm looks sunburned; skin that is too cool looks unwell. The white balance temperature and tint sliders should be your first adjustments, and getting them right makes everything that follows easier.
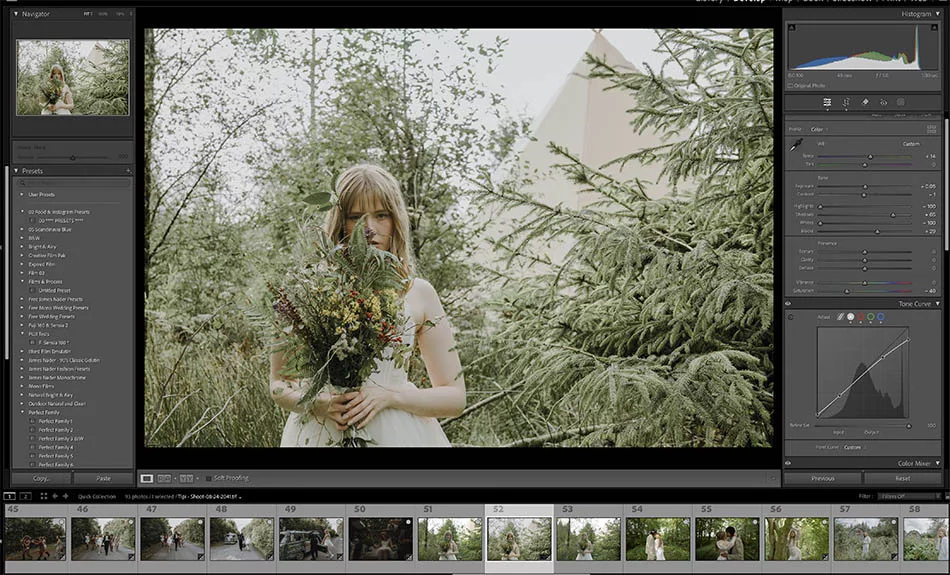
The tone curve allows you to add contrast and create a specific mood. Many portrait photographers slightly lift the shadows (creating a faded, filmic look) and add gentle contrast to the midtones. The result is a polished look that feels dimensional without being harsh.
Lightroom’s healing and clone stamp tools handle spot retouching — removing blemishes, small scars, and other temporary imperfections. The healing brush samples texture from a nearby area and blends it seamlessly, making it ideal for skin retouching. Work at 100 percent zoom and address each imperfection individually for the most natural result.
The adjustment brush, radial filter, and linear gradient allow targeted local adjustments. You can brighten eyes by painting an exposure increase over the iris, soften skin by reducing clarity and texture over the face while protecting the eyes and lips, or darken a distracting background area. These local tools make Lightroom surprisingly powerful for portrait retouching without ever opening Photoshop.
For comprehensive Lightroom retouching techniques, Adobe’s official portrait editing tutorials provide step-by-step guidance.
Photoshop Retouching: Advanced Skin Work
For clients requiring more polished retouching — headshots, beauty work, editorial portraits — Adobe Photoshop provides the precision tools that Lightroom cannot match.
Frequency separation is the professional standard for advanced skin retouching. This technique separates the image into two layers: a high-frequency layer that contains texture (pores, fine lines, hair) and a low-frequency layer that contains colour and tone (skin colour, shadows, light gradients). By working on each layer independently, you can smooth uneven skin tones and colour blotches on the low-frequency layer without affecting skin texture, and you can remove textural imperfections on the high-frequency layer without affecting colour.
The result is skin that looks naturally smooth and even-toned while retaining all the texture and detail that makes it look real. This is the technique used in professional beauty, fashion, and commercial photography worldwide, and a portrait photography course teaches you to execute it efficiently and consistently.
Dodge and burn is another essential Photoshop retouching technique. Using a soft brush on a neutral grey layer set to overlay blending mode, you selectively lighten (dodge) and darken (burn) areas of the face to sculpt light and enhance facial structure. Brightening the bridge of the nose, the tops of the cheekbones, and the centre of the forehead while darkening beneath the cheekbones, along the jawline, and at the temples creates dimension and polish.
This technique mimics what a makeup artist does with highlight and contour products, and when applied with a light hand, it dramatically elevates a portrait without looking retouched. The key is subtlety — build up the effect gradually in multiple passes rather than applying heavy adjustments in a single stroke.
Eye Enhancement
Eyes are the focal point of almost every portrait, and subtle enhancement can significantly impact the overall impression of an image. A portrait photography course teaches specific eye retouching techniques that enhance without creating an artificial look.
Brightening the whites of the eyes — by desaturating and slightly lightening the sclera — removes redness and fatigue. Be conservative; over-whitened eyes look unnatural and disturbing. Enhancing the iris involves increasing saturation and clarity of the iris colour, and adding a subtle brightening to the catchlight (the reflection of your light source in the eye).
Sharpening only the eyes — using a layer mask to restrict sharpening to the eye area — ensures they are the crispest element in the image, naturally drawing the viewer’s attention. A slight vignette that darkens the edges of the frame also directs focus toward the centre of the image where the eyes typically sit.
Teeth and Lip Retouching
Teeth whitening is a common client request, and it should be handled with care. Select the teeth using a careful mask, desaturate slightly to remove yellow, and brighten gently. The goal is clean, natural-looking teeth — not blindingly white veneers. Match the whiteness to the whites of the eyes for a consistent, believable result.
Lip retouching typically involves evening out colour and adding subtle saturation. Healing any dry skin or cracks on the lips and ensuring the lip line is clean and defined finishes the look. As with all retouching, restraint is the key to a professional result.
Colour Grading Portraits
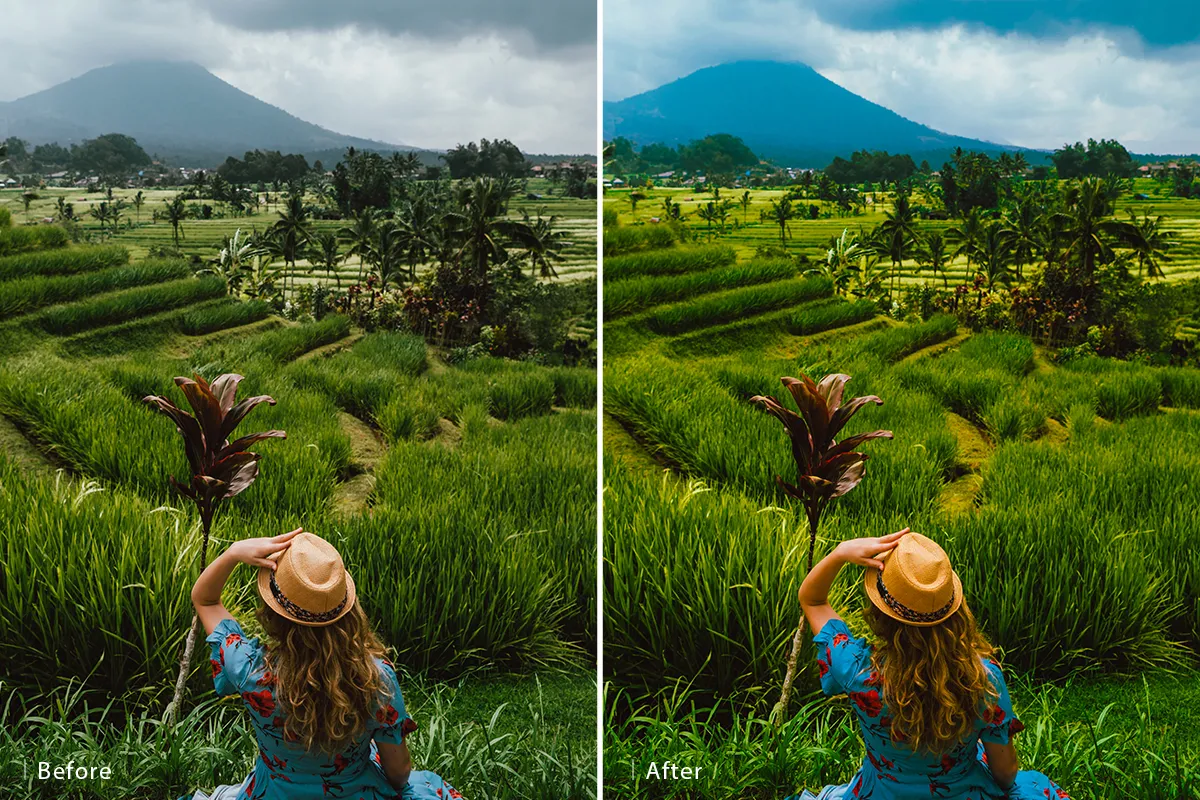
Colour grading is where you apply the signature look that defines your portrait style. A portrait photography course teaches you colour grading fundamentals using both Lightroom and Photoshop.
In Lightroom, the colour grading panel allows you to independently tint the shadows, midtones, and highlights of your image. A popular portrait look adds warm tones (peach or golden) to the highlights and cool tones (teal or blue) to the shadows, creating a complementary colour contrast that is visually appealing and flattering to skin.
In Photoshop, colour grading can be achieved through selective colour adjustment layers, curves adjustments on individual colour channels, or lookup table (LUT) presets. The flexibility of layer-based editing means you can stack multiple colour adjustments, control their opacity, and mask them to affect only specific areas of the image.
Developing a consistent colour grade across your portfolio is essential for brand identity. When clients see your work on social media or your website, they should recognise your style before they even see your name. This consistency is built through deliberate colour grading choices applied to every image, and Lightroom presets or Photoshop actions streamline this process. Phlearn offers excellent advanced colour grading tutorials for portrait photographers.
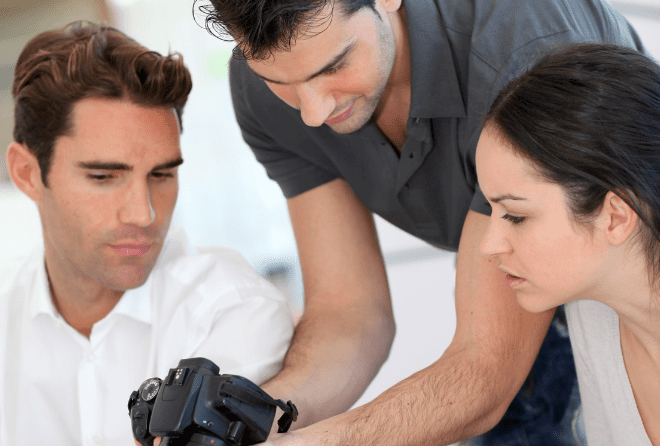
Building an Efficient Retouching Workflow
Professional portrait photographers often edit hundreds of images per session, so efficiency is critical. A portrait photography course teaches workflow strategies that maintain quality while reducing editing time.
Batch processing in Lightroom — applying your base edit settings to all images from a session simultaneously — handles 80 percent of the work. You then make individual adjustments to each image for exposure variations, white balance shifts, and cropping. Only your best images — the ones that will be delivered to the client or published in your portfolio — receive detailed Photoshop retouching.
Creating Photoshop actions for repetitive tasks (frequency separation setup, dodge and burn layer creation, eye enhancement) saves minutes on every image and ensures consistency. Over a year of client work, these efficiency gains add up to dozens of hours saved.
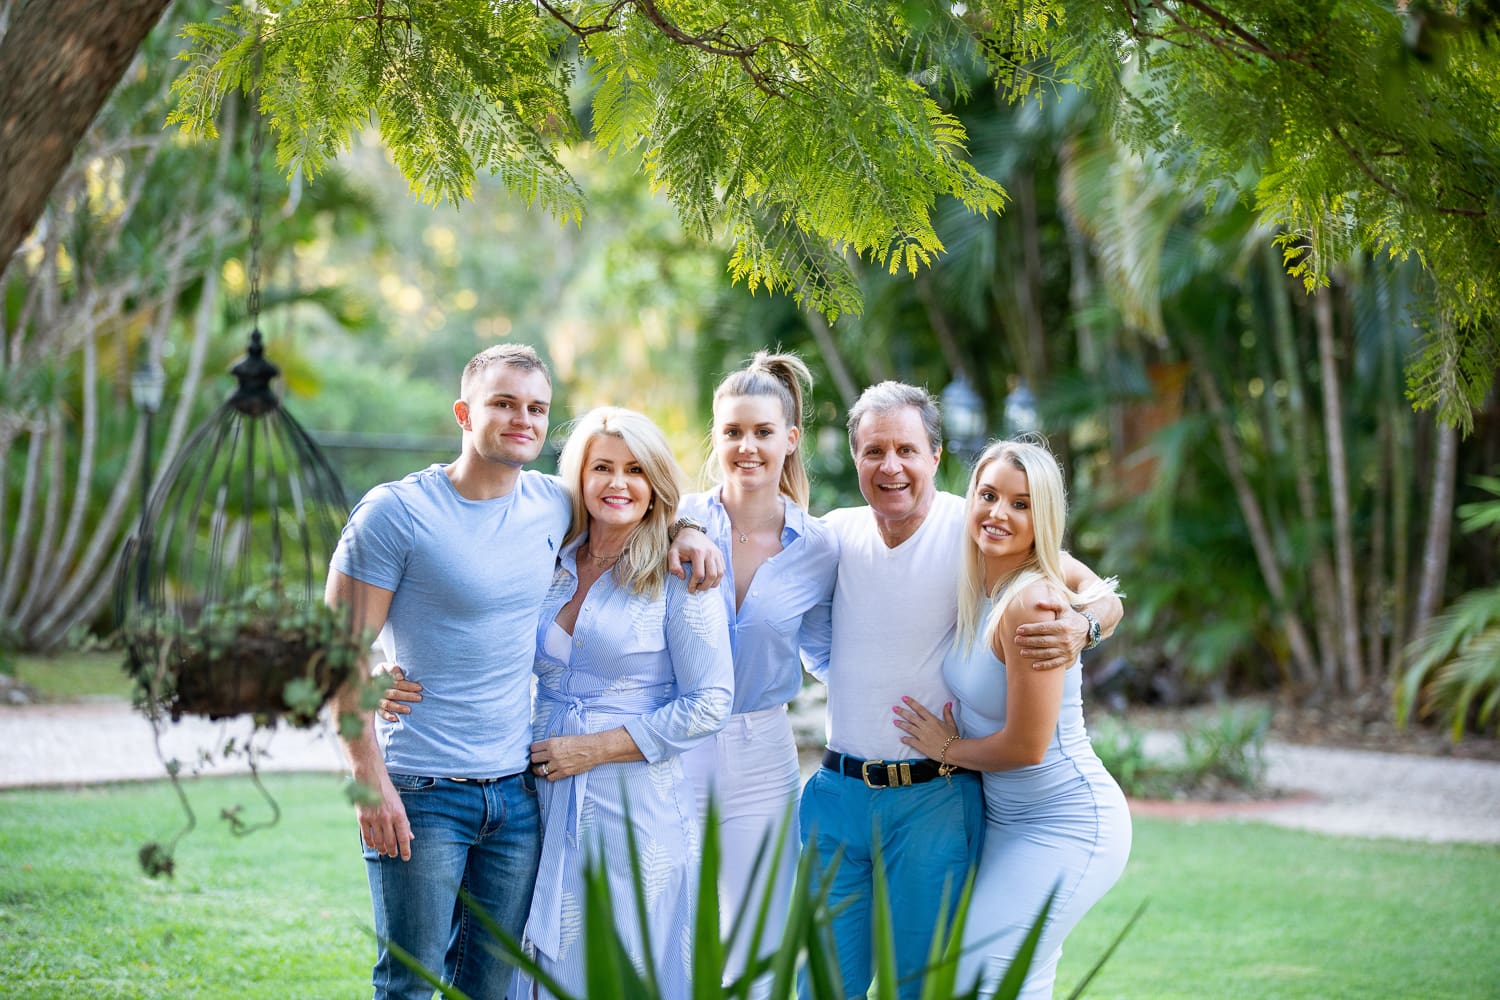
Deliver Portraits Your Clients Love
Retouching is the skill that transforms your captured moments into polished, professional portraits that clients display proudly. If you are ready to learn the full portrait photography workflow — from lighting and posing through to professional retouching and delivery — explore the Portrait Photography Course at Australian Photography School. With comprehensive training, a professional camera included, and flexible online study guided by experienced tutors, you will be delivering stunning portraits that build your reputation and your business. Get started today.